
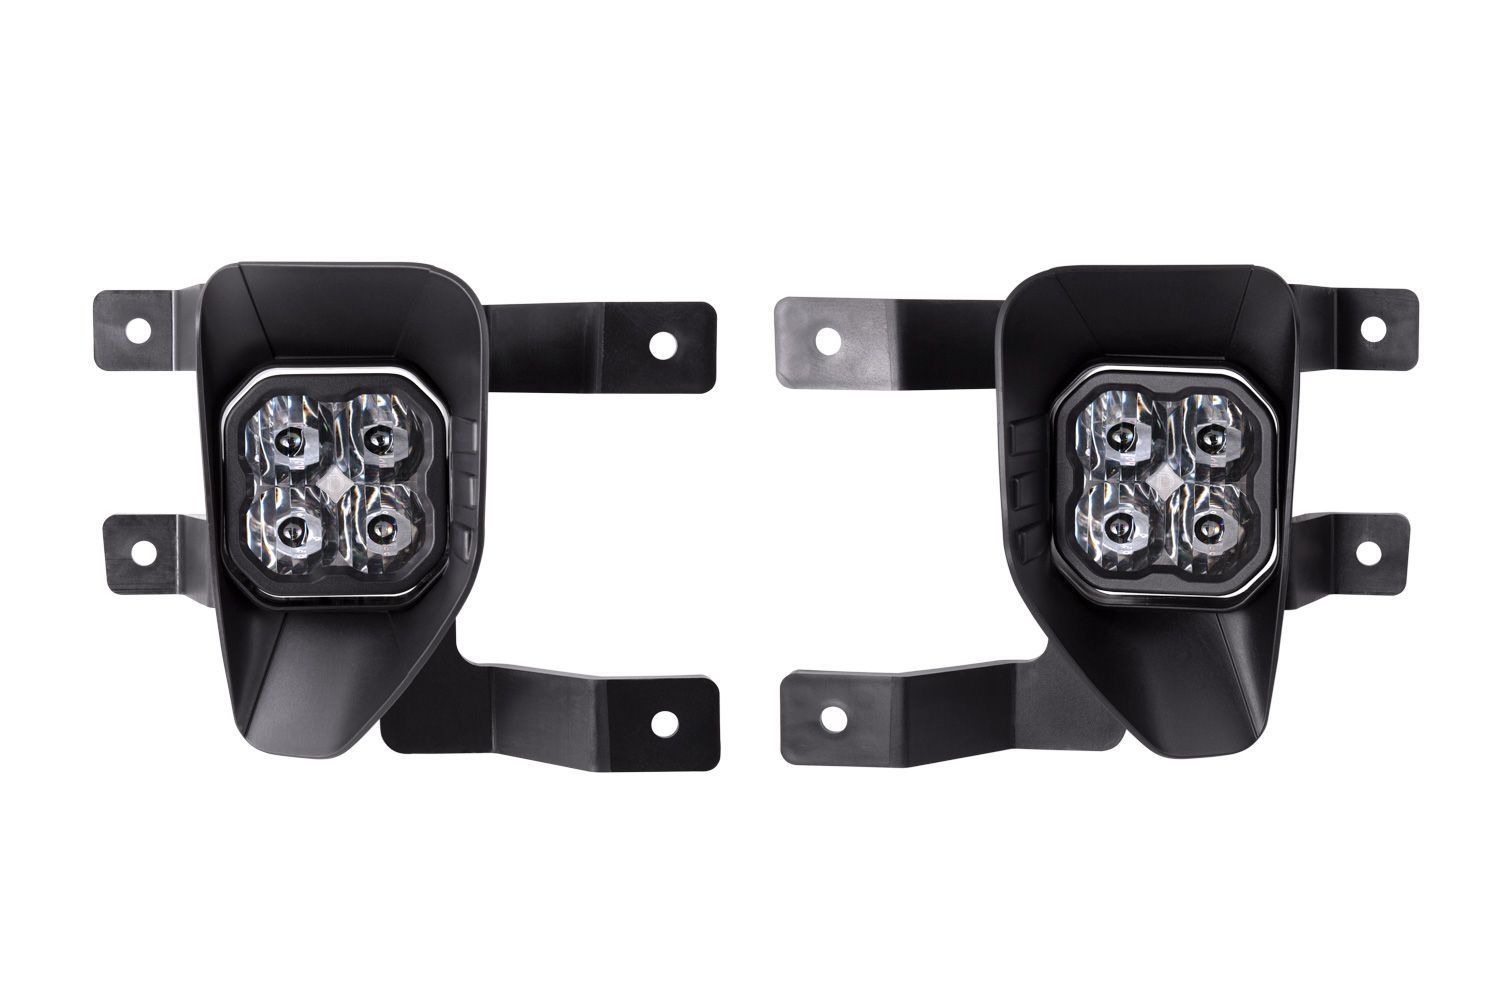
The Diode Dynamics SS3 SAE/DOT Type SV1 Fog Light Kit is CAD-designed to use existing mounting points and is compatible with the 2016–2018 Chevy Silverado 1500 and 2019 Chevy Silverado 1500 LD. This guide walks through bracket assembly, installation, wiring, and proper aiming of your new SS3 fog lights.
Table of Contents
- Installation Tools
- Installation Instructions
- Aiming Instructions
- Questions About the Installation?
- Where Can I Buy the SS3 SAE/DOT Type SV1 Fog Light Kit?
Installation Tools
- 7mm socket
- Ratchet
- 5/32” Allen key
- Wire strippers/crimpers (if tapping a circuit for backlight power)
Time Required: Approximately 1–2 hours.
Installation Instructions
Step 1 – Assemble bracket to pod
Install the supplied nuts into the pod housing with the nylon facing inward. Attach the bracket to the pod using the supplied screws and washers. Ensure the bracket is in the correct orientation (TOP and BOTTOM as shown in the guide).
Tighten the screws so the pod retains its position but can pivot with force for aiming.
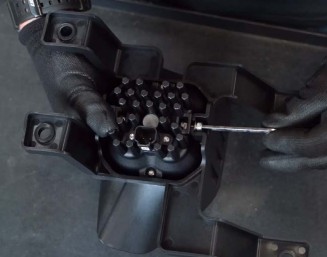
Step 2 – Disconnect factory fog light connector
Access your factory fog lights and unplug the fog lamp connector.
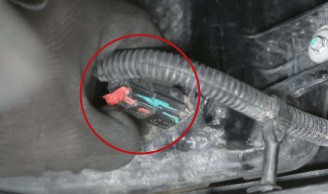
Step 3 – Remove factory fog light housing
Use a 7mm socket and ratchet to remove the four bolts holding the factory fog light housing in place. Remove the factory fog light housing. The factory bolts will be reused.
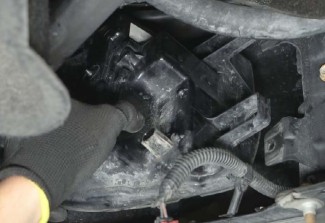
Step 4 – Install SS3 bracket and pod assembly
Install your assembled bracket and pod onto the vehicle by securing the four original bolts with a 7mm socket and ratchet.
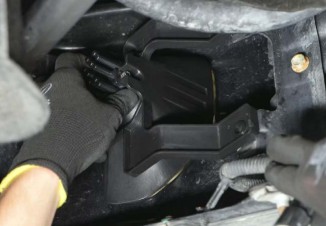
Step 5 – Connect wiring
Plug the SS3 into the factory fog light harness using the included Molex wire adapter.
If equipped with backlight functionality, connect the included 2-pin to 4-pin adapter wire in-line between the pod and the DT 2-pin wire adapter. Then connect the backlight power wire to a fused 12V source to trigger the backlight feature (commonly parking light or sidemarker circuit). T-Taps are included for this purpose.
NOTE: Power source must be fused. Do not connect directly to vehicle battery.
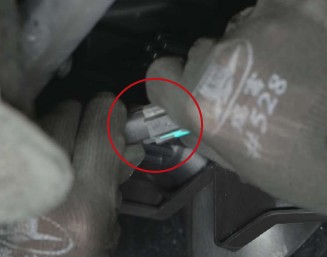
Step 6 – Repeat on opposite side
Repeat the steps on the other side of the vehicle.
Aiming Instructions
Step 7 – Position vehicle
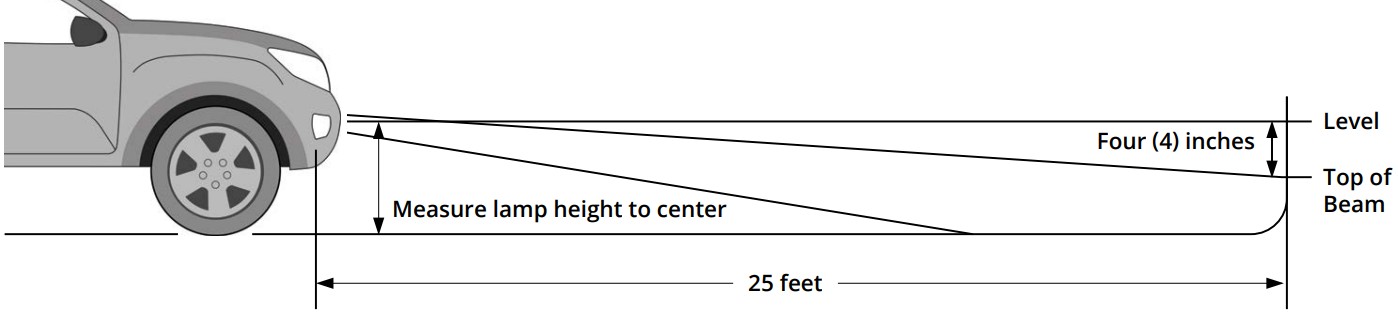
Park your vehicle 25 feet away from a wall or garage door on a level surface.
Step 8 – Loosen adjustment bolts
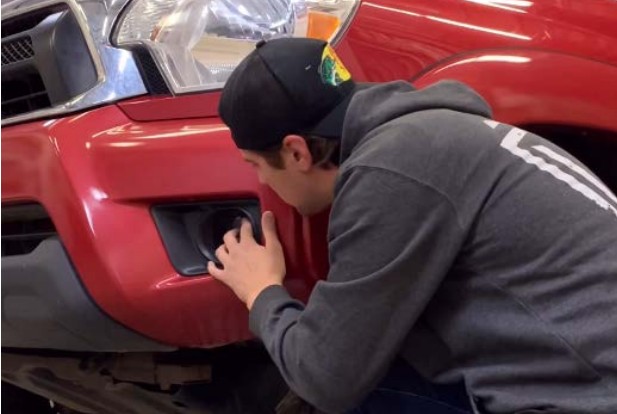
Loosen the 5/32” Allen bolts on each side of your SS3 pod just enough to allow adjustment.
Step 9 – Measure mounting height
Measure the distance between the ground and the center of your SS3 pod. This is your mounting height.
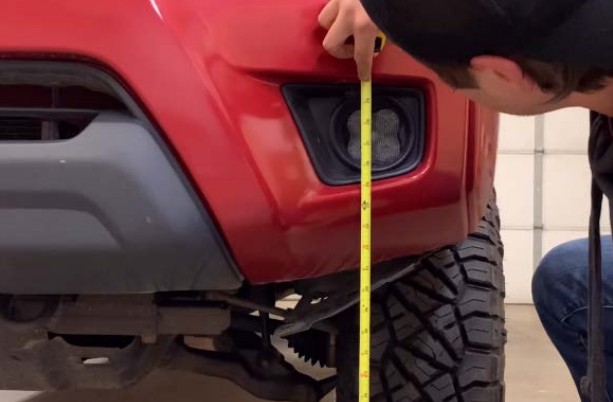
Step 10 – Mark cutoff line
Mark the mounting height on the wall using tape. Add another piece of tape four inches below the mounting height. This is your fog light cutoff line.
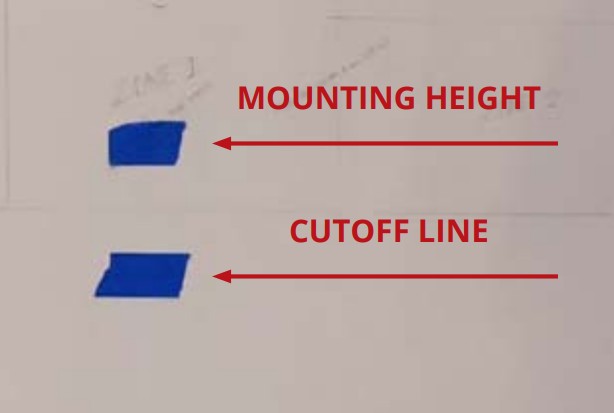
Step 11 – Aim the pods
Aim your SS3 pods on each side so that the top of the beam pattern is on the cutoff line mark.
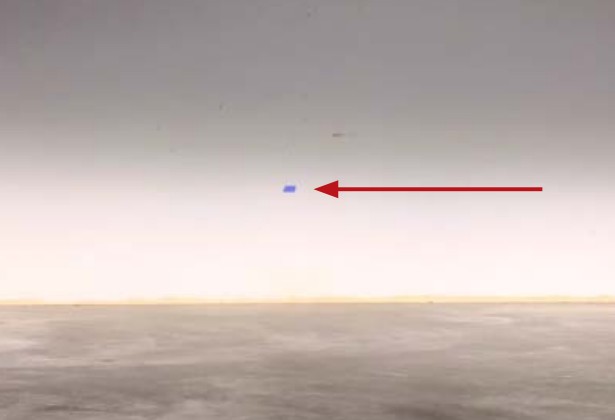
Step 12 – Tighten hardware
Tighten the 5/32” Allen bolts back down to complete the installation. Do not overtighten or use power tools to torque them down.
Questions About the Installation?
If you have any questions about installing the SS3 SAE/DOT Type SV1 Fog Light Kit , contact us via our support page.
Where Can I Buy the SS3 SAE/DOT Type SV1 Fog Light Kit?
If you're ready to upgrade with the SS3 SAE/DOT Type SV1 Fog Light Kit, visit DiodeDynamics.com or use our Dealer Locator to find a dealer near you.
This Installation Guide is for the following SKUs: DD7109, DD7110, DD7112, DD7113, DD7114, DD7116, DD7117, DD7118