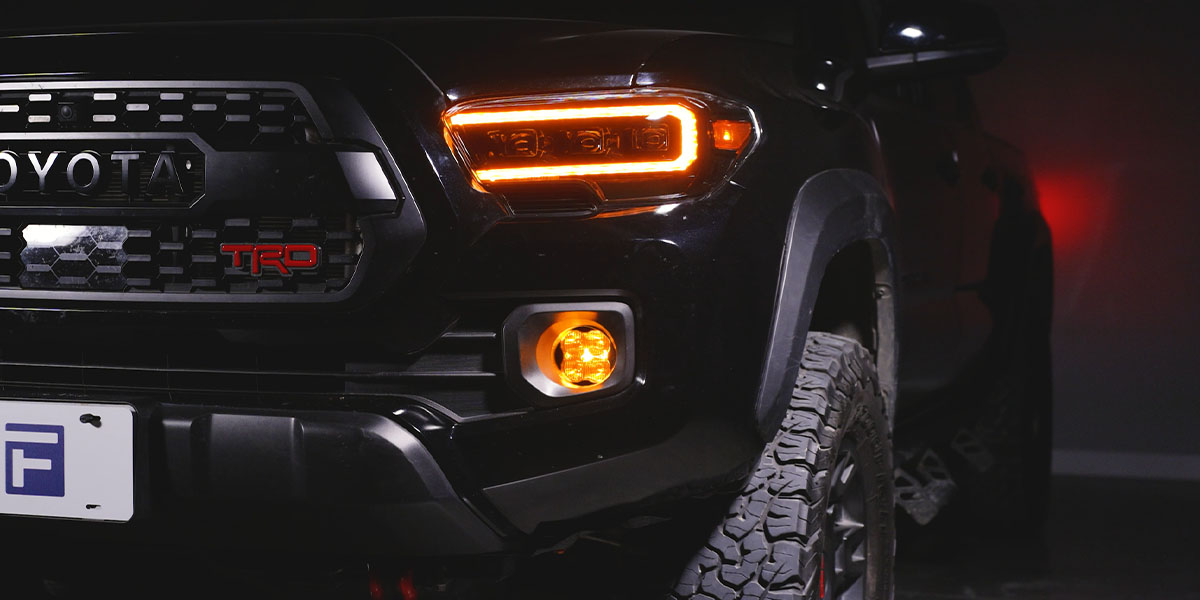
Form Lighting's Selectable DRL LED Headlights are the perfect upgrade for the 2016-2023 Toyota Tacoma. These headlights feature a sleek design with projector-based optics, sequential turn signals, and selectable white or amber daytime running lights (DRLs) for a truly modern look.
The following installation guide will provide you with detailed instructions on how to install Form Lighting's LED headlights for the 2016-2023 Toyota Tacoma. Watch our installation video, or continue reading for installation instructions below!
Table of Contents
Installation Video
Tools Required
- Trim Removal Tool
- 10mm Socket
- Phillips Head Screwdriver
- Pliers
- Fuse Puller (included in Tacoma’s fuse box)
Installation Instructions
Step 1 - Remove the Grille
Start by opening the hood and using a trim removal tool to remove two clips on either side of the grille. Then, use a 10mm socket to remove two bolts from the center of the grille.
Next, use a pair of pliers to squeeze the two tabs holding the sensor connector at the top of the grille and disconnect the wiring harness. Once disconnected, remove the grille from the vehicle.
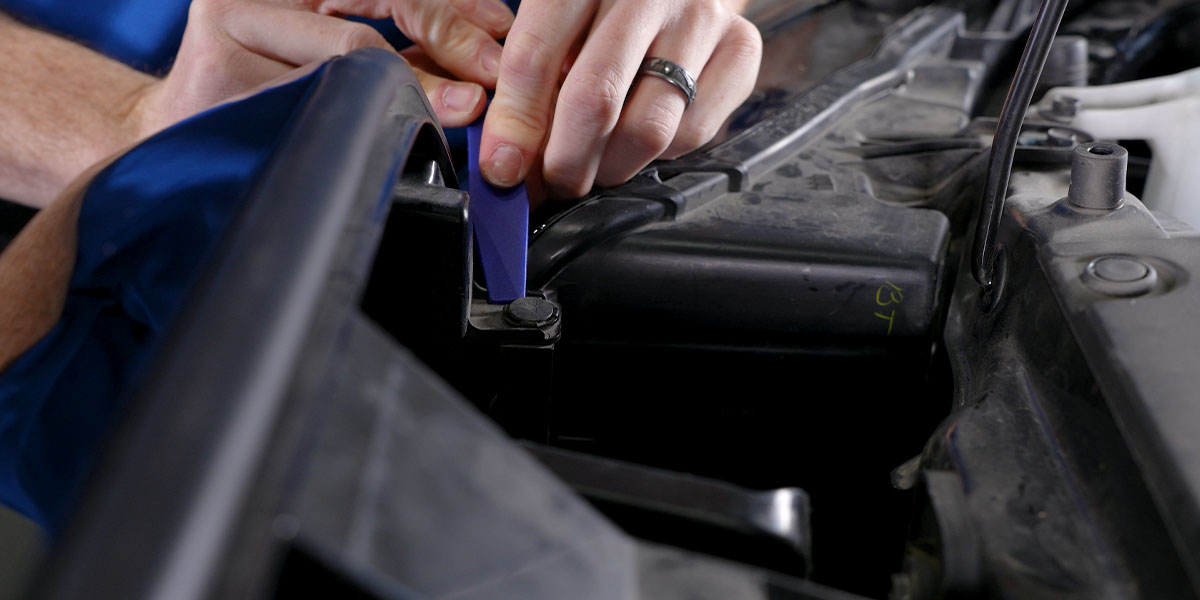
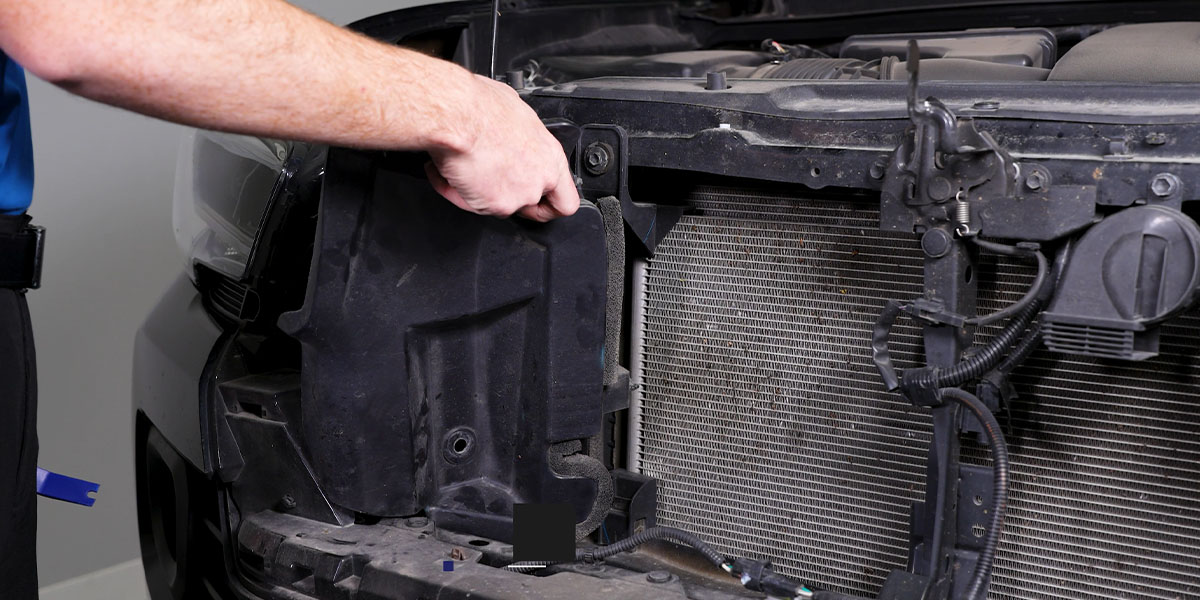
Step 2 - Remove the Air Deflector
Remove the plastic air deflector by taking out the single clip in the middle with a trim removal tool. Pull the cover away and rotate it out of place. Repeat on the other side.
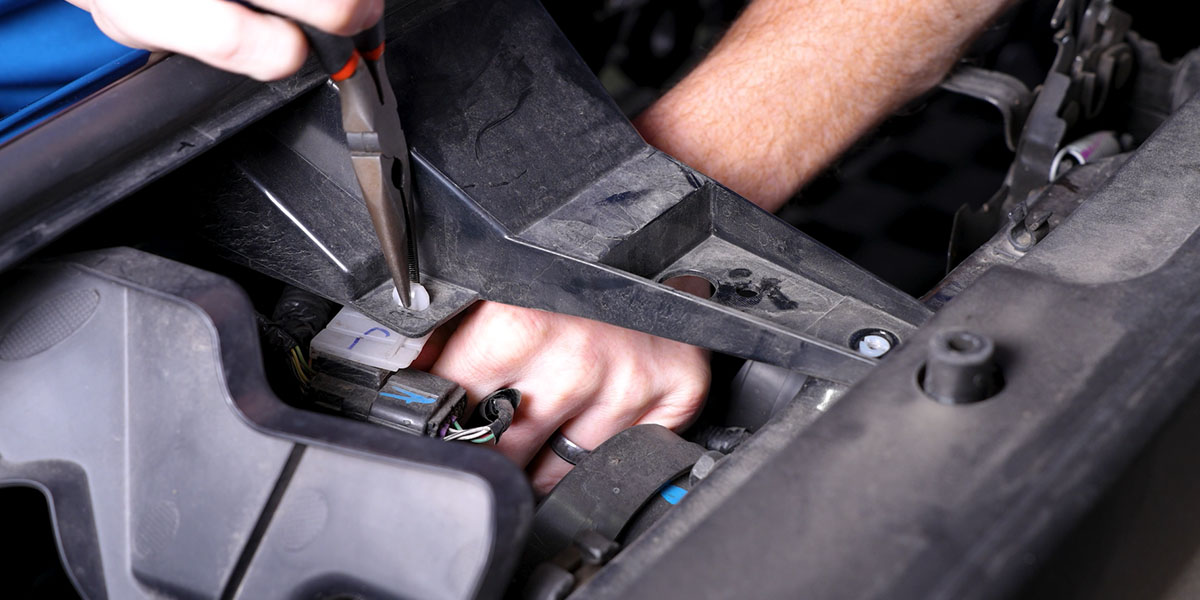
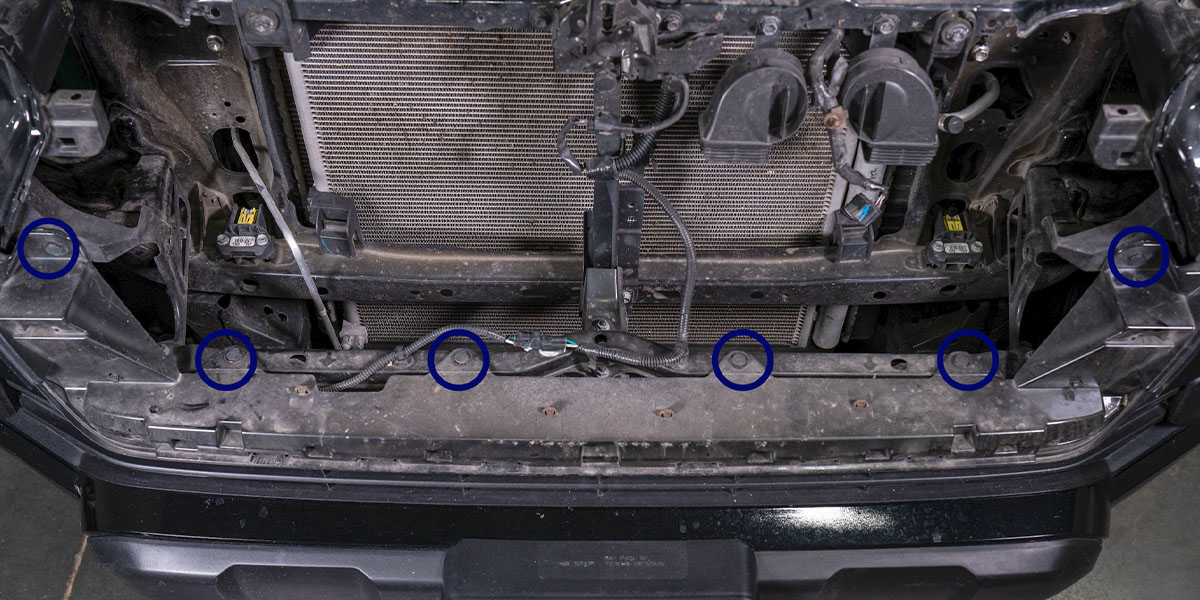
Step 3 - Remove the Bumper
Using a trim removal tool, remove six plastic clips securing the bumper—four at the front of the radiator and one under each headlamp.
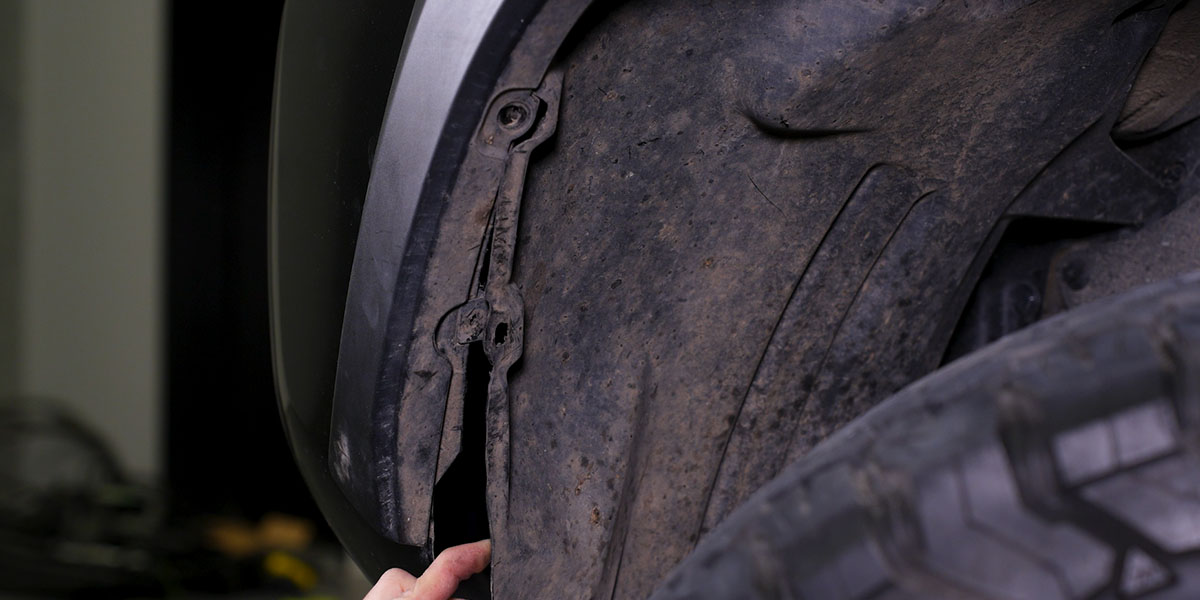
Turn the wheel for better access, then remove one 10mm bolt and a plastic clip securing the fender liner. Underneath the vehicle, remove two more bolts with a 10mm ratchet.
Peel back the fender liner slightly, then loosen the fender flare by pulling outward and releasing two tabs. Pop the tab over the bumper and carefully separate the bumper from the vehicle.
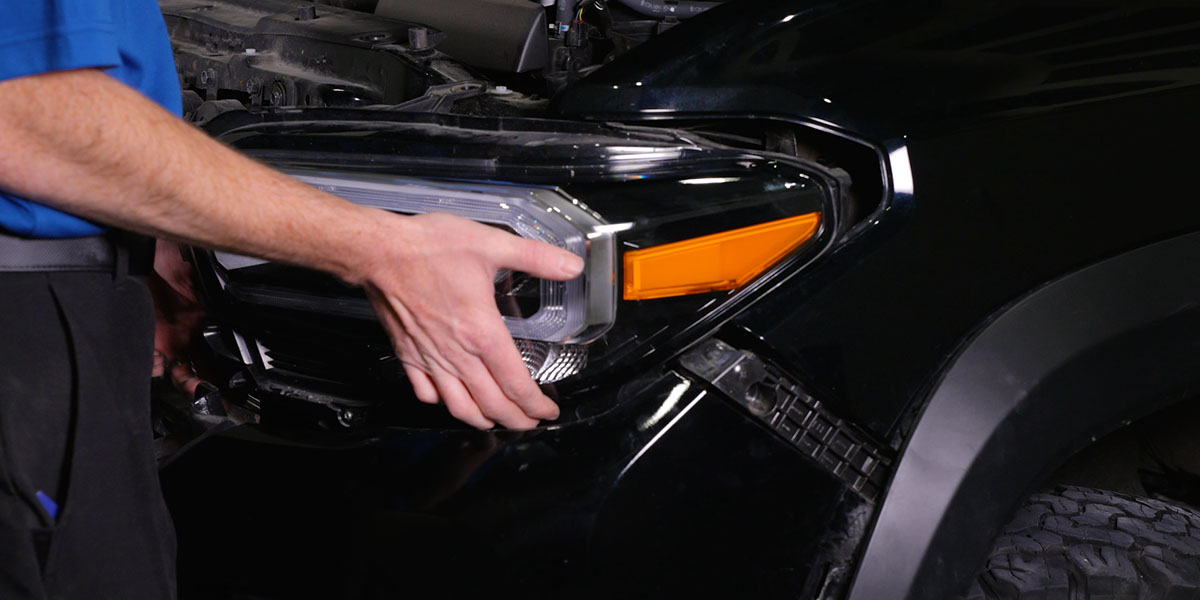
Step 4 - Remove the Headlight
Disconnect the headlight by pressing the tab on the connector. Remove one 10mm bolt at the bottom of the headlight and two more on the top. Pop the two tabs at the top and shift the headlamp toward the center of the vehicle to clear the side tab.
Step 5 - Transfer the Trim Piece
Use a Phillips head screwdriver to remove two screws securing the trim piece to the headlight. Transfer this piece to the new Form Lighting LED headlight.
![]()
Step 6 - Connect the Wiring
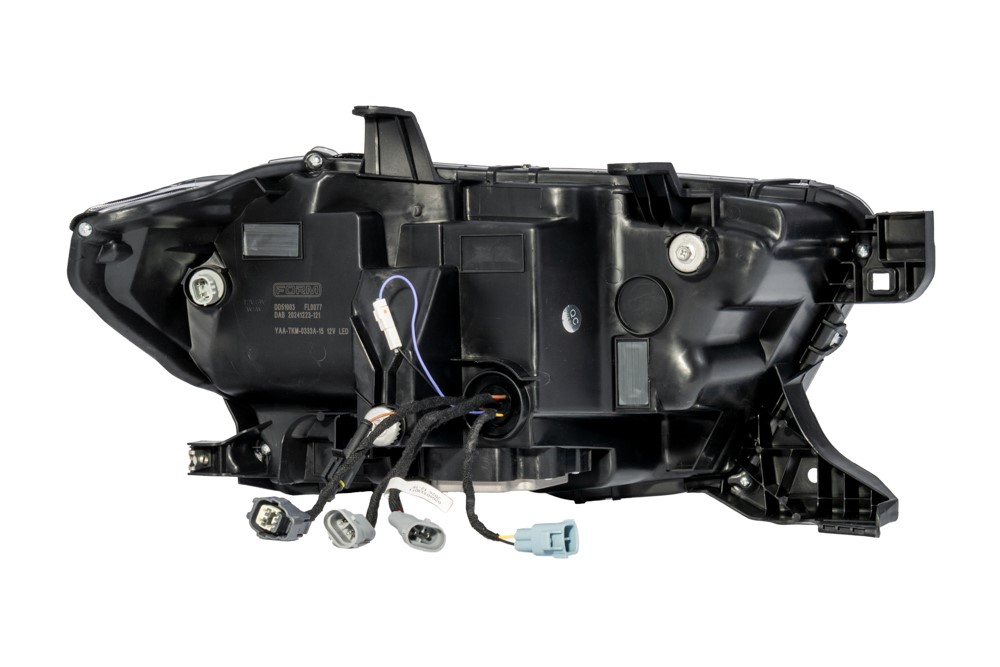
If your Tacoma has halogen headlights, use the provided adapter and connect the two corresponding connectors. For OEM LED headlights, use the LED adapter:
- Connect the dark gray connector from the adapter to the headlight.
- Take the blue connector on the headlamp and connect it to the gray adapter connector.
- Plug the black connector with red wires into the high beam connector.
- Plug the black connector with brown wires into the low beam connector.
- Connect the small side marker plug from the adapter to the lamp.
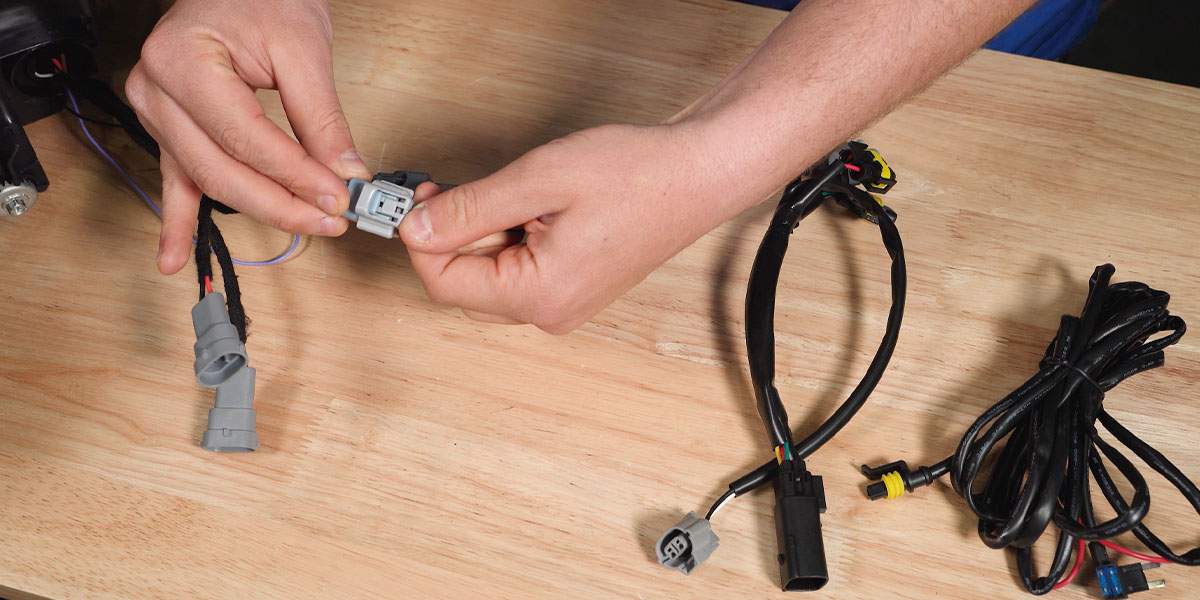
For DRL selection, disconnect the small white connector on the back of the lamp for amber, or leave it connected for white.
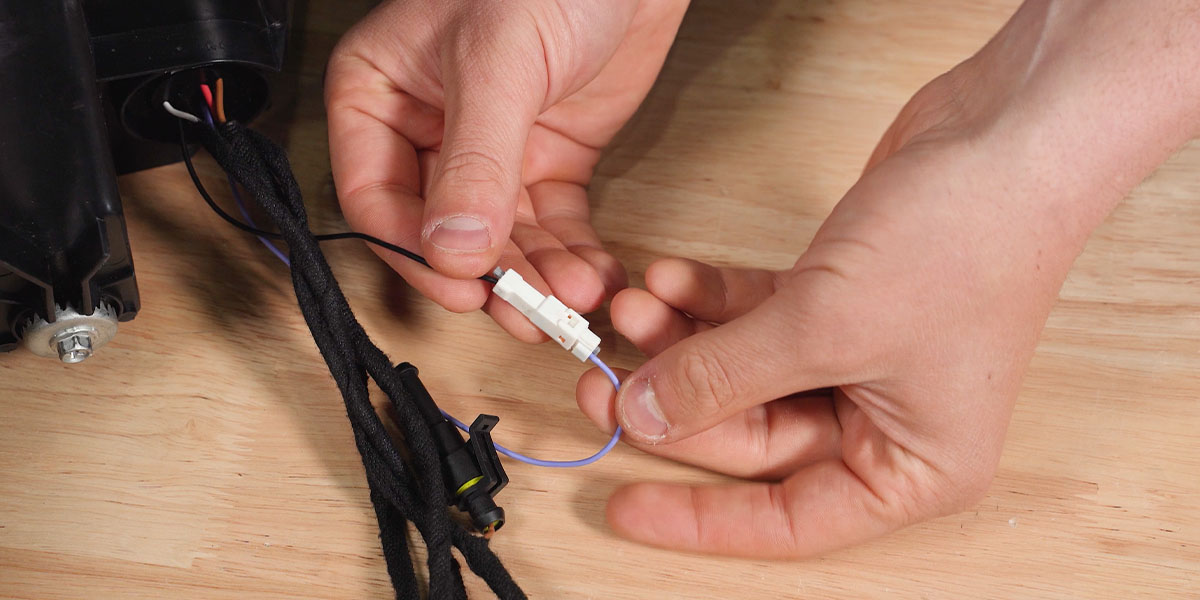
*Note: If you purchased the amber-only or white-only DRL version of these headlights, the DRL selection step does not apply. Your DRL color is preset and does not require any additional configuration.
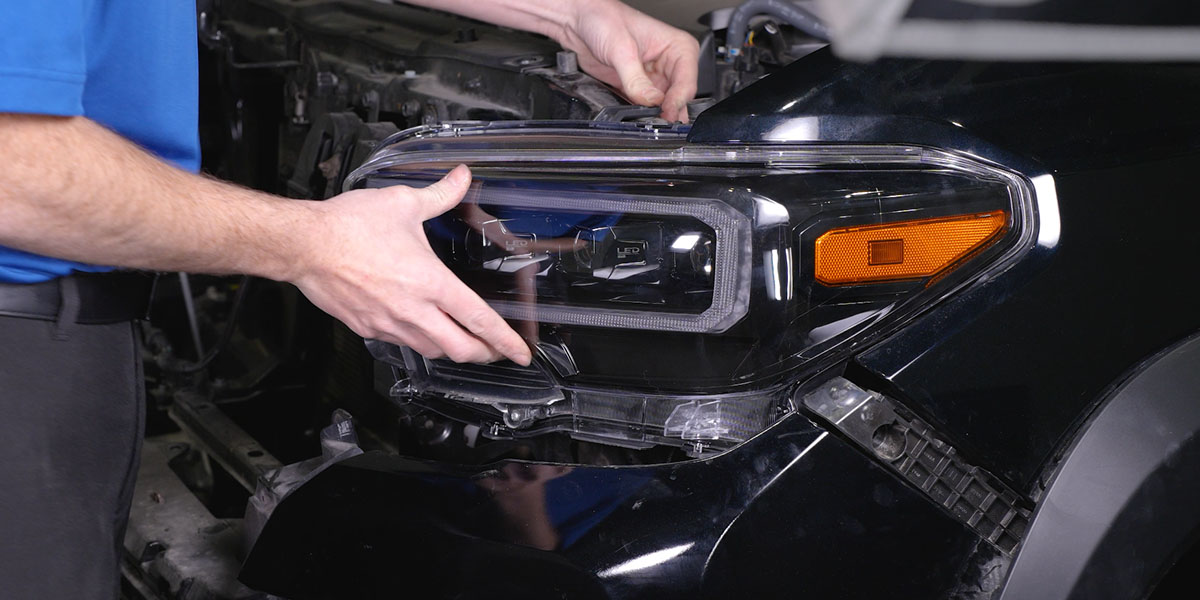
Step 7 - Install the Headlights
Connect the LED adapter to the vehicle, then align and secure the new Form Lighting LED headlamp. Test for proper function before securing the bolts.
Step 8 - Optional: Add-A-Fuse Harness
If your Tacoma has halogen headlights and you want independent DRLs, install the add-a-fuse harness:
- Disconnect the brown wire from both lamps.
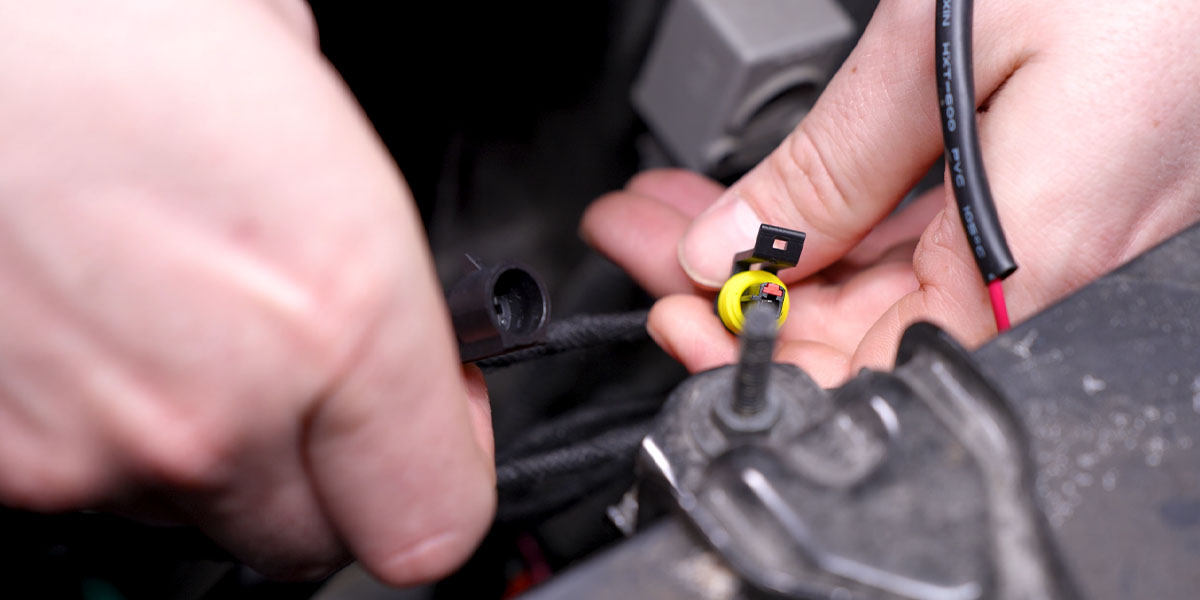
- Plug in the add-a-fuse harness connectors.
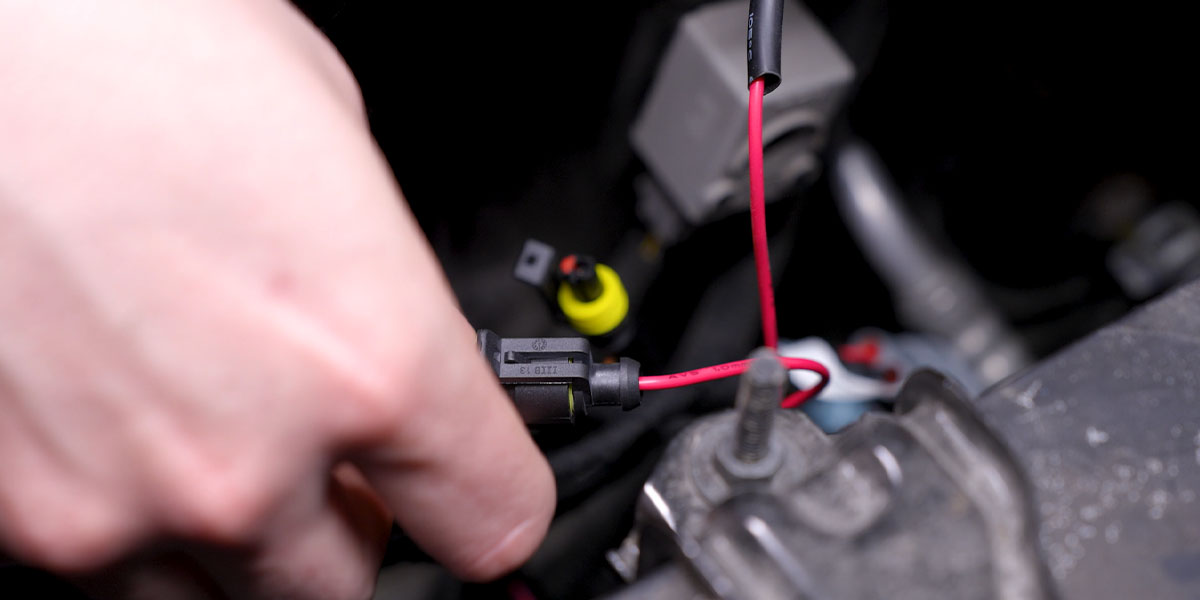
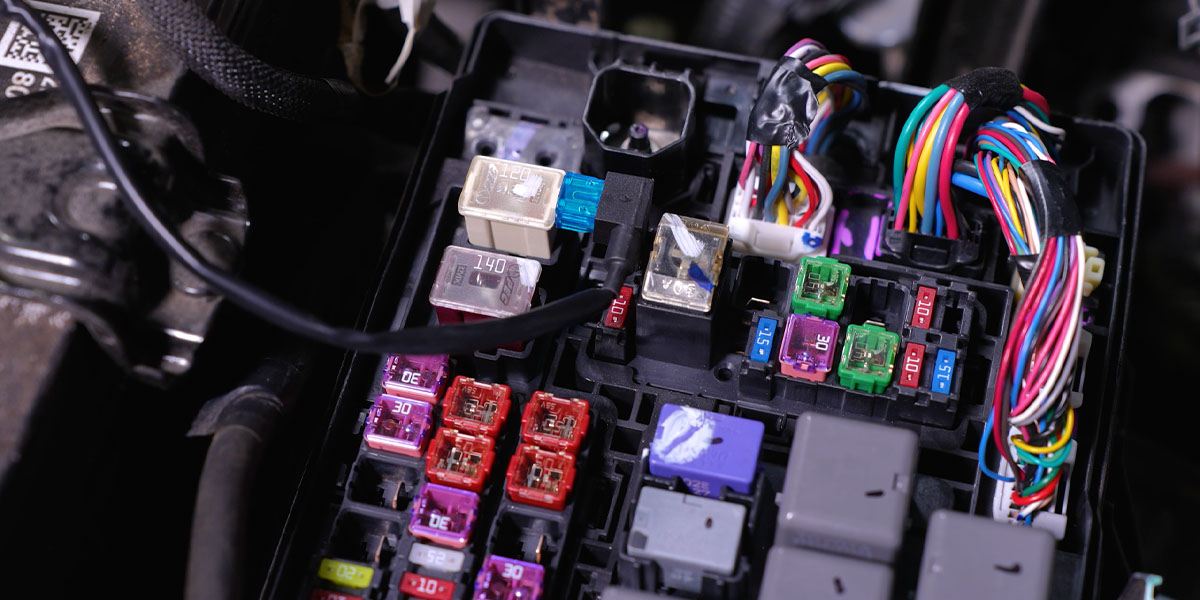
- Use the fuse puller to remove the 10A fuse labeled "INJ" in the fuse box.
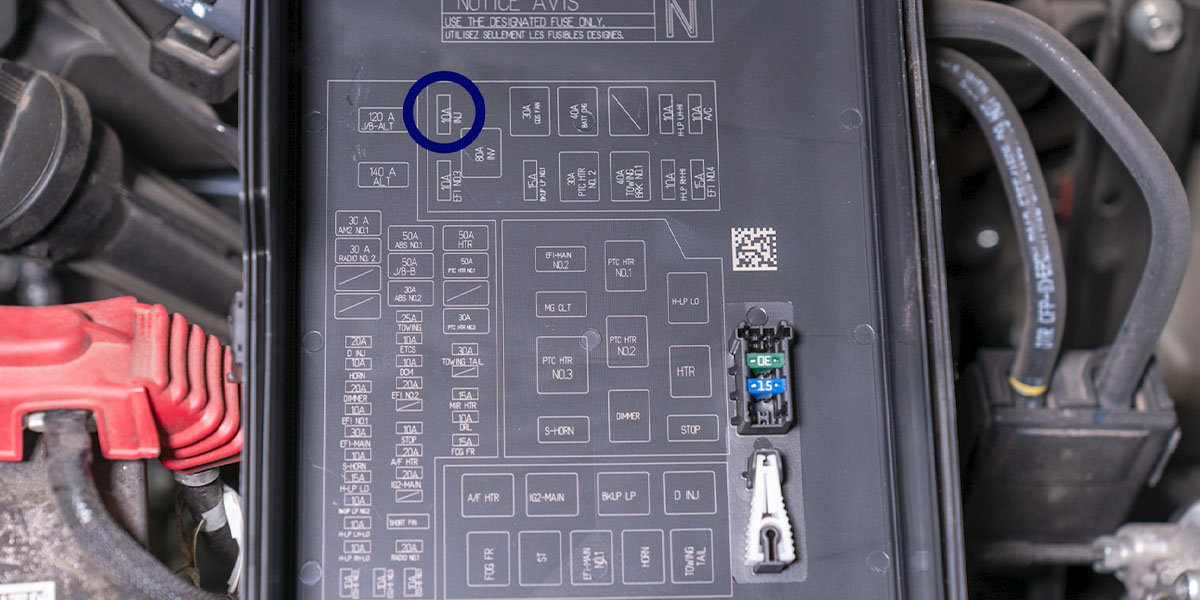
- Insert the add-a-fuse harness in place of the removed fuse.
- Secure excess wiring away from hot or moving parts.

Note: Even with the fuse tap installed, the headlight stalk must be set to the OFF position for the true DRL function to operate. On some Tacoma models, the DRL stalk position activates the factory static amber signal.
Step 9 - Reassemble the Vehicle
With everything tested and working, reinstall the bumper, grille, and all clips and fasteners in reverse order.
Step 9 - Final Aiming
Using a Phillips head screwdriver, turn the integrated adjustment screws to adjust your headlight's beam pattern and make your final aiming adjustments.
For a more detailed description of how to aim your headlights, refer to our blog - How To: Aim Your LED Headlights.
The installation is now complete. Enjoy your new 2016-2023 Toyota Tacoma LED Headlights!
Questions About the Installation?
If you have any questions or issues installing Form Lighting’s LED Headlights for the 2016-2023 Toyota Tacoma, please contact us for further assistance.
Where Can I Buy Form Lighting 2016-2023 Toyota Tacoma LED Headlights?
If you’re ready to upgrade your 2016-2023 Toyota Tacoma with Form Lighting Selectable DRL LED Headlights, you can purchase them by clicking here or using our dealer locator to find a dealer near you.
Want to know more about Form Lighting products? Visit formlights.com and subscribe to our newsletter for new product releases and more!
This Installation Guide is for the following SKUs: FL0001, FL0076
