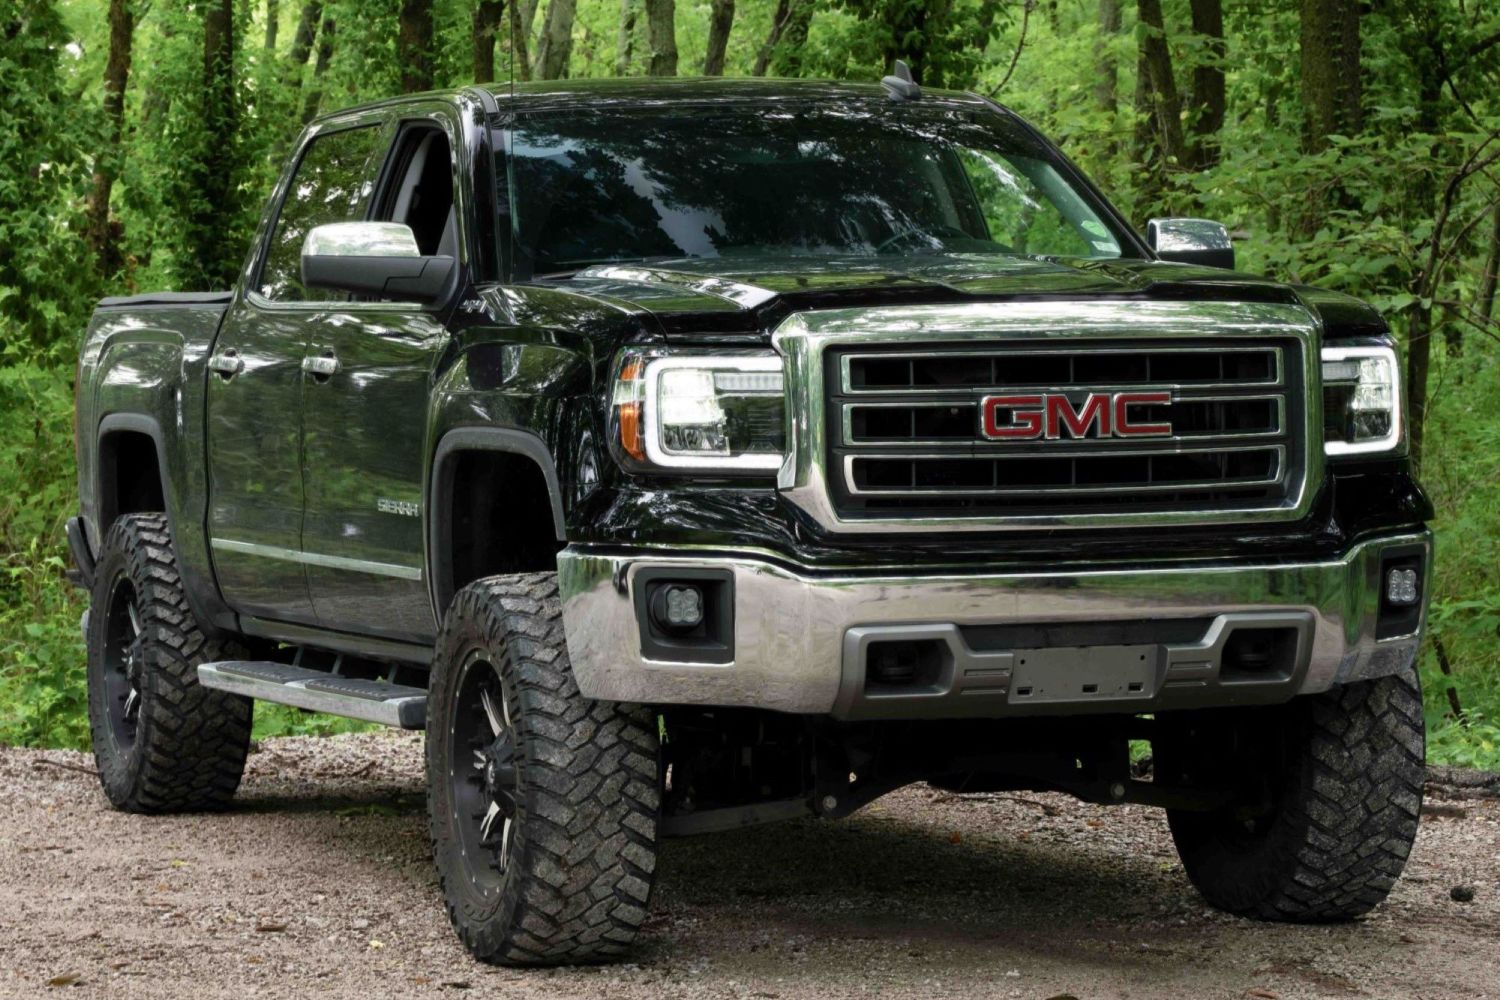
Form Lighting's LED Projector and Reflector Headlights are the perfect upgrade for the 2014-2018 GMC Sierra 1500 and 2015-2019 GMC Sierra 2500/3500. These OEM-grade LED headlights are packed with modern features including full-LED output, a sequential turn signal, and a unique startup sequence!
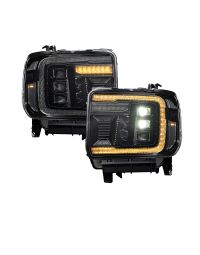
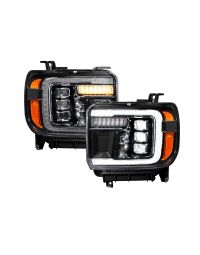
The LED projector headlights are available in two different styles. The White DRL option is inspired by the late-model Sierra styling with chrome accents and an amber sidemarker, giving your truck a serious upgrade in performance while retaining that OEM style. The Amber DRL option features a blacked-out appearance with smoked turn signals, DRL, and sidemarker lenses for an ultra-premium look.
The following installation guide will provide you with detailed instructions on how to install Form Lighting's LED Headlights on the 2014-2018 GMC Sierra 1500 and the 2015-2019 GMC Sierra 2500/3500. Check out the installation video and continue reading for step-by-step instructions below!
Table of Contents
Installation Video
Installation Tools
- Plastic Trim Removal Tool
- Ratchet
- Extension Socket
- 7mm Socket
- 10mm Socket
- T10 Torx Bit
- T15 Torx Bit
- Phillips Head Screwdriver
- Needle Nose Pliers
Installation Instructions
Step 1 - Remove Grille Clips
Begin the installation by opening the hood. Then, use the plastic trim removal tool to remove the twelve (12) clips from the plastic grille cover.
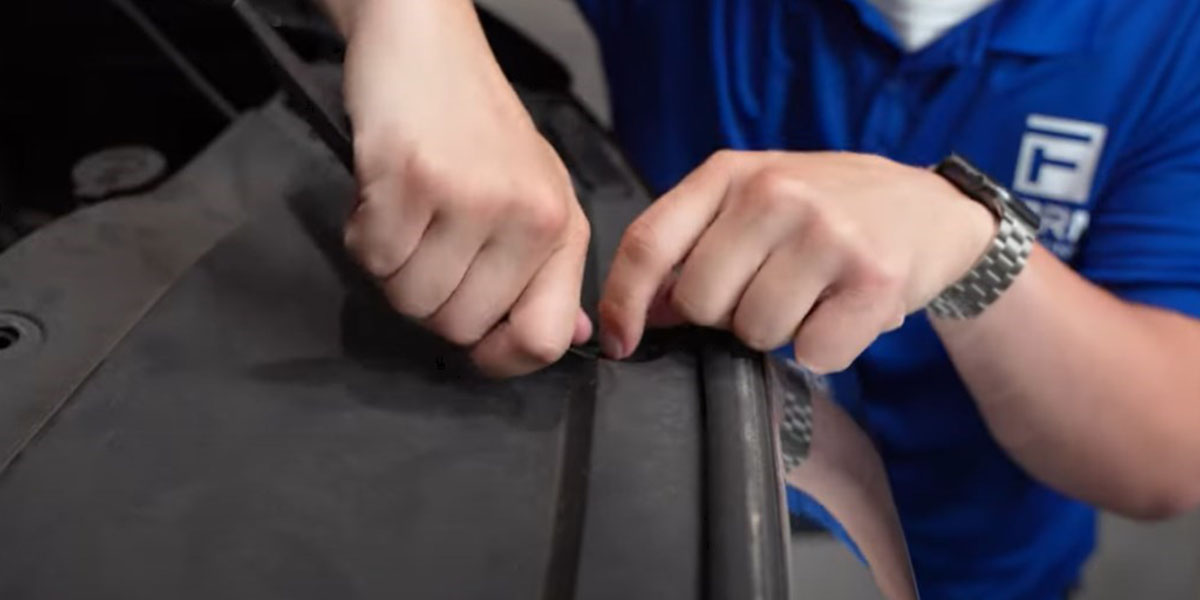
Then remove the plastic grille cover.

Step 2 - Remove Grille Bolts
Use a 10mm socket to remove the four bolts from the top of the grille.
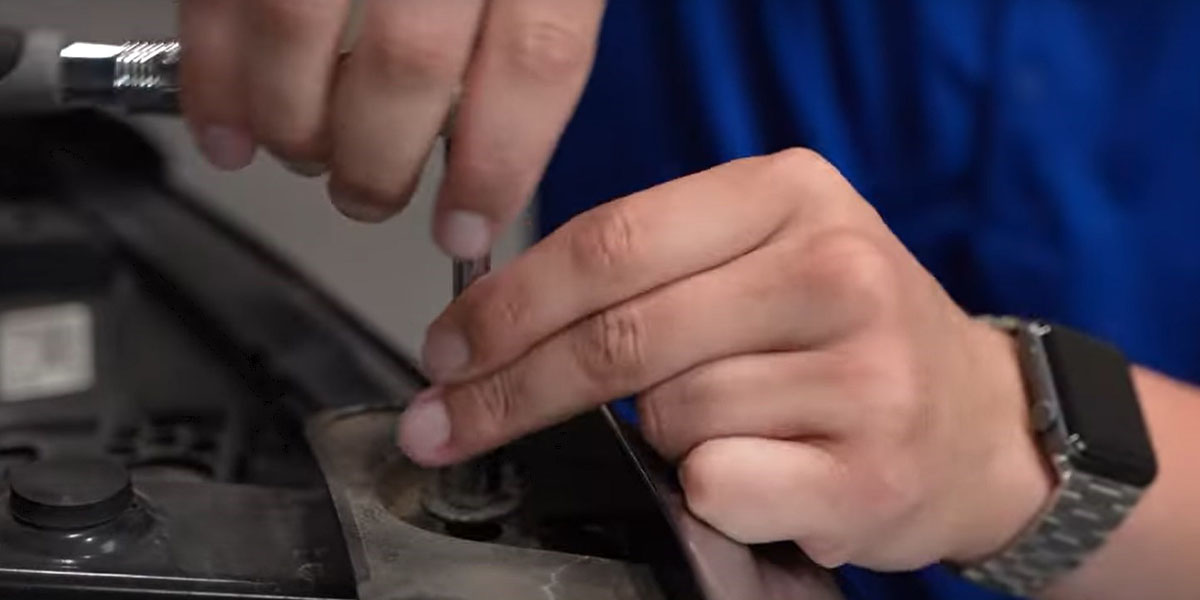
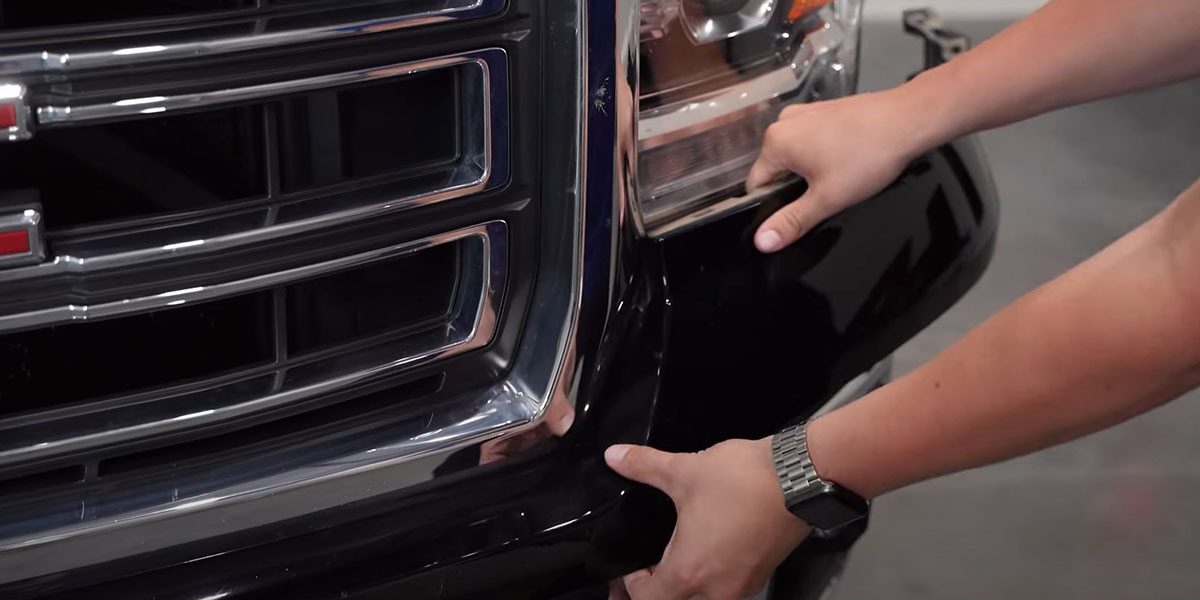
Step 3 - Remove Outer Fender Bolt
On the driver's side of the vehicle, use a 7mm socket to remove the outer fender bolt as shown below.
Then, grab the fender and pull it towards you until the retaining clip holding it in place pops loose.
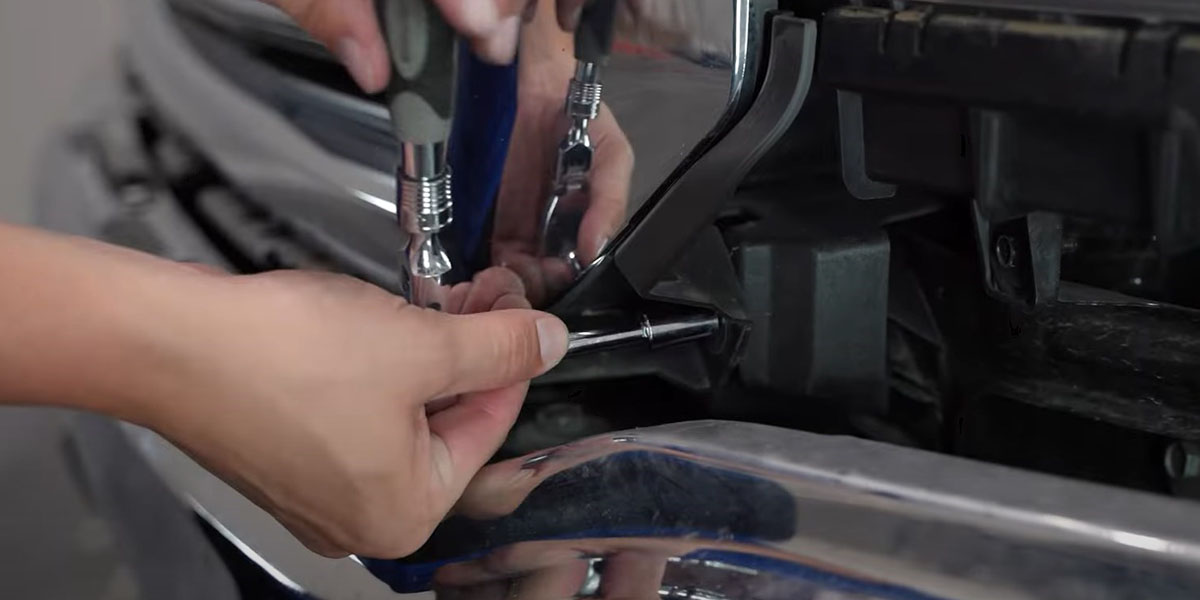
Step 4 - Remove Inner Fender Bolt
Using the extension socket and the 7mm socket, remove the inner fender bolt as shown below.
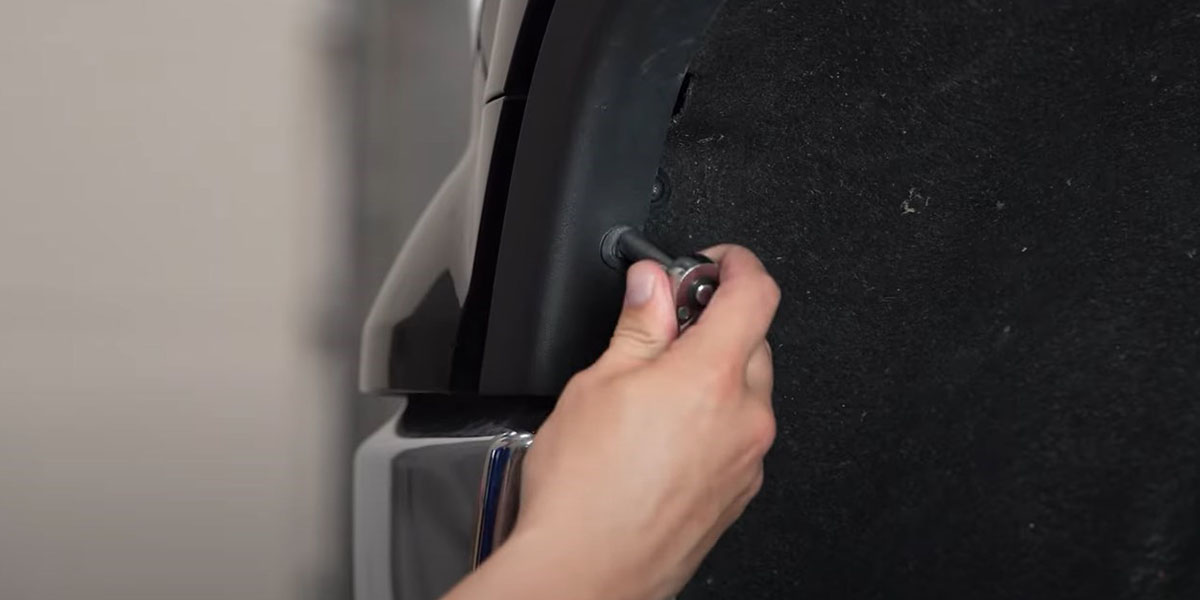
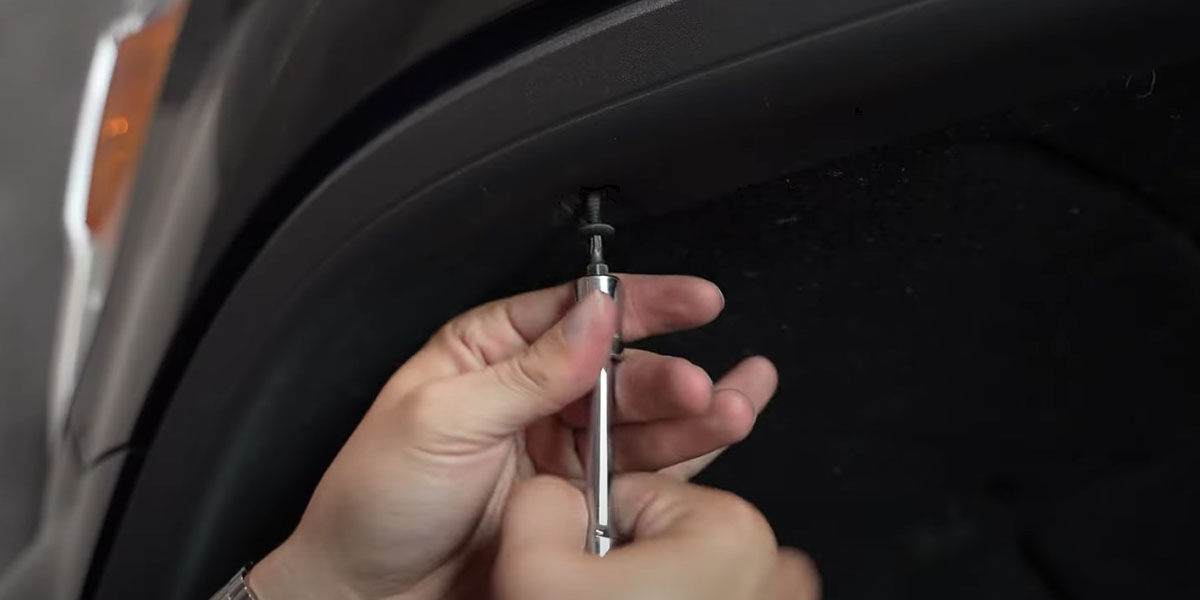
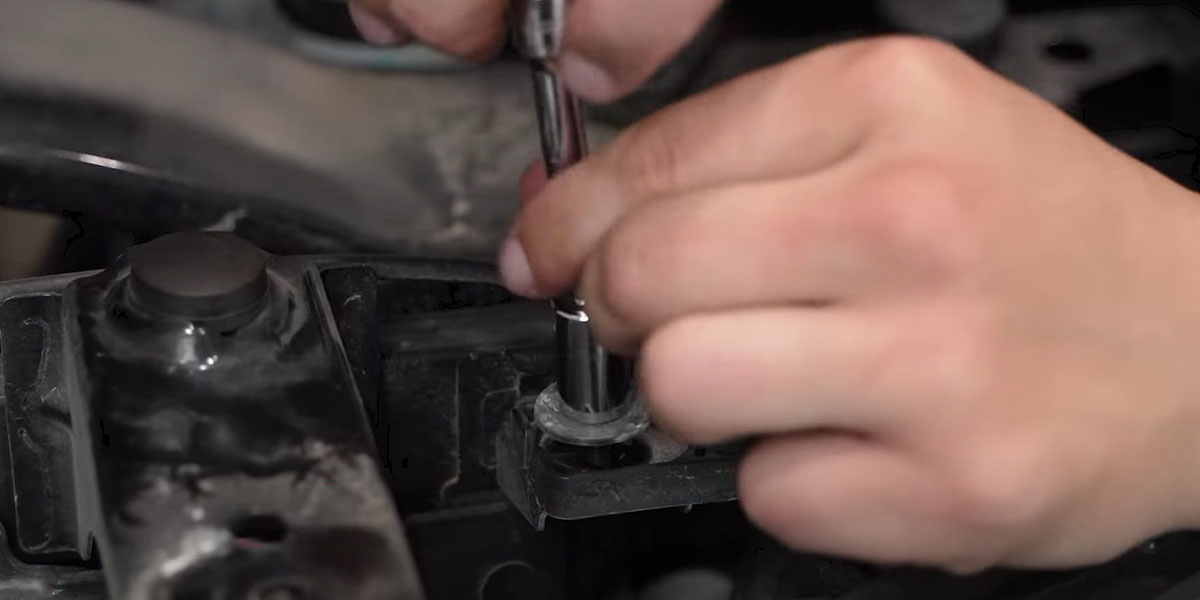
Step 5 - Remove T15 Torx Screw
Using the T15 Torx bit, remove the T15 screw on the underside of the fender as shown below.
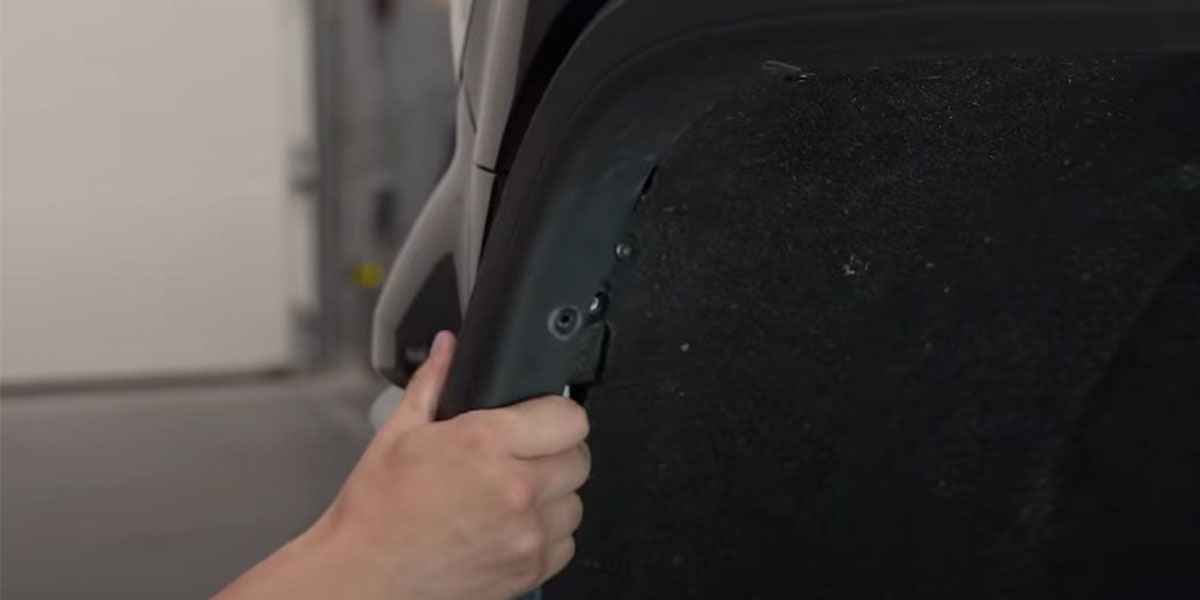
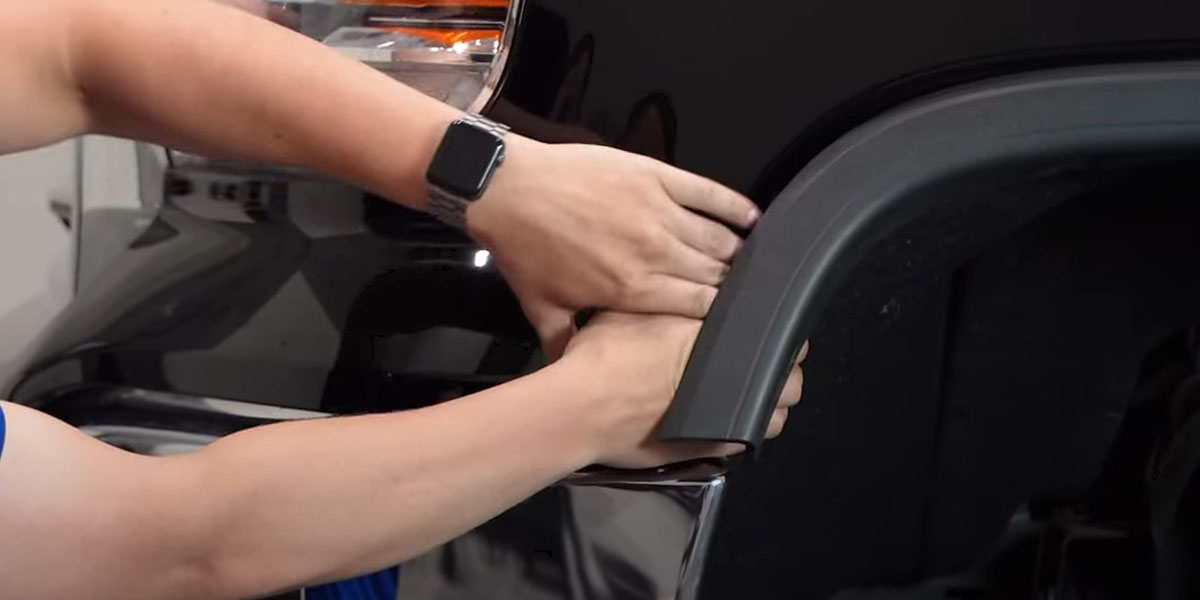
Step 6 - Loosen Bumper Valance
Reaching under the plastic fender, grab the edge of the bumper valance and start to pull it away from the vehicle as shown below. Then repeat Steps 1-6 on the passenger side of the vehicle.
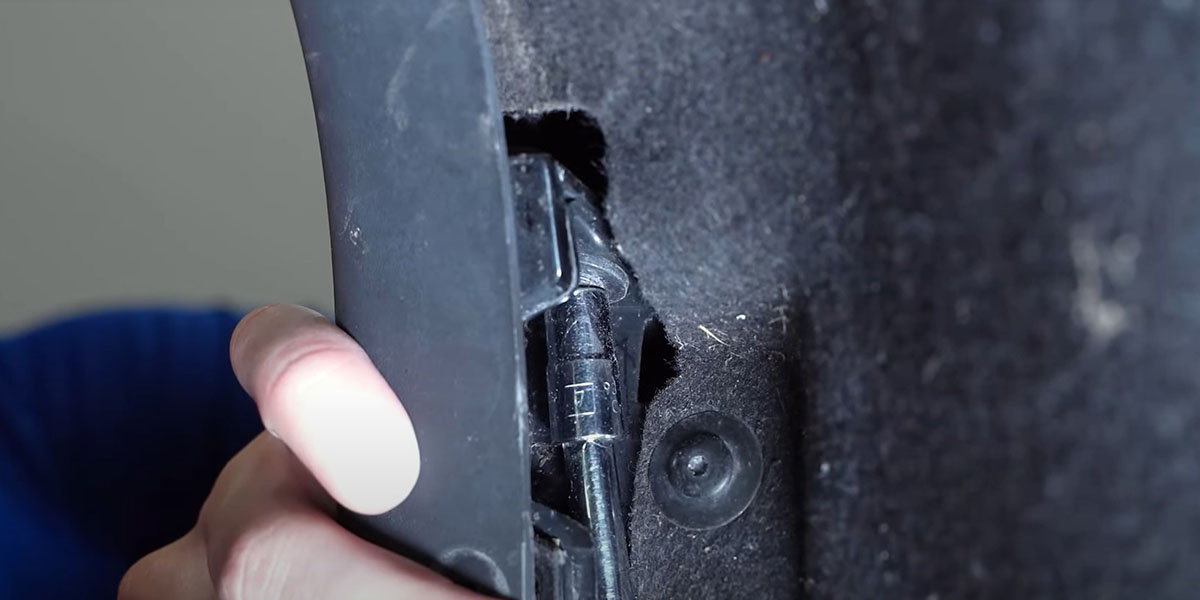
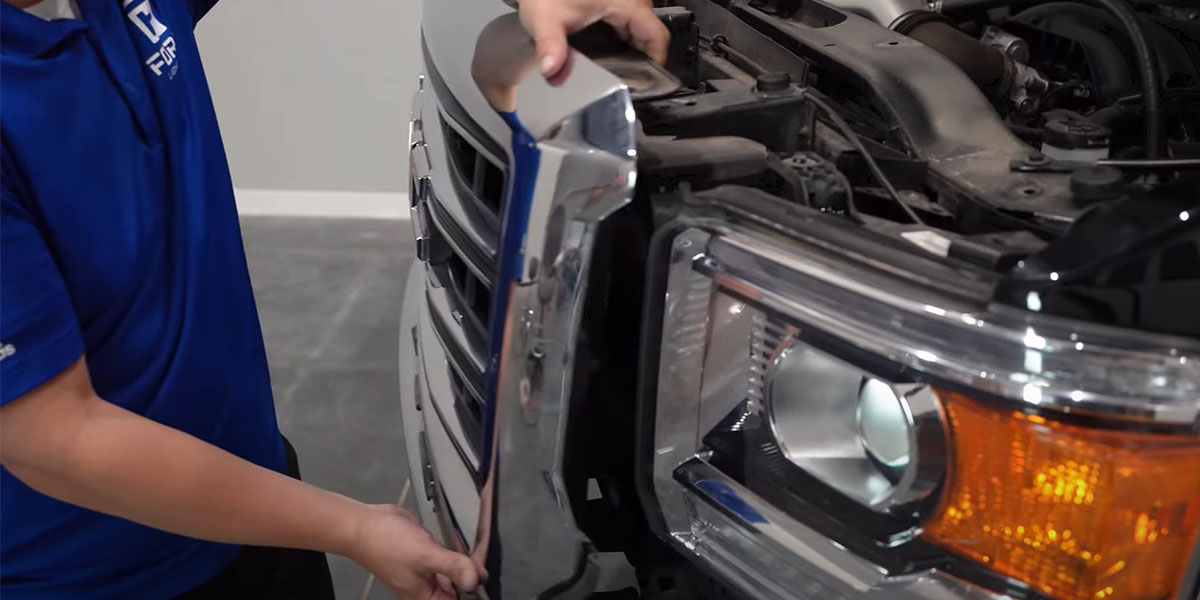
Step 7 - Remove Bumper Valance
Remove the bumper valance by prying it away from the vehicle working from the outside in. Some of the retention clips may be tight and require additional force to release them.
Step 8 - Remove Grille Bolts
Use a 10mm socket to remove the four 10mm bolts along the bottom of the grille.
Step 9 - Remove Grille
Using one hand, grab the metal tabs where the 10mm bolts were removed in Step 2. With your other hand, grab the bottom of the grille and pull up and away from the vehicle, working from one side to the other.
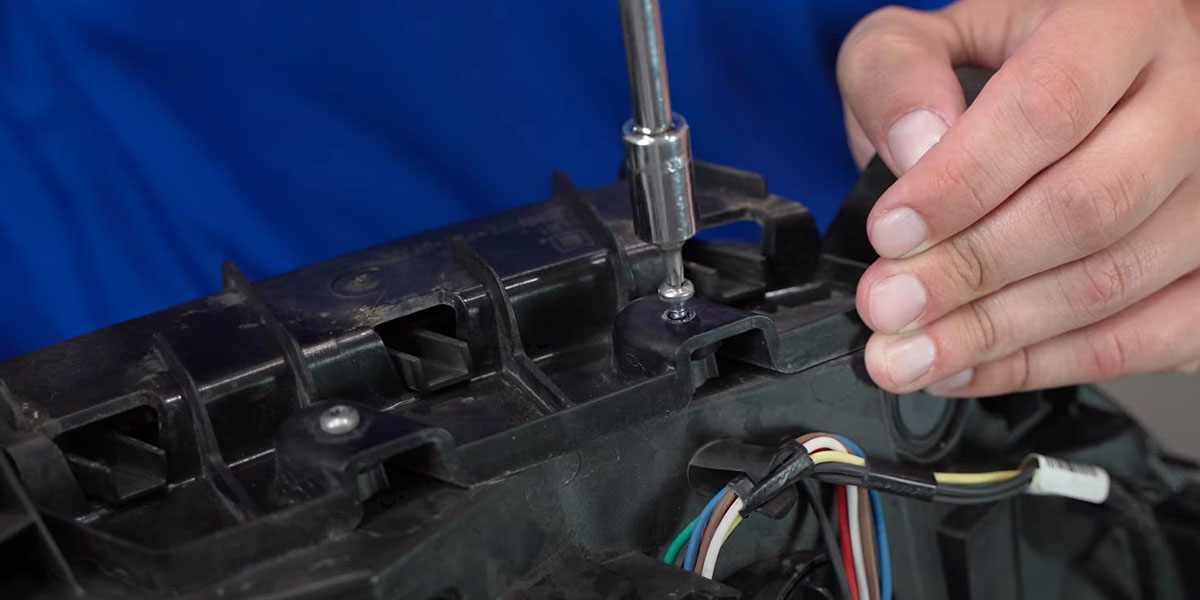
Step 10 - Remove Factory Headlight Bolts
With the grille removed from the vehicle, remove the two 10mm bolts from the top of the factory headlight.
Then, remove the two 10mm bolts from the bottom of the factory headlight.
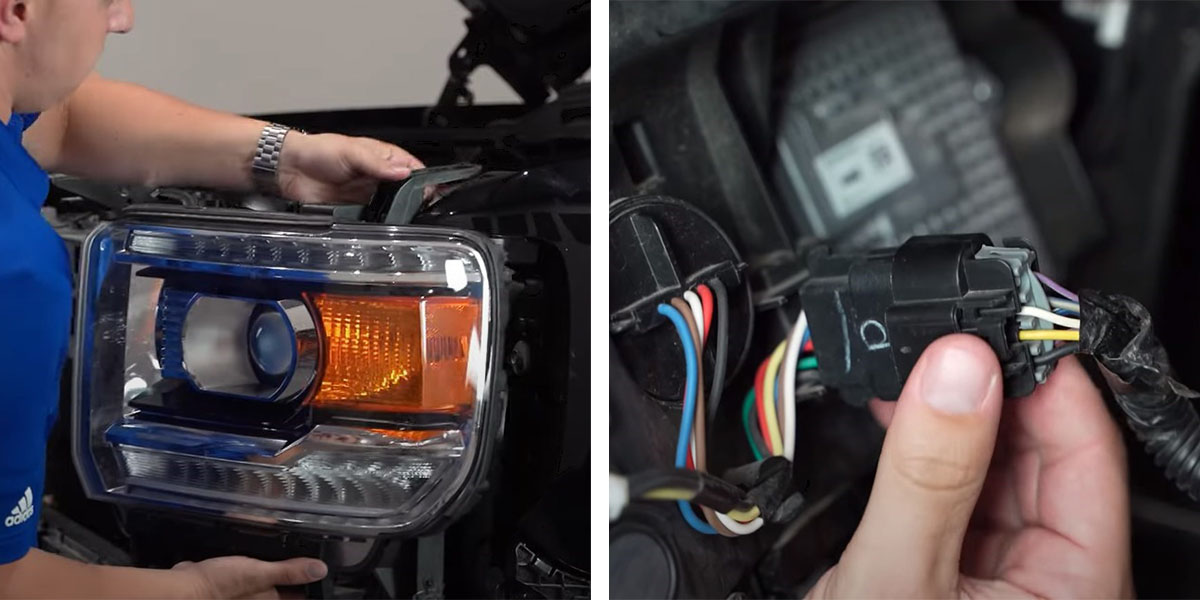
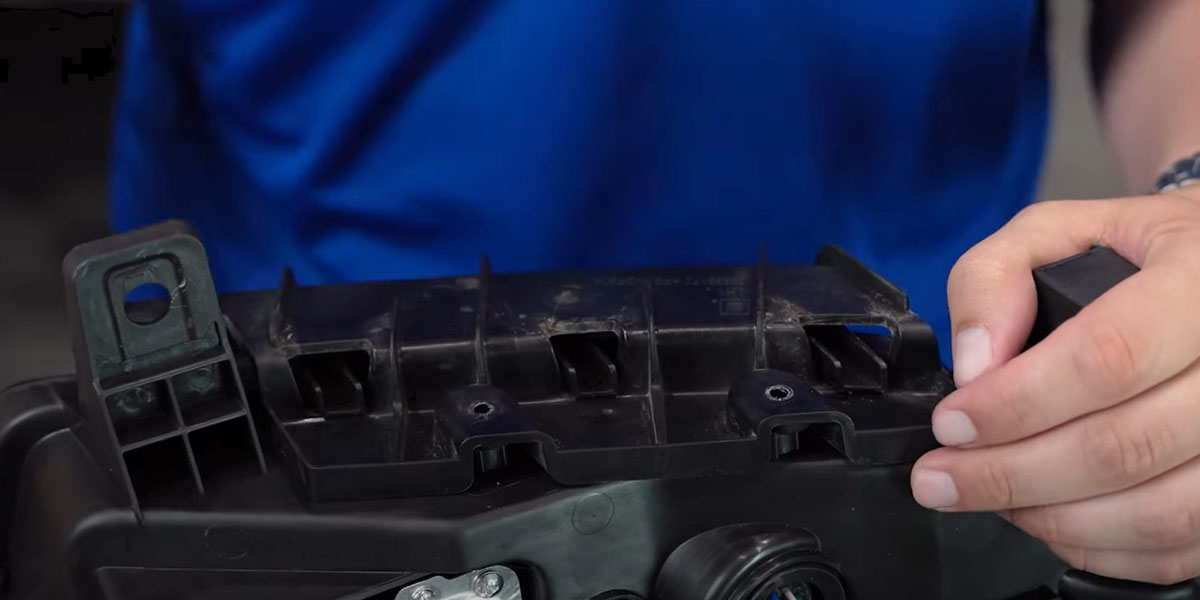
Step 11 - Remove Factory Headlight
Remove the factory headlight by pulling it up and away from the vehicle. Then disconnect the factory connector.
Step 12 - Transfer Factory Headlight Weather Seal
With the factory headlight removed from the vehicle, use the plastic trim removal tool to pop the clips over the five plastic studs holding the weather seal in place.
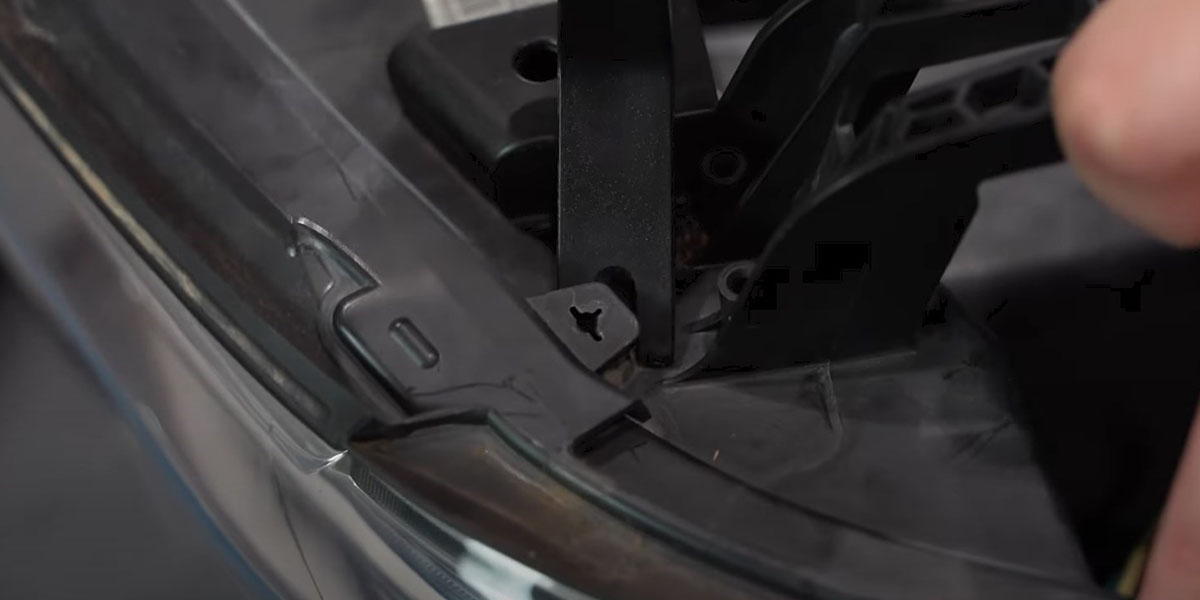
Then transfer the factory weather seal over to the Form LED Headlight.
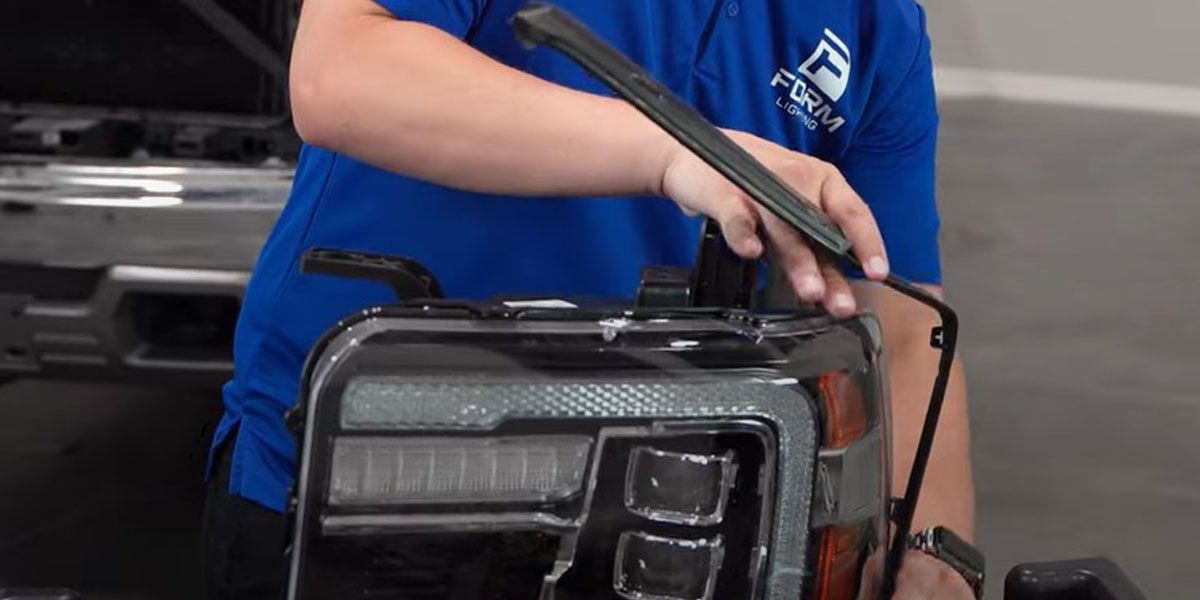
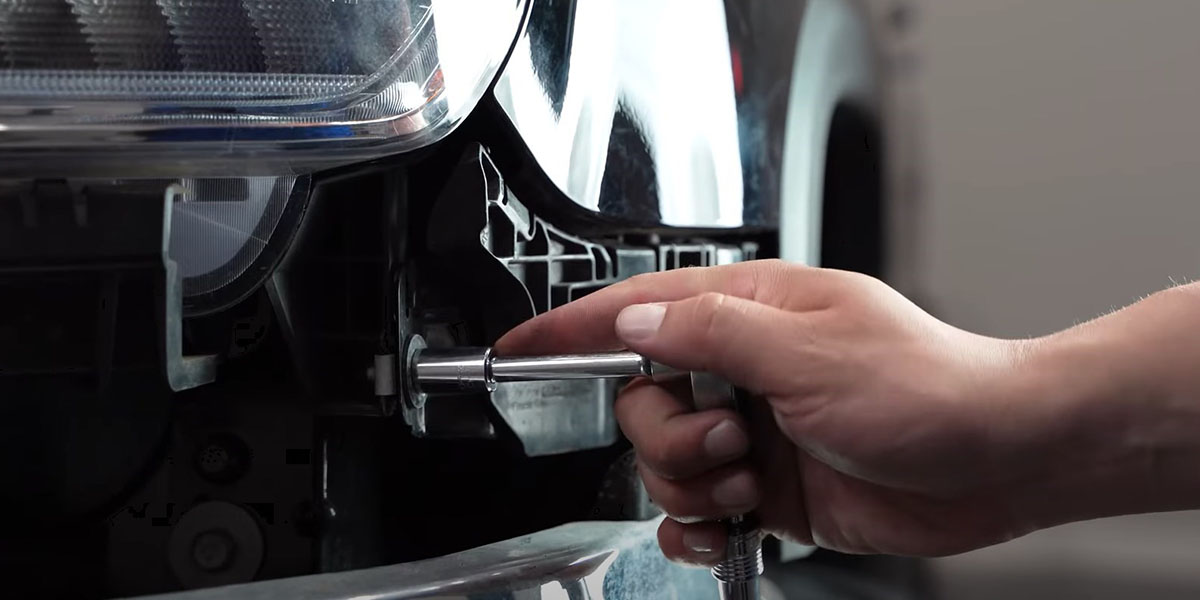
Step 13 - Transfer Factory Valance Fastener
Using a Phillips head screwdriver, remove the two screws from the bottom of the Form LED Headlights holding the valance fastener in place.

Then use a T10 Torx bit to remove the two T10 screws holding the factory valance fastener onto the bottom of the stock headlight.
With both valance fasteners removed, install the factory valance fastener onto the bottom of the Form LED Headlight using the two Phillips head screws removed from the Form LED Headlight.
Step 14 - Install Adapter Harness
If you have a 2014-2015 GMC Sierra 1500 or 2015-2016 GMC Sierra 2500/3500, skip this step and proceed to Step 16.
If you have a 2016-2018 GMC Sierra 1500 or 2017-2019 GMC Sierra 2500/3500, you will need to plug the included adapter harness in line between the factory wiring harness and the Form LED Headlight.
Step 15 - Install Form LED Headlight
Plug the factory wiring harness into the connector on the back of the Form LED Headlight.
Then install the headlight using the four 10mm bolts that were removed in Step 10.
Step 16 - Install Passenger Side LED Headlight
Repeat Steps 10-15 to install the Form LED Headlight on the passenger side of the truck.
Step 17 - (Optional) Install Add-A-Fuse Harness
Note: If your vehicle came equipped with factory DRLs, skip this step.
If your truck did not come equipped with factory DRLs, use the following instructions to install the included add-a-fuse harness.
Remove the cover to the fuse box.
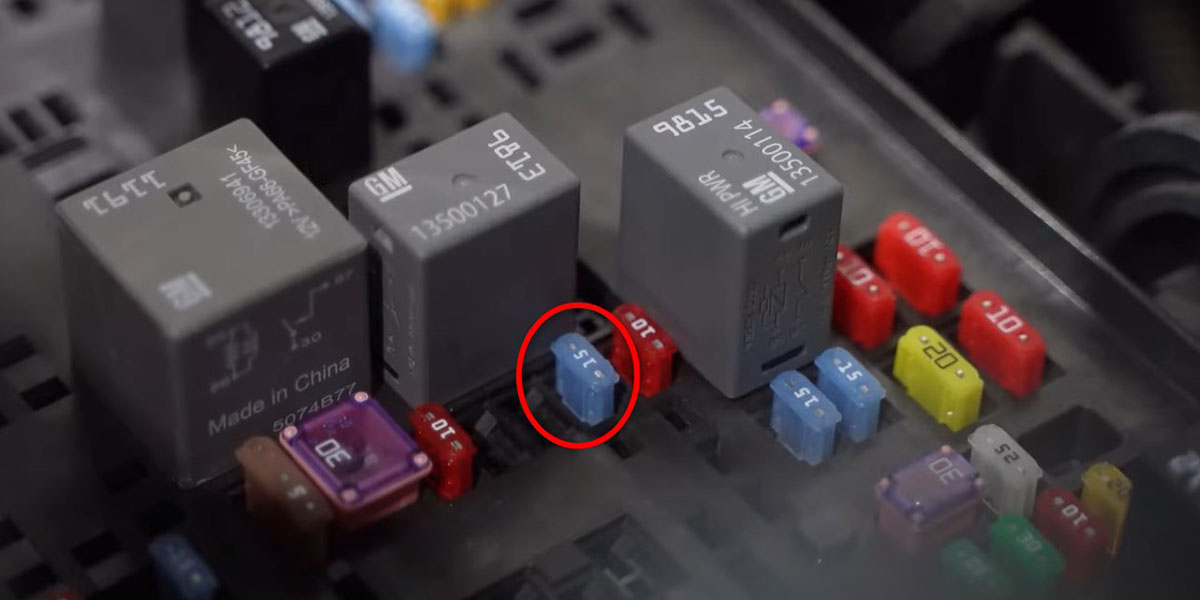
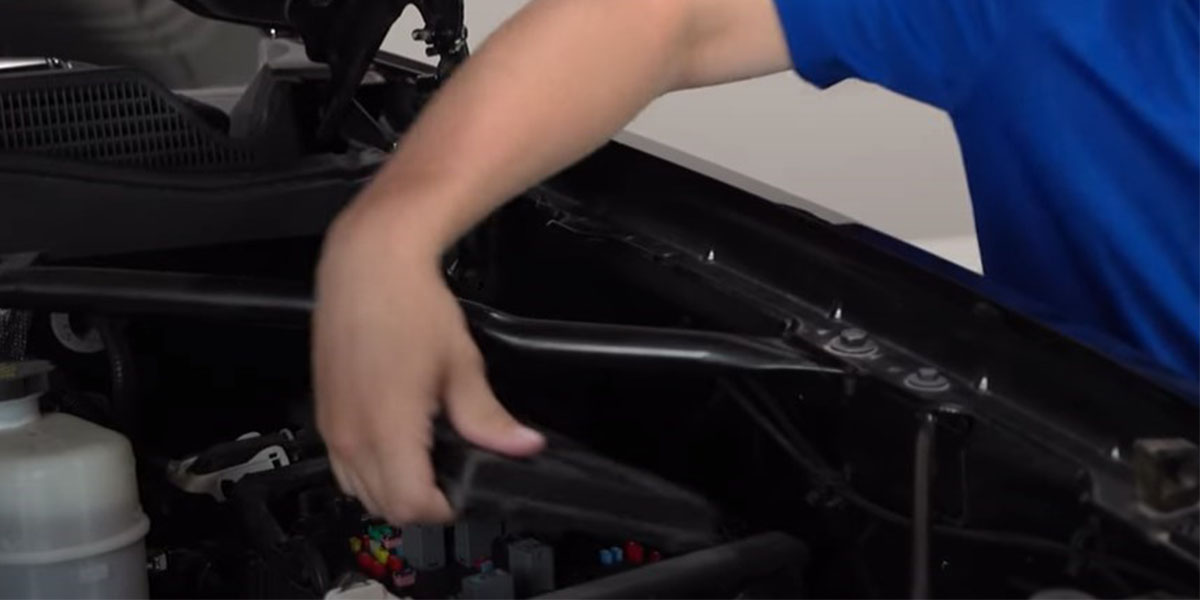 Using needle nose pliers, remove the 15 amp fuse (circled in red below) from slot 34.
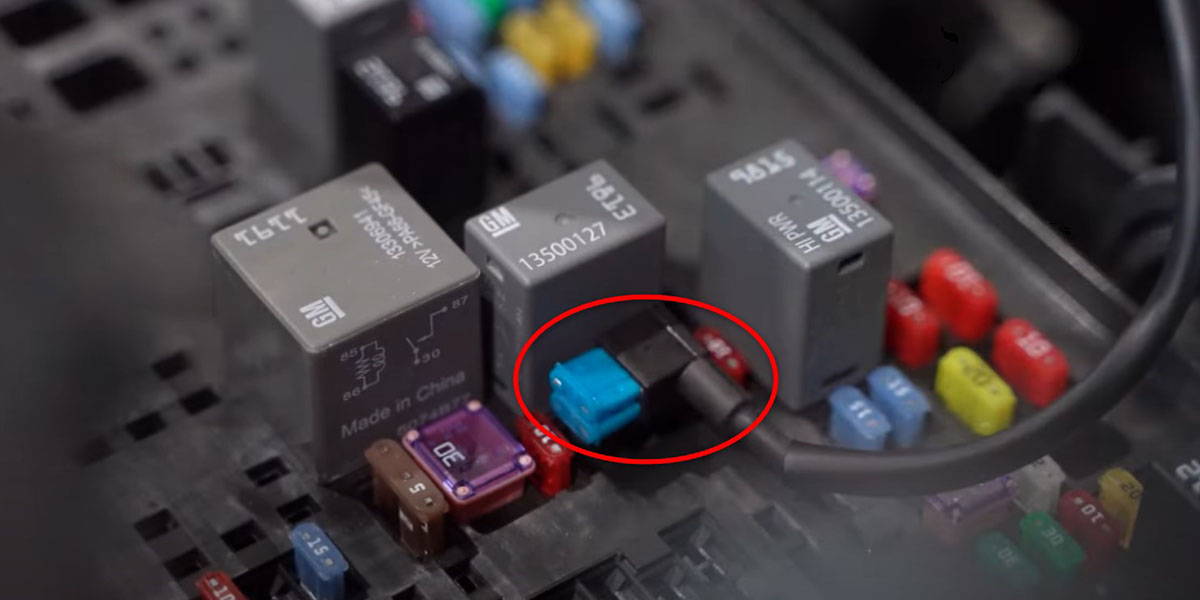
Then replace it with the fuse portion of the add-a-fuse harness (circled in red below).
With the fuse portion in place, plug the other end of the harness into the connector on the back of the Form LED Headlight (circled in red below).

Route the other end of the add-a-fuse harness to the passenger side and plug it into the connector on the back of the remaining Form LED Headlight.
Step 18 - Test Function
With the Form LED Headlights in place, test for functionality.
Step 19 - Reinstall Bumper Valance and Grille
Reverse Steps 1-9 to reinstall the bumper valance and grille.
Step 20 - Aim Your Headlights
Using a Phillips head screwdriver and the integrated adjustment screws at the top of each lamp, adjust the height of your beam pattern.

For a more detailed description of the correct process, refer to our headlight aiming blog - How to: Aim Your LED Headlights.
This installation is now complete. Enjoy your new 2014-2018 GMC Sierra LED Headlights!
Questions About the Installation?
If you have any questions or issues installing Form Lighting's LED Headlights for the 2014-2018 GMC Sierra 1500 or 2015-2019 GMC Sierra 2500/3500, please contact us for further assistance.
Where Can I Buy Form Lighting LED Headlights for the 2014-2018 GMC Sierra 1500 or the 2015-2019 GMC Sierra 2500/3500?
If you’re ready to upgrade your 2014-2018 GMC Sierra 1500 or 2015-2019 GMC Sierra 2500/3500 with Form Lighting LED Headlights, you can purchase them by clicking here or using our dealer locator to find a dealer near you.
Want to know more about Form Lighting products? Visit formlights.com and subscribe to our newsletter for new product releases and more!
This Installation Guide is for the following SKUs: FL0011, FL0012, and FL0023.