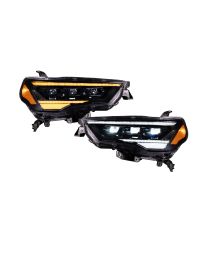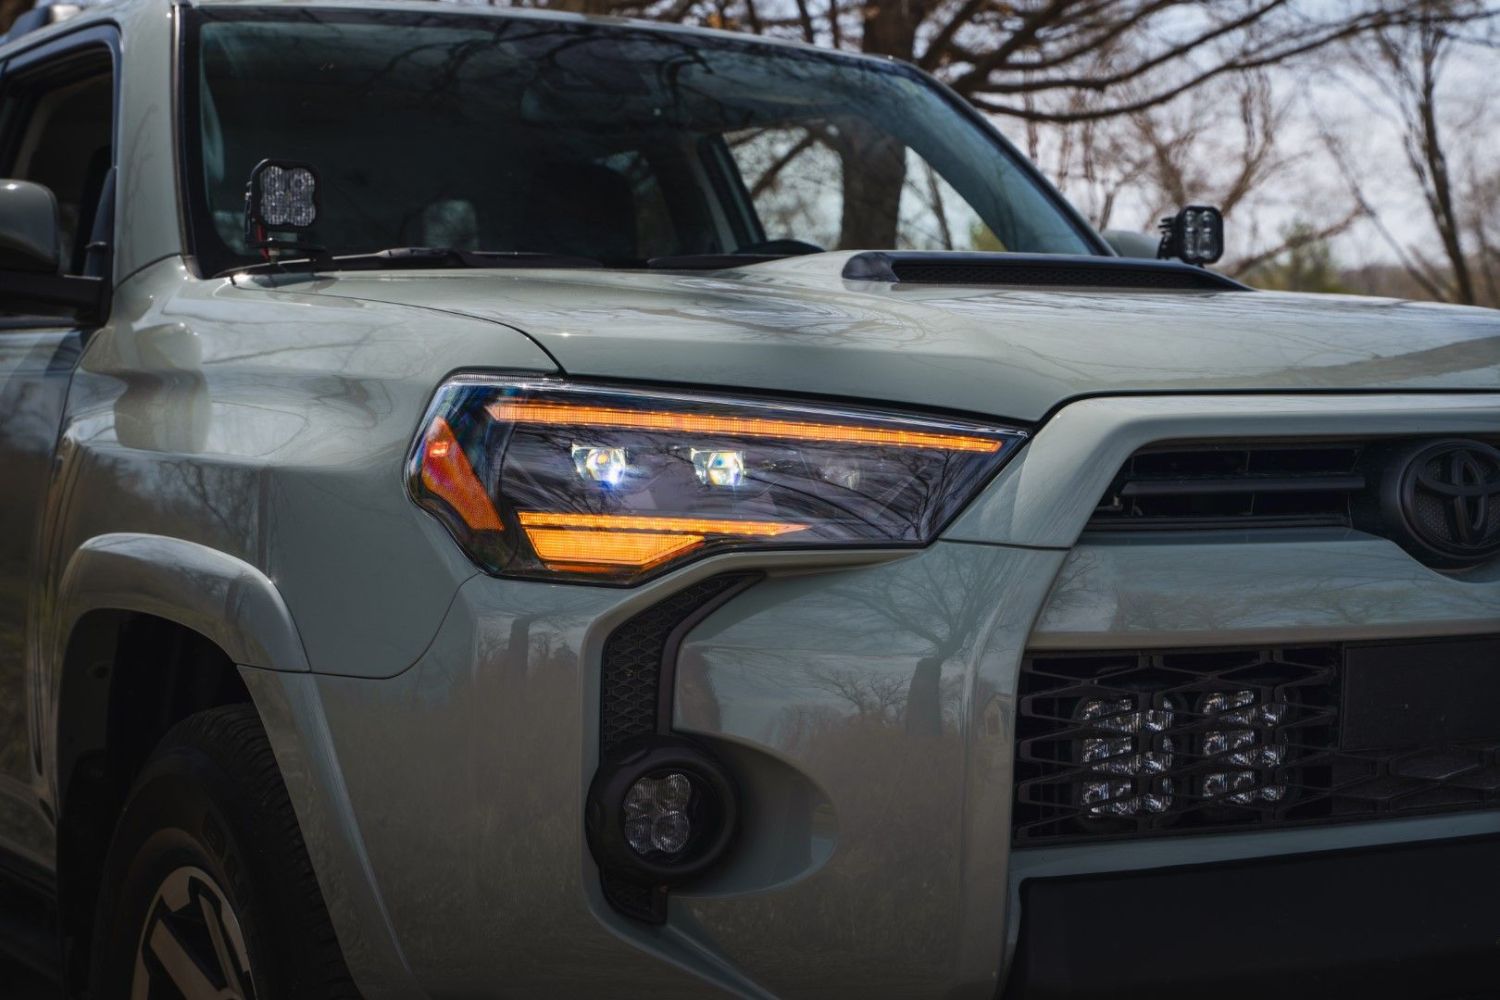
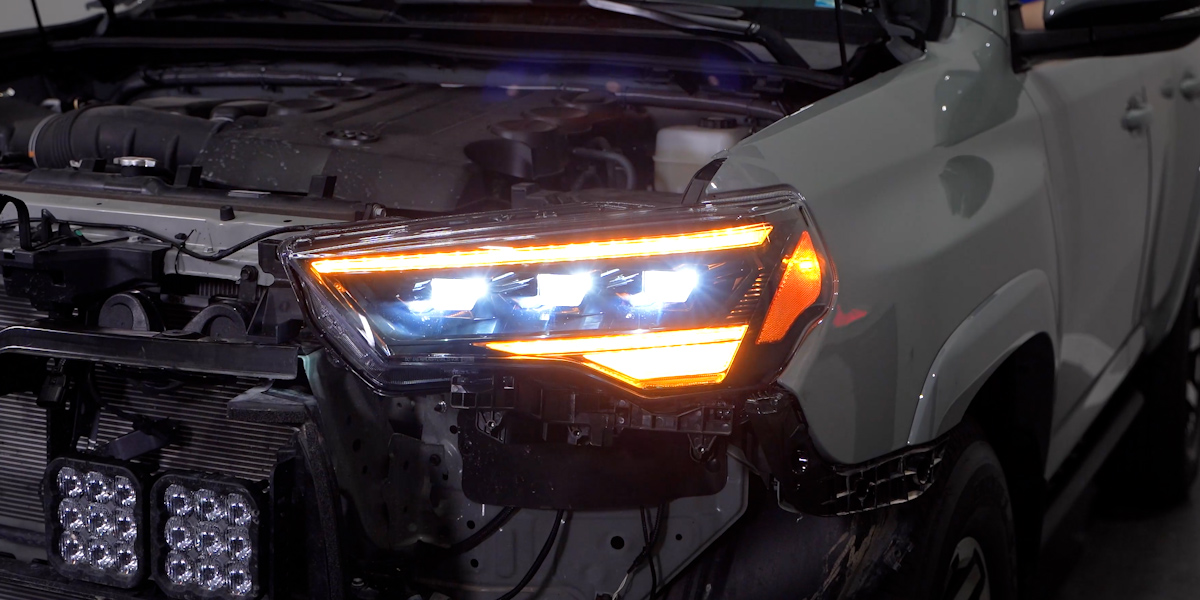
Form Lighting's Selectable DRL LED Headlights are the perfect upgrade for the 2014-2024 Toyota 4Runner. These OEM-grade LED headlights are packed with modern features including a sharp cutoff, a sequential turn signal, a unique startup sequence, and plug-and-play installation!
The following installation guide will provide you with detailed instructions on how to install Form Lighting's LED headlights for the 2014-2024 Toyota 4Runner. Watch our installation video, or continue reading for step-by-step instructions below!
Table of Contents
Installation Video
Installation Tools
- Plastic Trim Removal Tool
- Ratchet
- 10mm Socket
- Needle Nose Pliers
- Phillips Head Screwdriver
Installation Instructions
Step 1 - Remove Radiator Cover
Pop the hood, and remove the thirteen (13) plastic clips holding on your radiator cover using a trim removal tool.
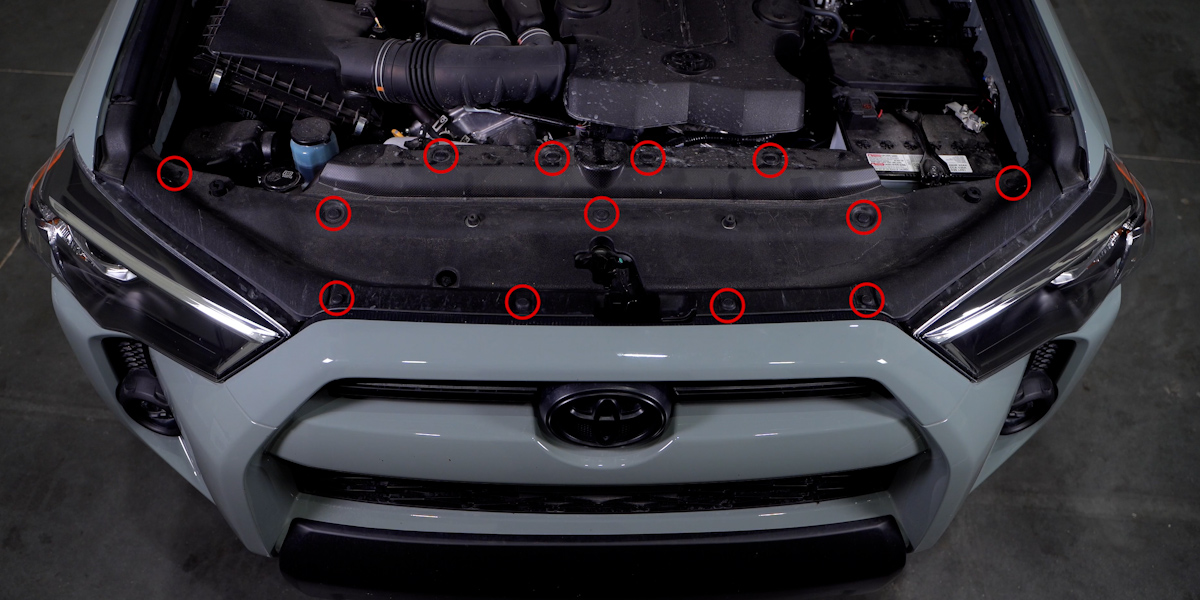
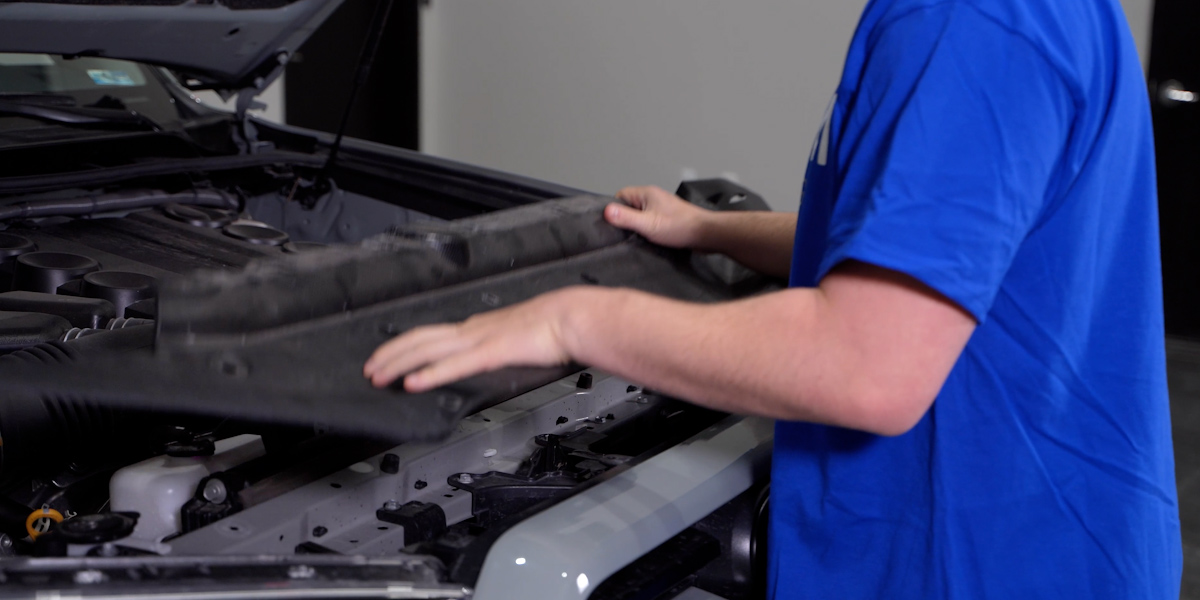
With all the clips removed, lift the cover up and away from the vehicle.
Step 2 - Remove Grille/Bumper
Section 1 - Removing Upper Grille Bolts: Using the trim removal tool remove four (4) plastic clips behind the upper grille.

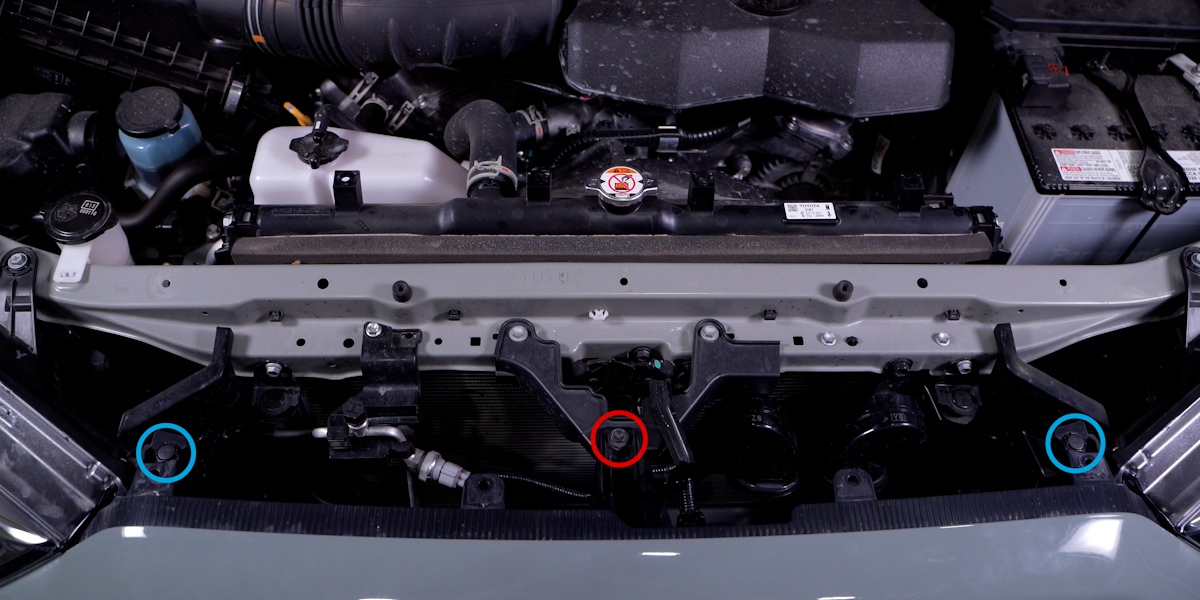
Next, along the top of the grille remove one (1) 10mm bolt from the center (circled in red). Then remove the two plastic clips (circled in blue).
Section 2 - Removing Toyota Safety Sense: If your vehicle comes equipped with the Toyota Safety Sense feature, disconnect the harness from the back of the grille.
Note: If your vehicle did not come equipped with the Toyota Safety Sense feature skip ahead to Section 3.

Then, using a 10mm socket remove the two (2) bolts under the hood latch that hold on your sensor.

Section 3 - Removing Bottom Grille Bolts: Remove three (3) 10mm bolts from inside the fender.

Remove two (2) clip nuts holding the fender liner to the bumper using a trim removal tool. Then peel back the fender liner to access your fog light harness, and disconnect it.

Repeat this process on the other side before moving on. Then, remove six (6) more 10mm bolts along the bottom of the bumper.

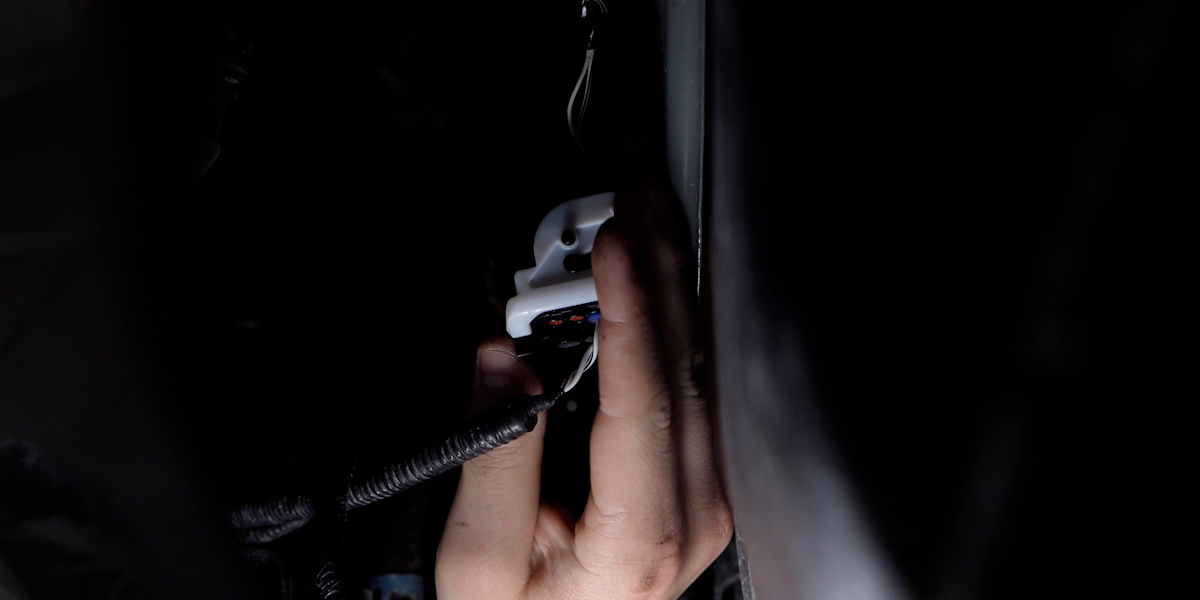
NOTE: If your vehicle is a 2020+ model, there is one more connector behind the fender liner on the driver's side to disconnect. Depress the locking clip and rotate the white collar up to remove it.
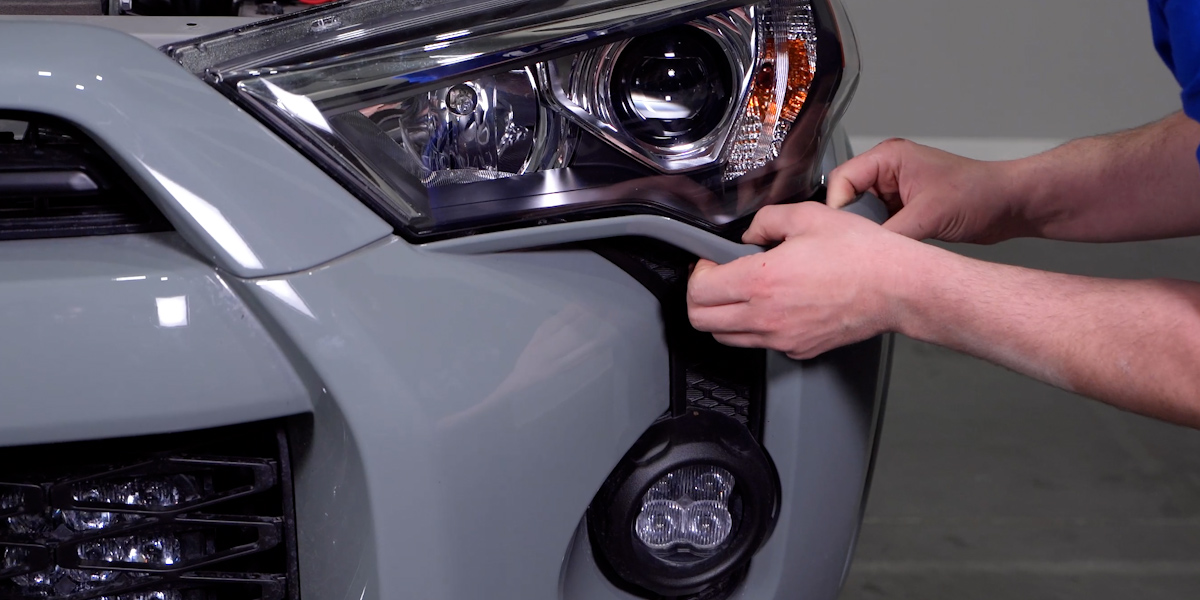
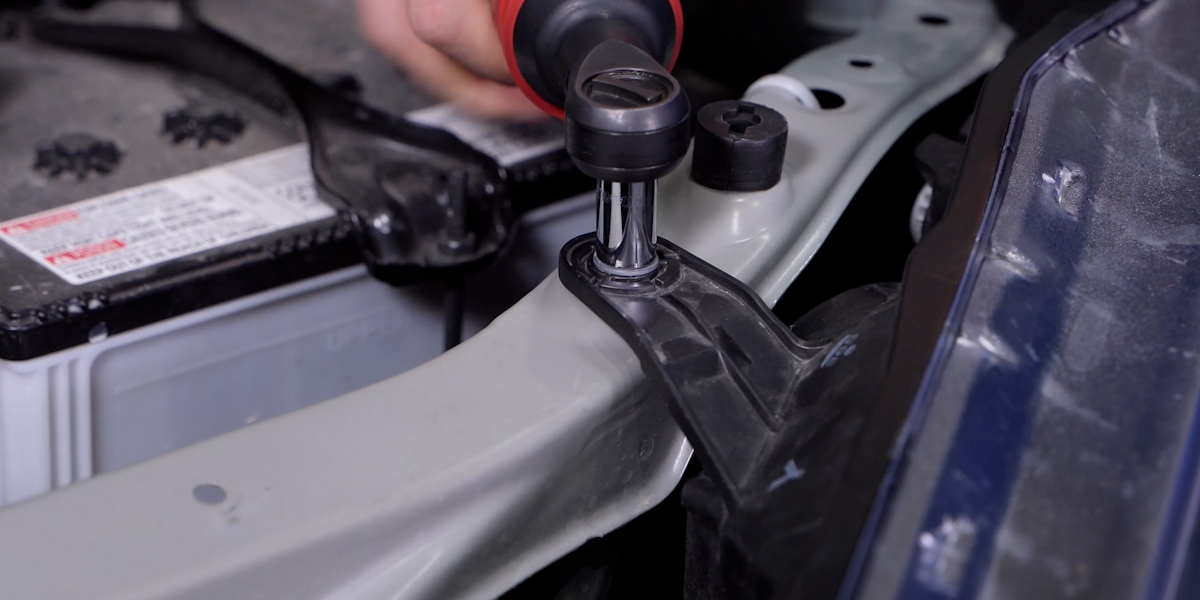
Section 4 - Removing Bumper: To remove the bumper, begin by lifting and pulling it away from the fastener at the corner. Work gradually inward from both sides to meet in the middle, eventually fully releasing the bumper.
Step 3 - Remove Factory Headlight
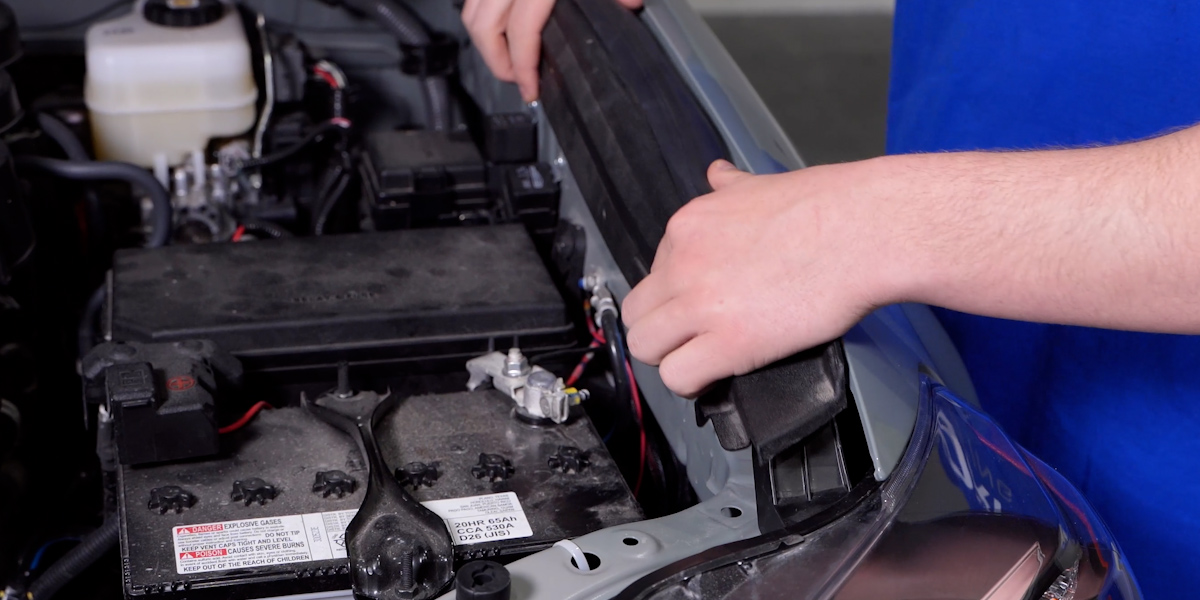
Remove the plastic hood seal on the side of the engine bay by pulling back toward the vehicle until the plastic clips snap out of place.
Using a 10mm socket, remove four (4) bolts holding on your headlight. There are two (2) on top, one (1) on the inside, and one (1) on the bottom.
Disconnect the factory harnesses and lift the lamp up and away from the vehicle to fully remove it.

Repeat this process to remove the other lamp.
Step 4 - Transfer Plastic Headlight Fastener
Using a Phillips head screwdriver, remove three (3) screws holding on the plastic fastener to the bottom of the factory headlight.

Transfer this over to your new headlight by reversing the steps we used to remove it. Repeat this process for both lamps.
Step 5 - Selecting DRL Color
Remove the grommet on the bottom of the headlight using your trim removal tool.
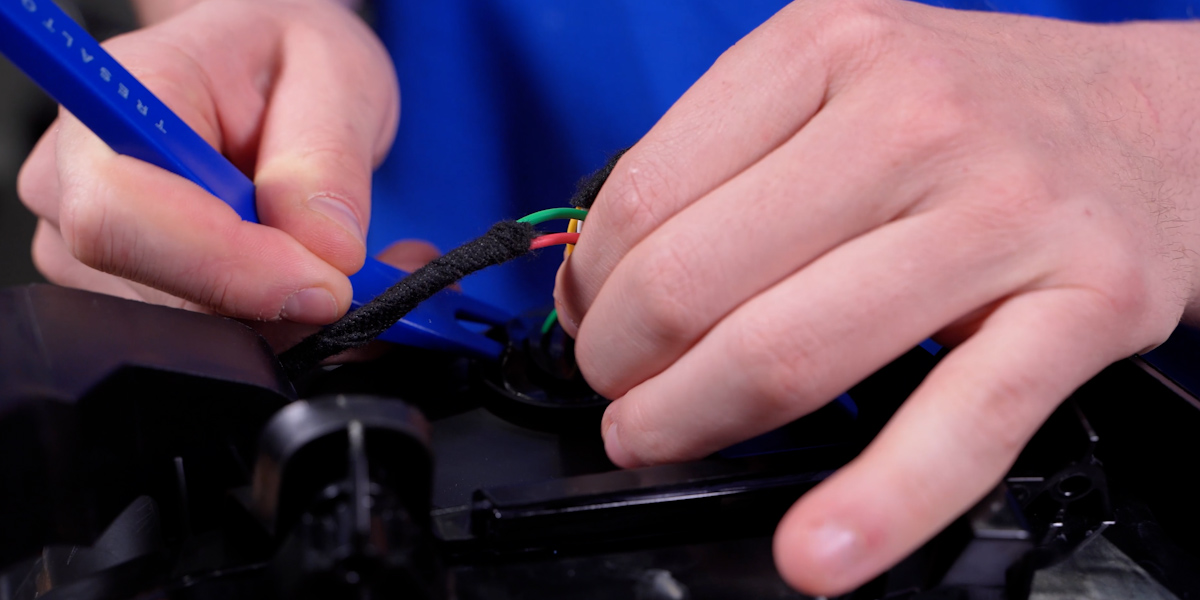
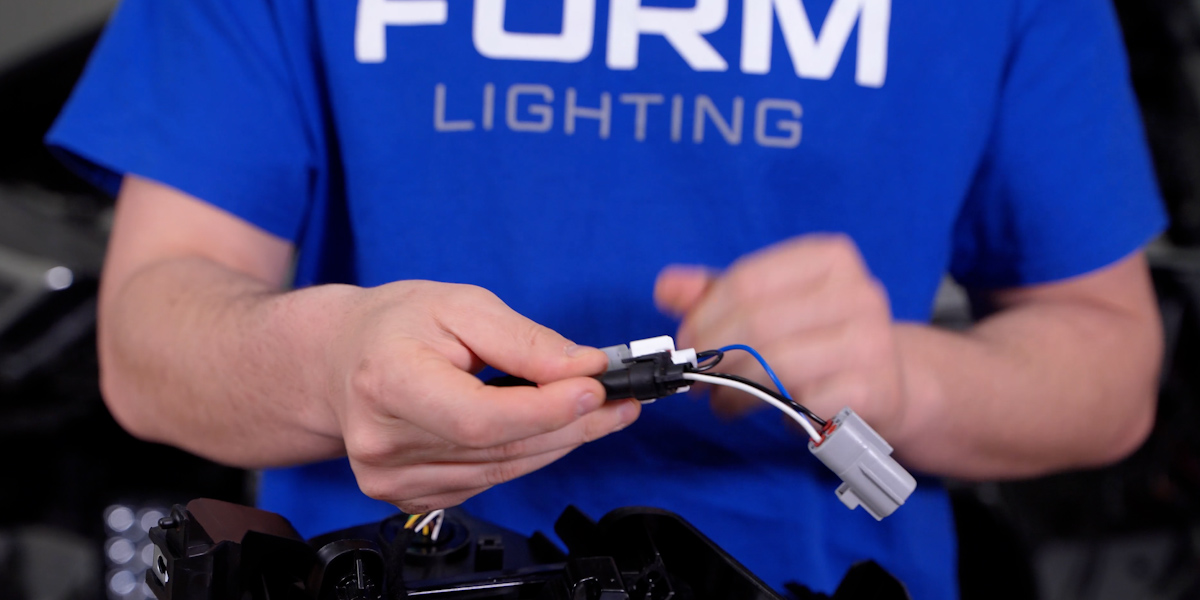
Locate the black connector with black and blue wires.
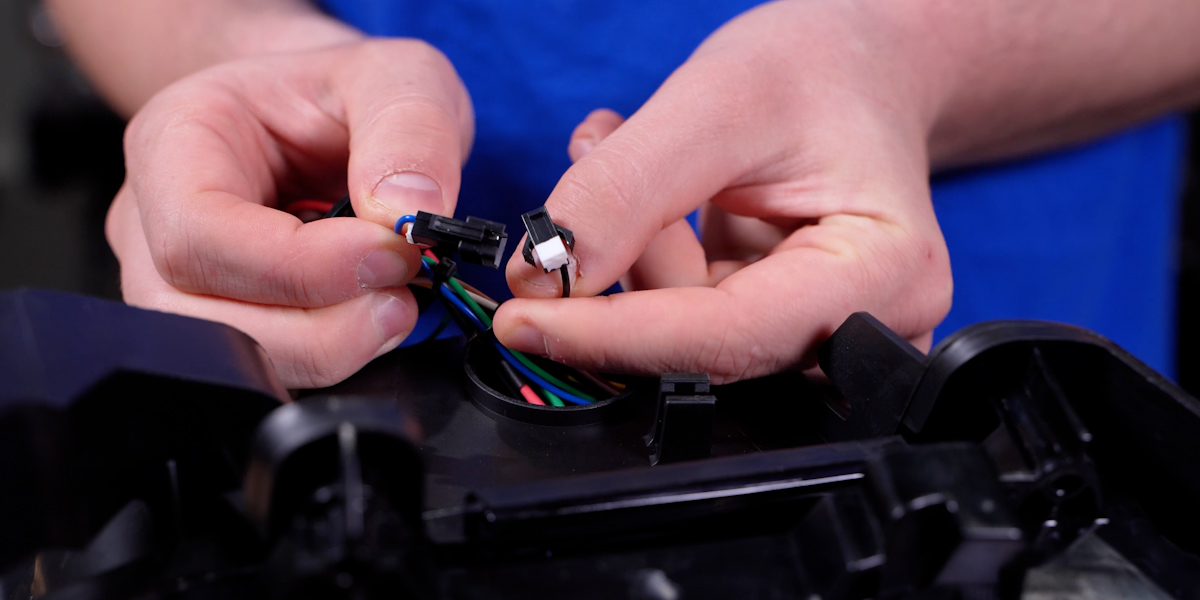
To enable the white DRL plug in these two connectors, and for amber DRL functionality, simply leave them both disconnected. Repeat this process for both lamps.
Then, put everything back together by reversing the steps we used to take it apart.
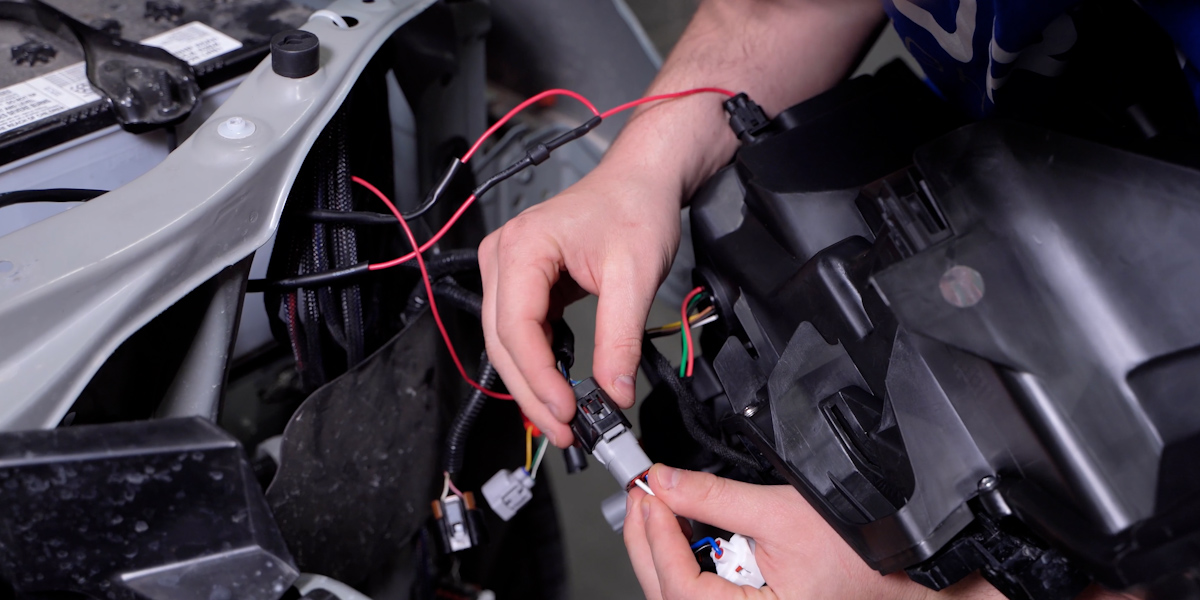
Step 6 - Installing Adapter Harness (2021+ Only)
Fitment Notes:
- If your vehicle is a 2021-2024 model, you will need to use our included adapter harness.
- Following this step incorrectly may result in your high beams not functioning properly.
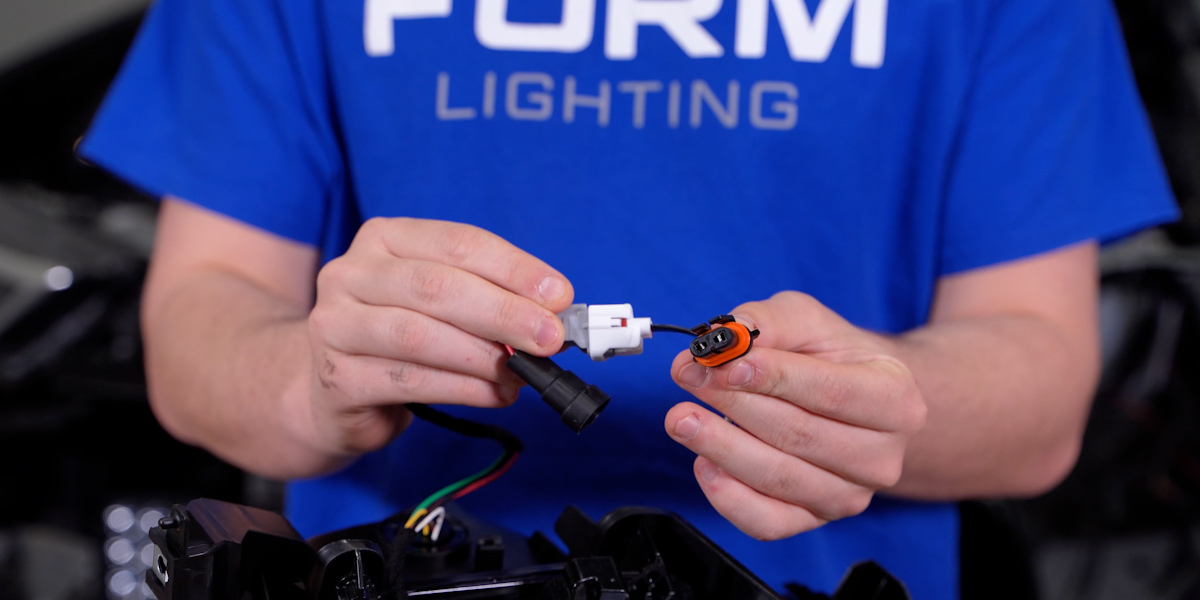
- If your vehicle is a 2021 TRD Offroad or SR5, plug the highlighted low beam connectors into the headlights and leave the 9006 connectors on the adapter harnesses disconnected.
- If you are installing on a 2021 Limited, TRD Pro, Nightshade, or any 2022+ models, plug both the low beam and the 9006 bulb connectors into each headlight.
Step 7 - Tapping DRL Fuse
Open your fuse box and locate injector fuse INJ10A. Remove it, and replace it with our included DRL fuse tap. Then route the other ends of the harness to the headlight locations, making sure to keep it out of the way of any hot or moving parts.
Step 8 - Mount Your Headlight
Plug all the corresponding connectors into the back of your new headlights, and put everything back together by reversing the steps we used to take it apart.
Step 9 - Final Adjustments
Using a Phillips head screwdriver, turn the integrated adjustment screws to adjust your headlight's beam pattern and make your final aiming adjustments.
For a more detailed description of how to aim your headlights, refer to our blog - How To: Aim Your LED Headlights.
This completes our installation. Enjoy your new Selectable DRL LED Headlights for the Toyota 4Runner!
Questions About the Installation?
If you have any questions or issues installing Form Lighting's LED Headlights for the 2014-2024 Toyota 4Runner, please contact us for further assistance.
Where Can I Buy Form Lighting Selectable DRL LED Headlights for the 2014-2024 Toyota 4Runner?
If you’re ready to upgrade your 2014-2024 Toyota 4Runner with Form Lighting Selectable DRL LED Headlights, you can purchase them by clicking here or using our dealer locator to find a dealer near you.
Want to know more about Form Lighting products? Visit formlights.com and subscribe to our newsletter for new product releases and more!
This Installation Guide is for the following SKU: FL0017