
Form Lighting's LED Headlights are the perfect upgrade for the 2007-2013 Chevrolet Silverado. The following installation guide will provide you with detailed instructions on how to install Form Lighting's LED Headlights for the 2007-2013 Chevrolet Silverado. Check out the installation video and continue reading for step-by-step instructions below!
Table of Contents
Installation Video
Installation Tools
- Plastic Trim Removal Tool
- 10mm Socket
Mounting Instructions
Step 1 - Remove Radiator Cover
Using a trim removal tool remove eight (8) plastic clips holding the trim piece on to the vehicle. Then lift the trim piece off the vehicle.

Step 2 - Remove Grille
Using a 10mm socket remove four (4) bolts along the top of the grille.

Using a flathead screwdriver compress the six (6) tabs holding the grille to the vehicle.

Lift the grille up and away from the vehicle to fully remove.

Step 3 - Remove Headlight
Using a 10mm socket remove five (5) bolts holding the headlight to the vehicle.

Remove one (1) 10mm bolt from the fender. This will allow you to peel back the fender liner giving you access to the final 10mm bolt holding on your headlight.
Note: Do not remove this bolt completely.

Loosen the last 10mm bolt until you are able to move the headlight. Lift the headlight away from the vehicle, and disconnect the factory wiring harness.

Step 4 - Routing Your DRL Harness
Note: Skip this step if you prefer your C-light to only activate with your main beam. This will mean that you do not have an independent white DRL.
Remove the cover on your fuse box.

Using a pair of needle nose pliers, remove fuse fifty-eight (58) if you're installing on a gas truck.

Remove fuse fifty-six (56) if your truck has a diesel engine.

Plug the new add-a-fuse harness in the same slot you just removed the factory fuse.

Replace the cover on your fuse box and route the other ends of your DRL harness to the backs of each headlight.
Note: Be sure to secure the loose wiring up and away from any hot or moving parts!

Step 5 - Installing LED Headlight
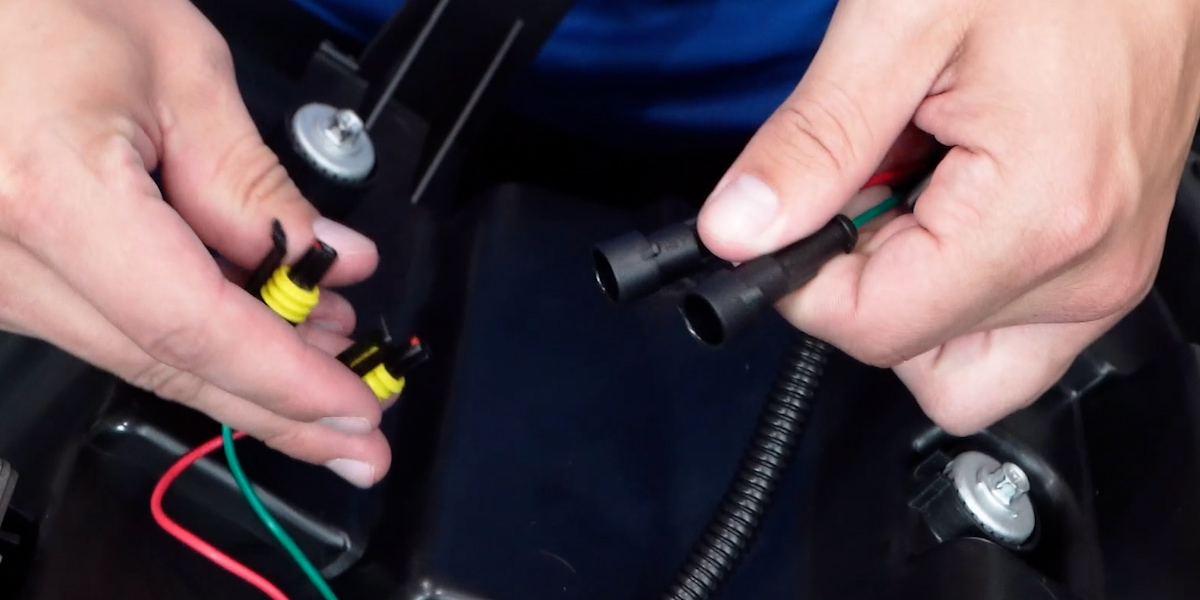
Plug in all your connectors on the back of the lamp, and then bolt it on using the same steps we used to remove the factory lamp.

With everything plugged in, test to make sure your lights function properly, and then bolt your LED headlight on using the same steps we used to remove the factory lamp.
Tip: If you notice that your high and low beams are not functioning properly, we recommend swapping the connections between these two (2) wires.
Repeat the same steps to install the second lamp on the other side.

Step 6: Final Adjustments
With the headlights fully installed you can now make your final aiming adjustments. Using a Phillips head screwdriver, access our integrated adjusment screws and turn them right or left to adjust the beam pattern to the proper level.

Note: For a more detailed description of this process please reference our blog - How To: Aim Your LED Headlights.

This installation is now complete. Enjoy your new 2007-2013 Chevrolet Silverado LED Headlights!
Questions About the Installation?
If you have any questions or issues installing 2007-2013 Chevrolet Silverado LED Headlights for your vehicle, please contact us for further assistance.
Where Can I Buy Form Lighting 2007-2013 Chevrolet Silverado LED Headlights?
If you’re ready to upgrade your vehicle with 2007-2013 Chevrolet Silverado LED Headlights, you can purchase them by clicking here, or use our dealer locator to find a dealer near you.
Want to know more about Form Lighting products? Visit FormLights.com and subscribe to our newsletter for new product releases and more!
This Installation Guide is for the following SKUs: FL0004, FL0005