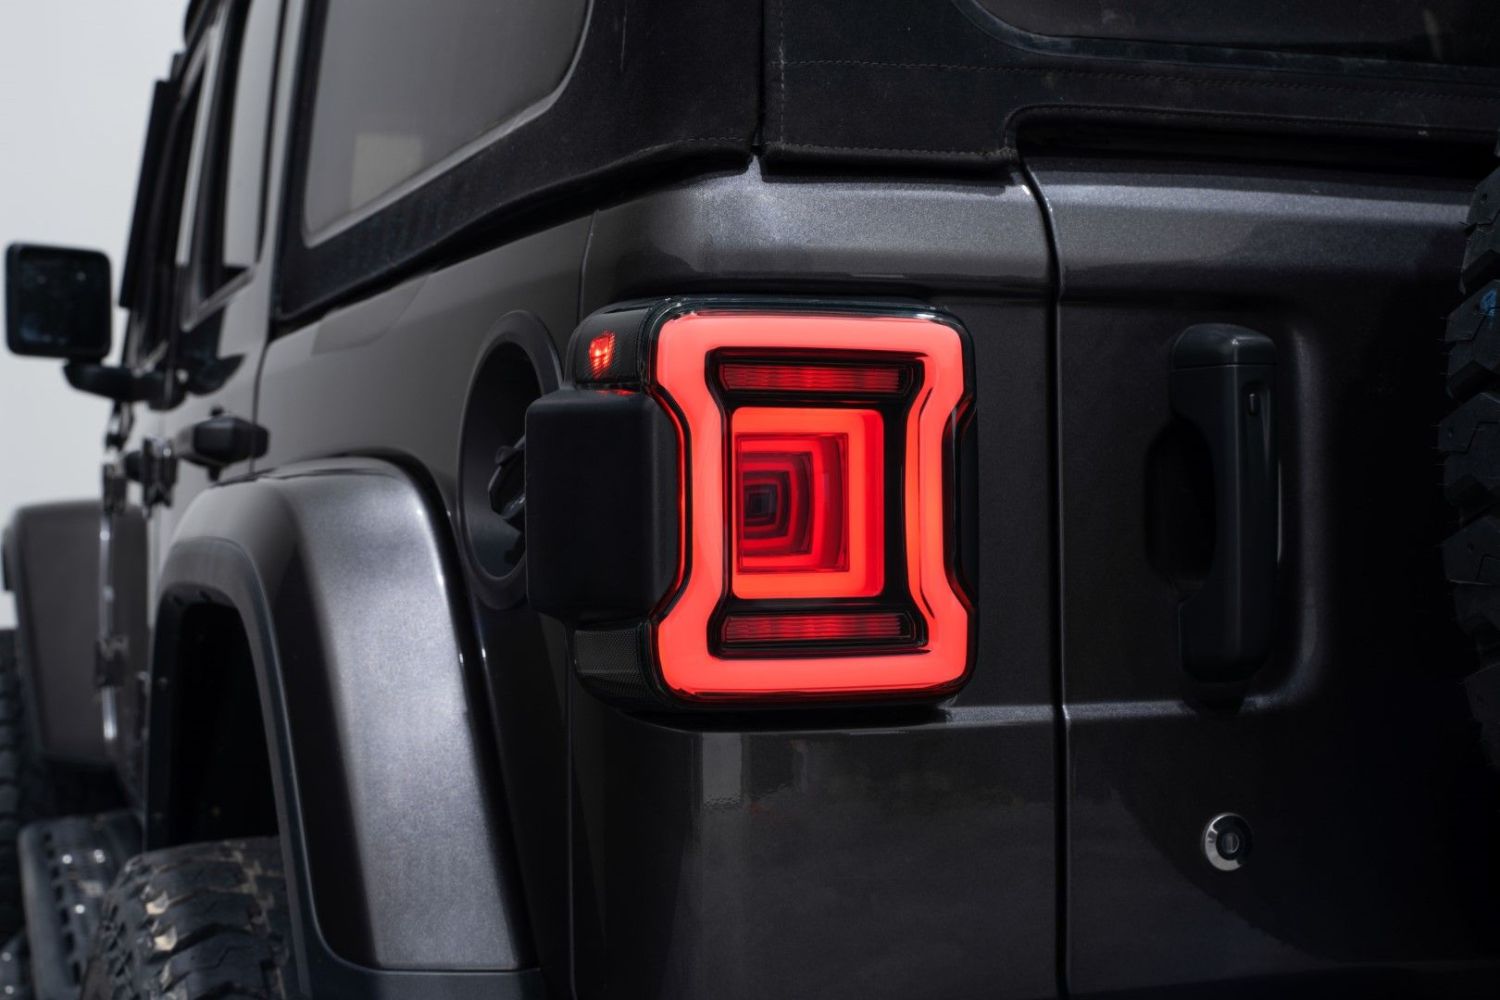
FORM Lighting LED Tail Lights are the perfect way to give your Jeep an upgrade in styling and appearance. The following installation guide will provide you with detailed instructions on how to install FORM Lighting Jeep JL LED Tail Lights on your Jeep. Check out our installation video, or continue reading for step-by-step instructions below!
Table of Contents
Installation Video
Installation Tools
- Plastic Trim Removal Tool
- Phillips Head Screwdriver
- 10mm Socket
- 8mm Socket
Mounting Instructions
Step 1 - Accessing the Trunk
Open the tailgate, and lift your rear window for better access to the back of the tail lights.
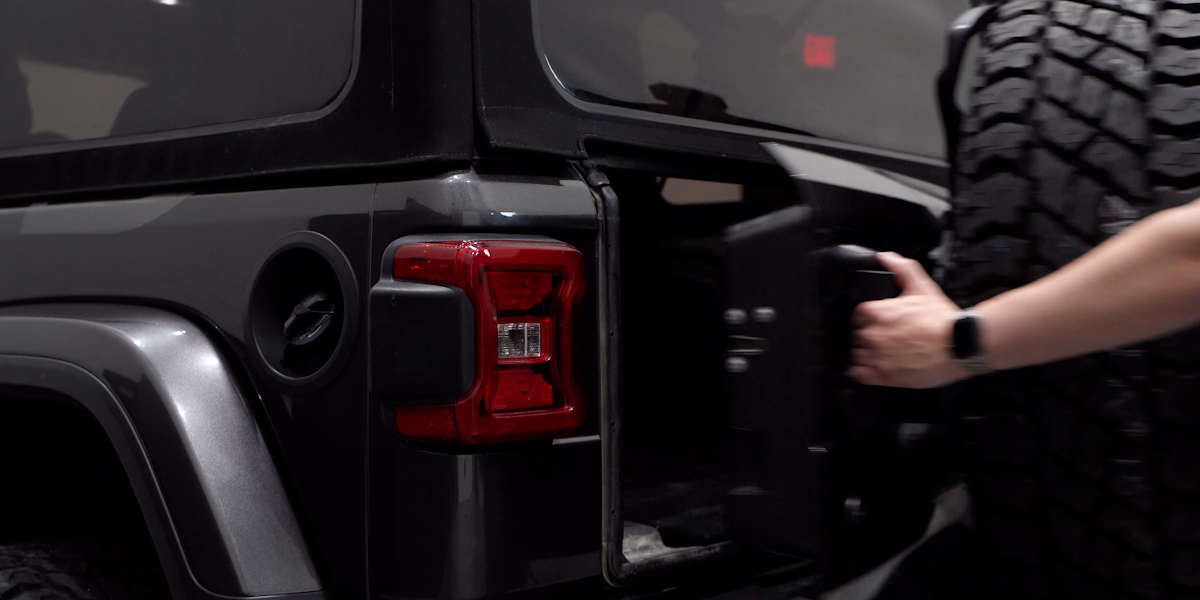
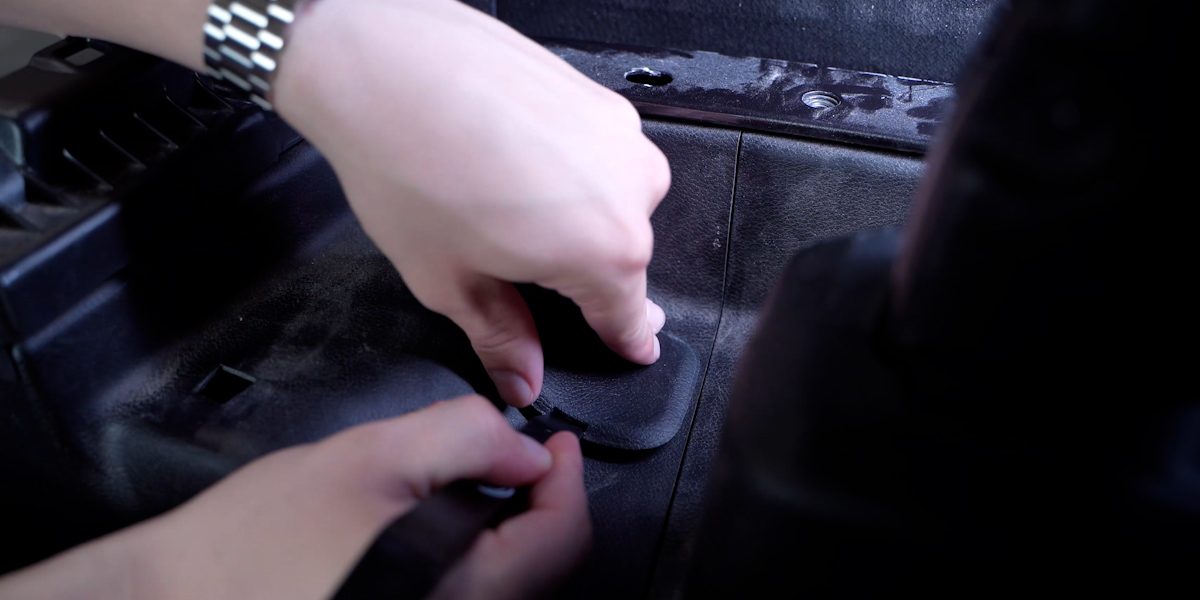
Step 2 - Remove Tail Light Bolts
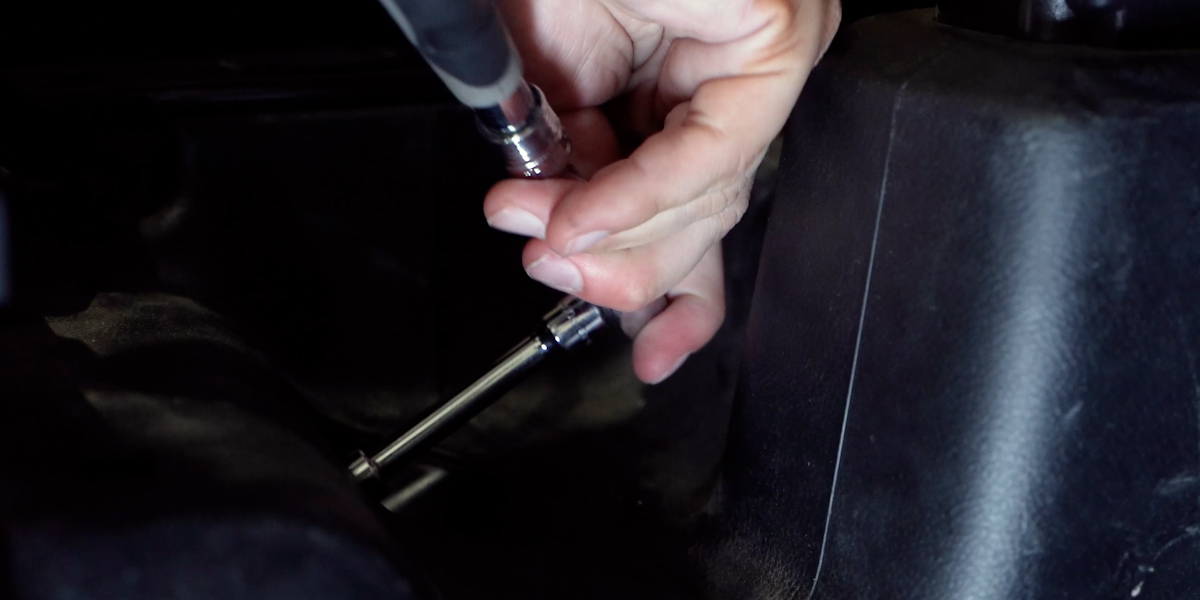
Using a trim removal tool, remove this black cover to access the bolt on the back side of the lamp.
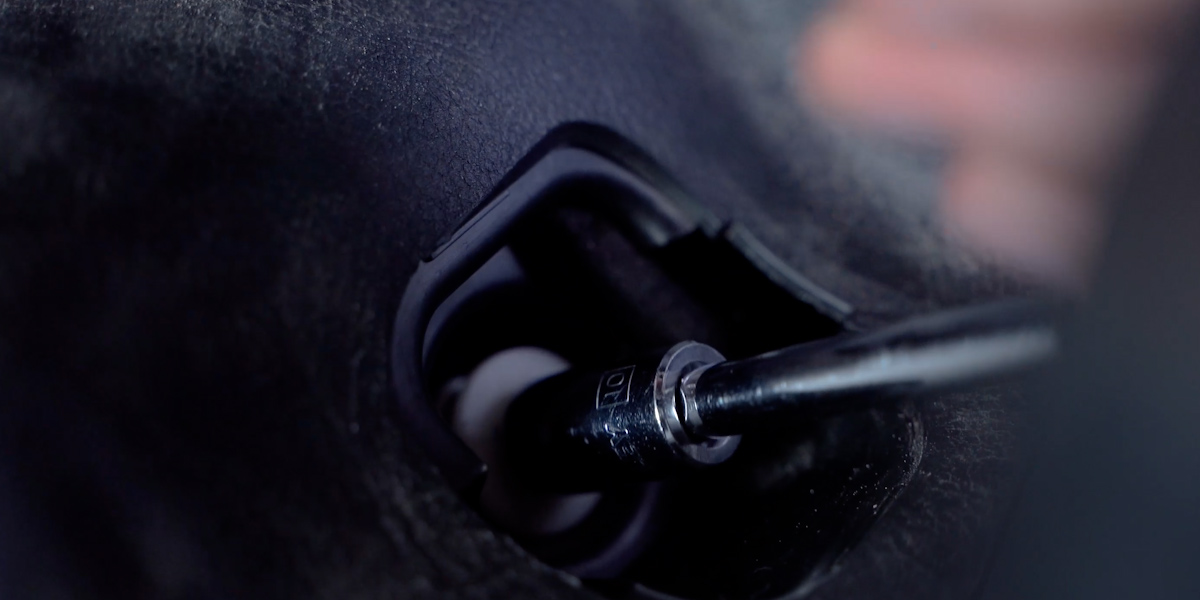
Use a 10mm socket to remove the bolt.
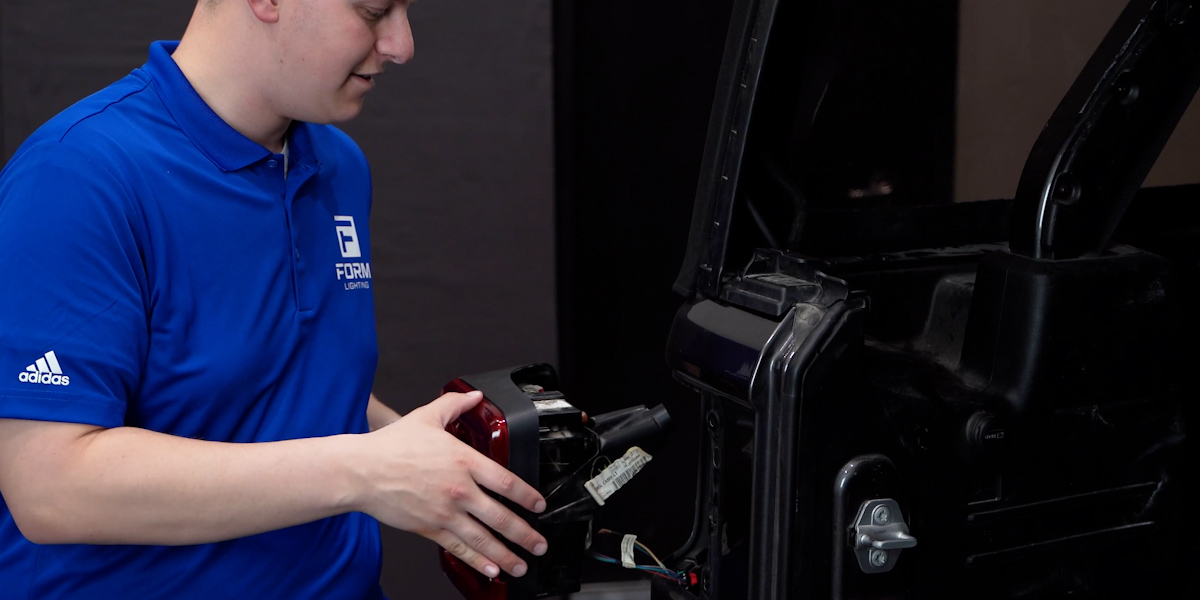
Step 3 - Remove Factory Lamp
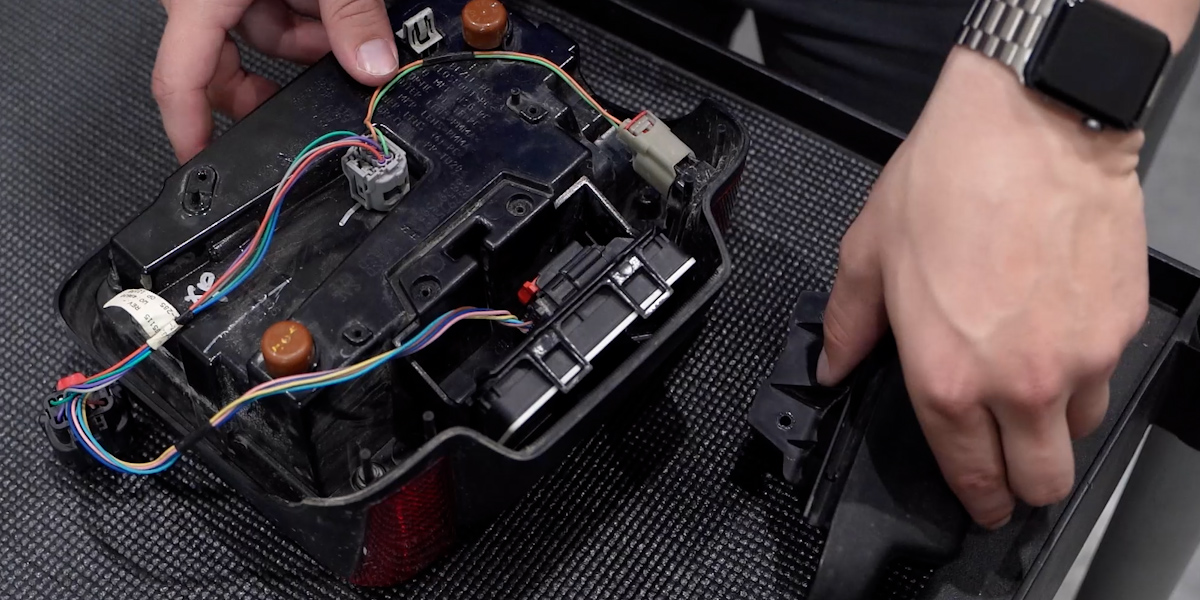
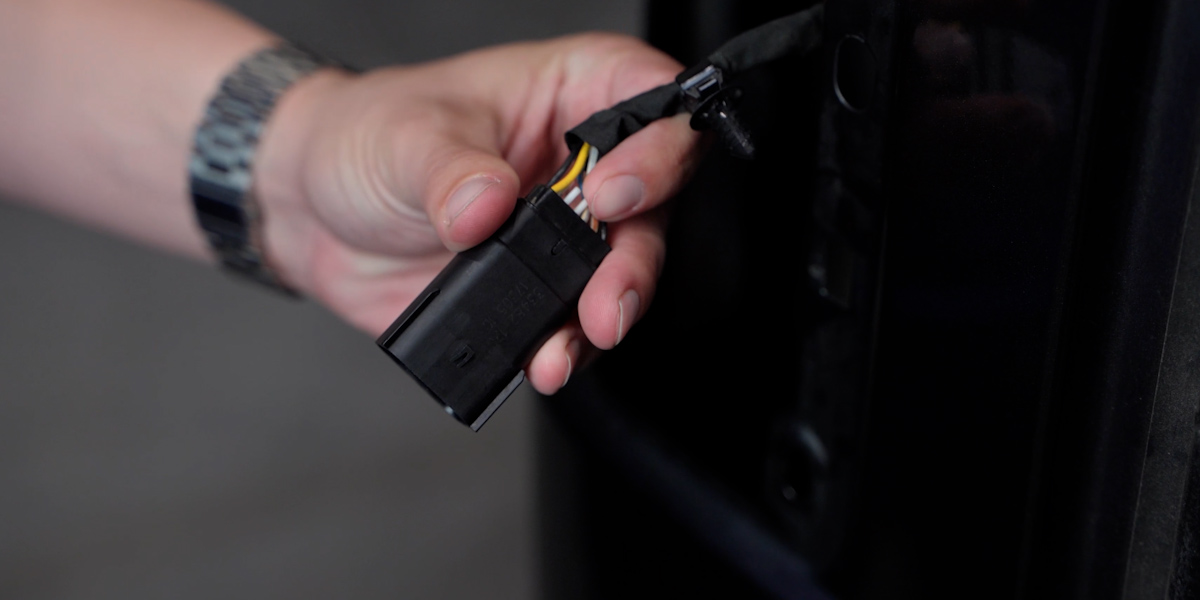
Pull the tail light up and away from the vehicle, and disconnect the factory harnesses to fully remove it.
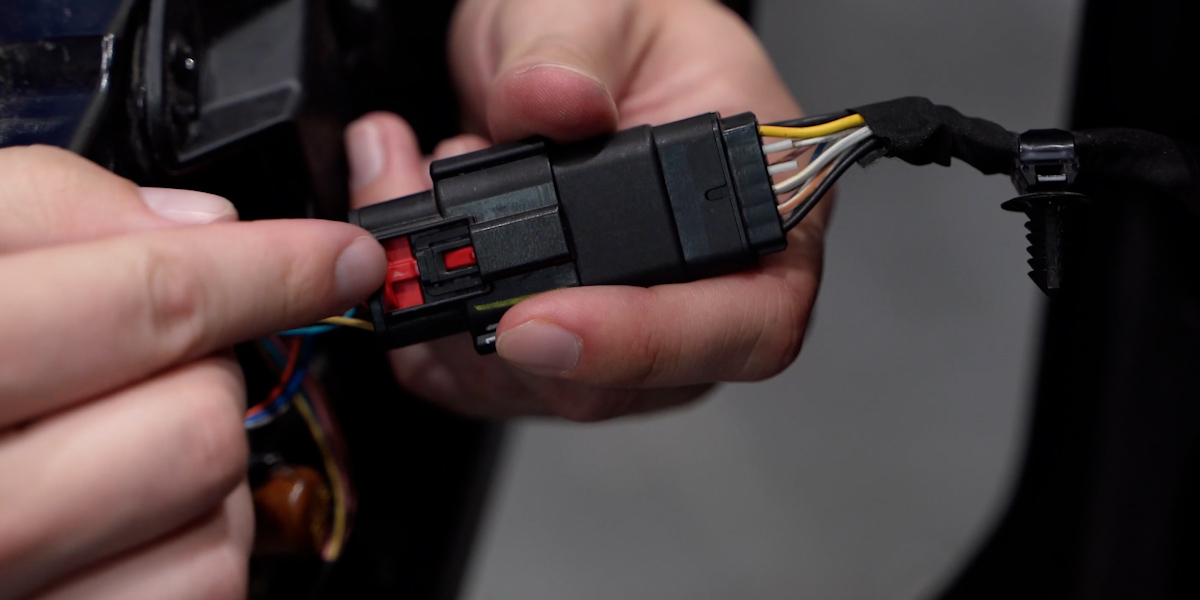
Pull on the red tab to unlock the harness before pulling it apart.
Step 4 - Transfering Blind Spot Awareness
Note: If your vehicle comes with blind-spot awareness the next step is to transfer this module from the old tail lamp to your new one. If your vehicle did not come with this function please skip this step.
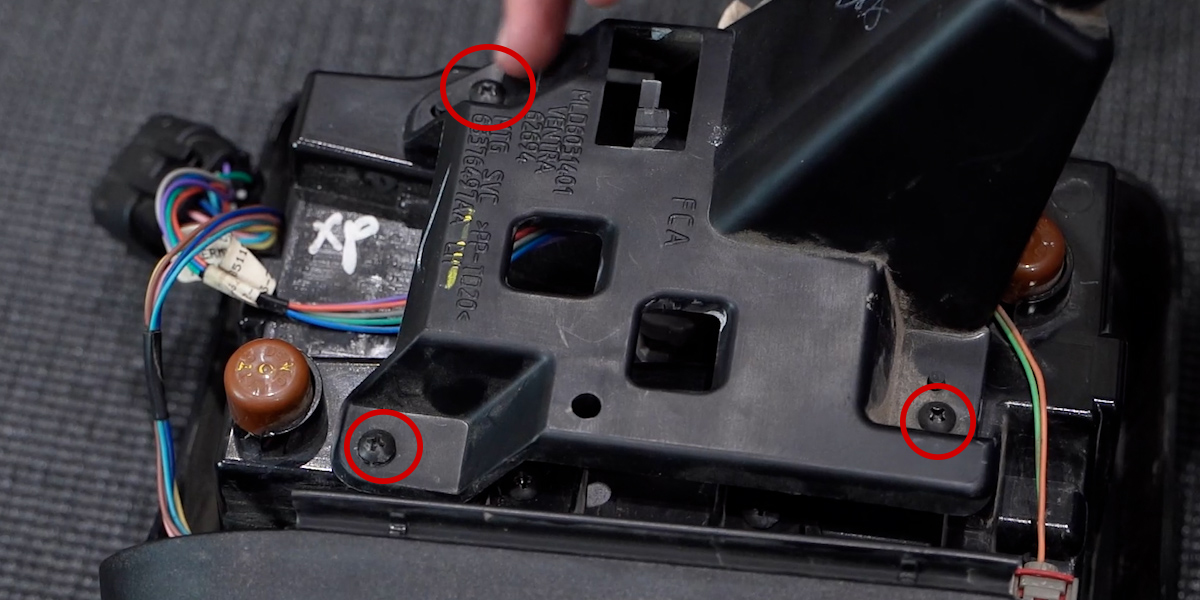
Using a phillips head screwdriver remove these three (3) screws on the back of the lamp.
Now remove the trim piece to reveal two (2) more phillips screws. Remove these as well.
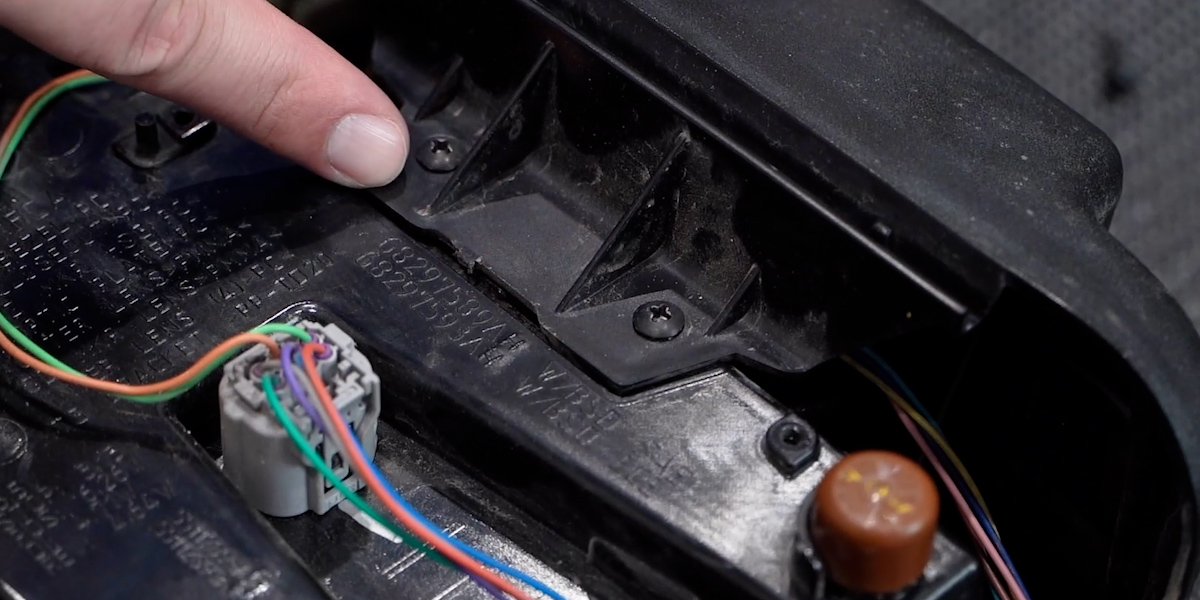
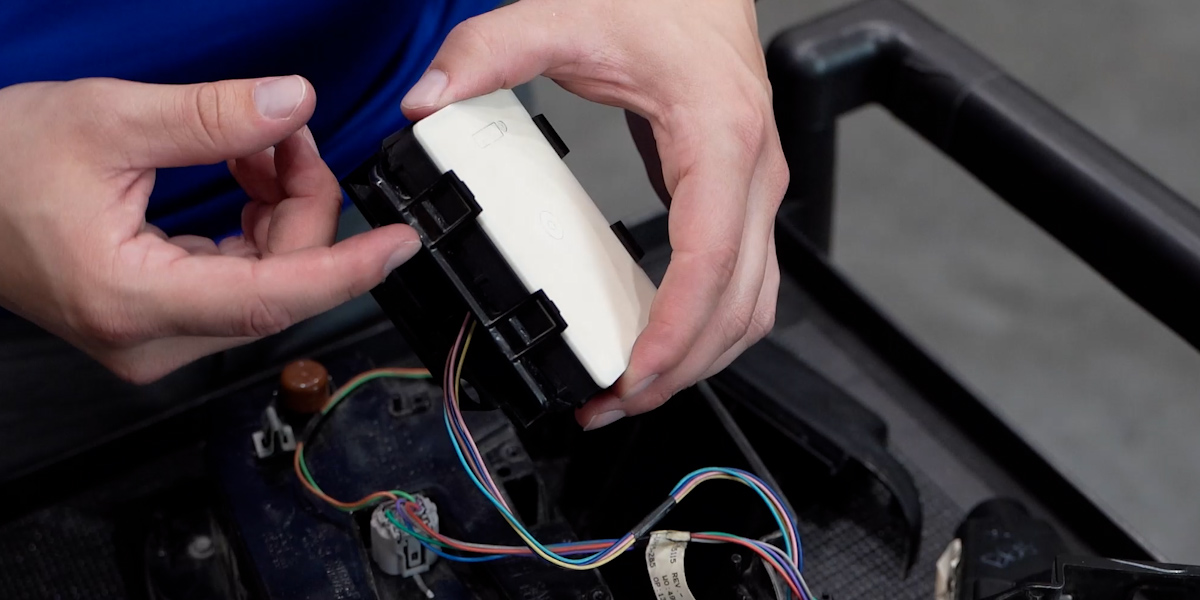
Set that trim piece aside and remove your module from the housing.
To remove the module from the bracket pull back on these tabs.
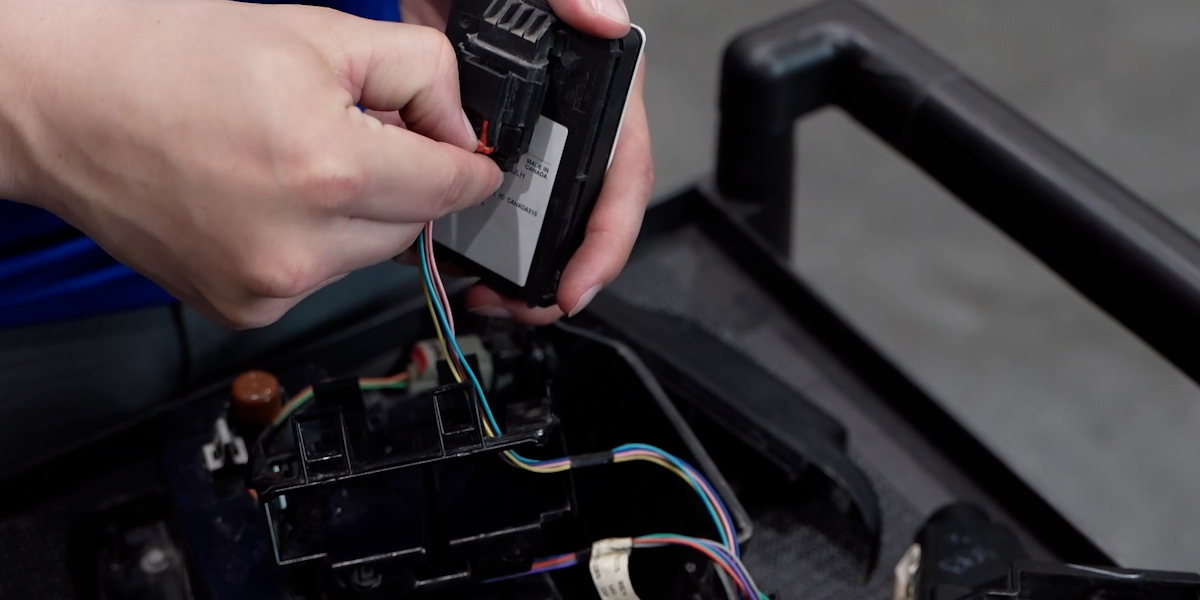
Then disconnect your factory connector by pulling down on the red tab to fully remove the module.
To install the module on your new FORM Lighting Jeep JL LED Tail Light, simply reverse the steps we used to remove it from the factory lamp.
Step 5 - Enabling Sequential Turn Functionality
Note: This step is for people who want to enable our additional sequential amber turn signal. If you skip this step your entire lamp will flash for your turn signal just like the factory option maintaining a road-legal turn signal.
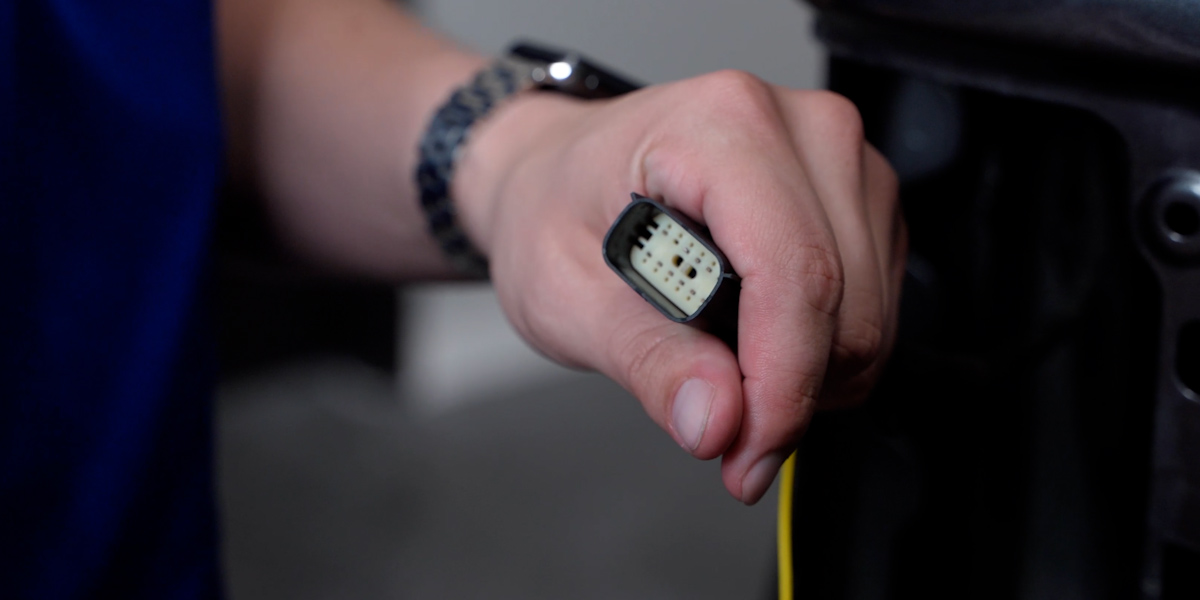
You will need to remove one of the cavity plugs from the connector coming from your vehicle. Using a pair of needle nose pliers, remove the plastic pin separator from inside the connector.
We will be removing this marked pin, it is the third pin over on your connector.
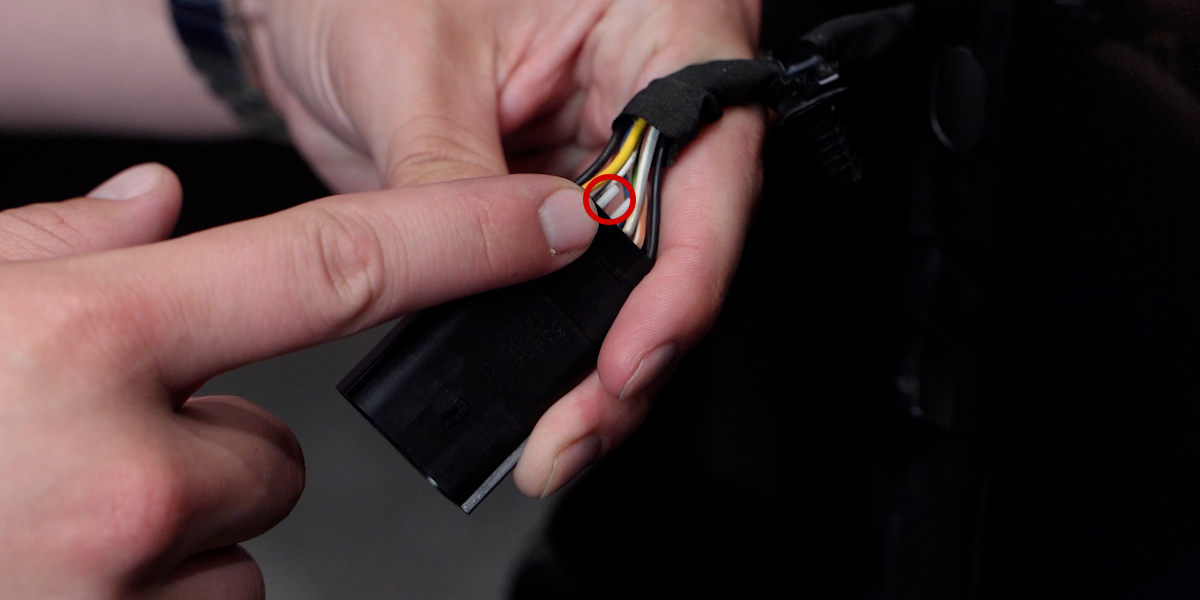
Before removing the pin, remove the pin separator from inside the connector using a pair of needle nose pliers.
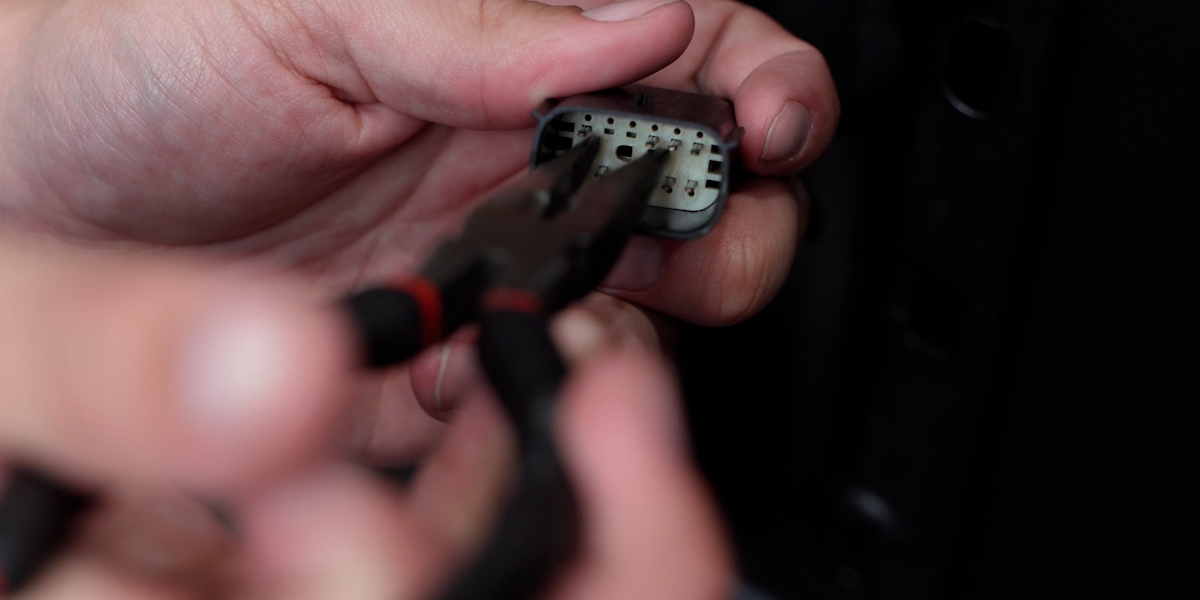
Now that you have removed the pin separator it is time to remove the actual plug. Apply pressure from the back of the connector with your finger while using a pick tool.
At the same time use a pick tool to release the black locking pin, on the inside of the connector, that is holding the plug in place. Once it is released, use a pair of needle nose pliers to pull the plug all the way out of the connector.
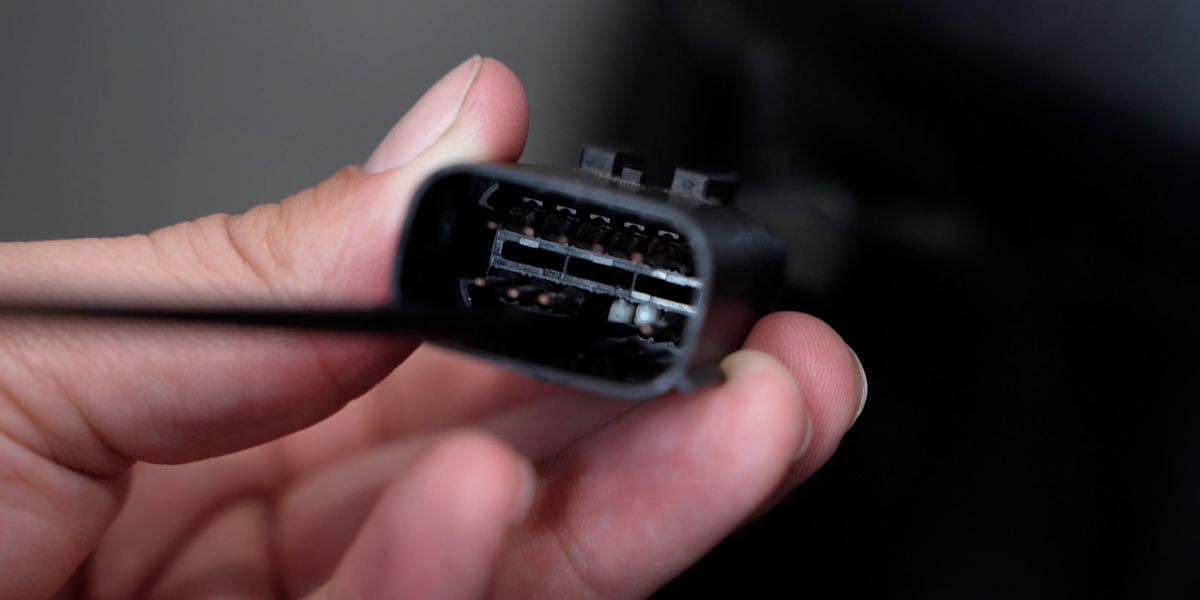
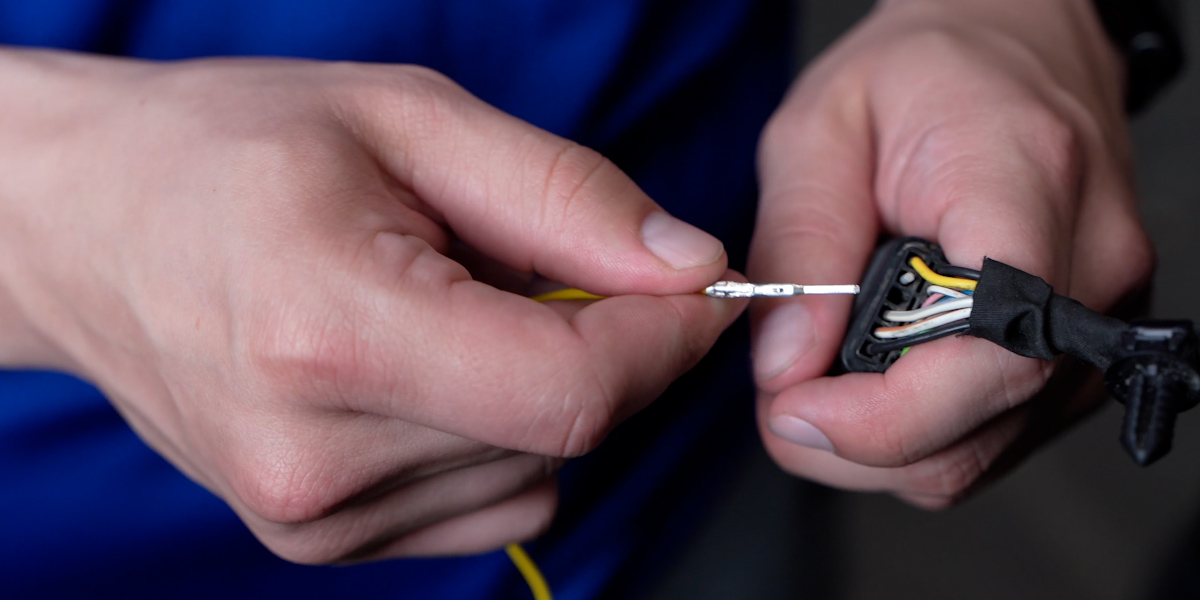
Now plug the pin on your supplied harness into the open slot on our factory connector.
Note: Make sure the closed side of the pin is facing the middle of the connector.
Reinstall the plastic pin separator we removed earlier.
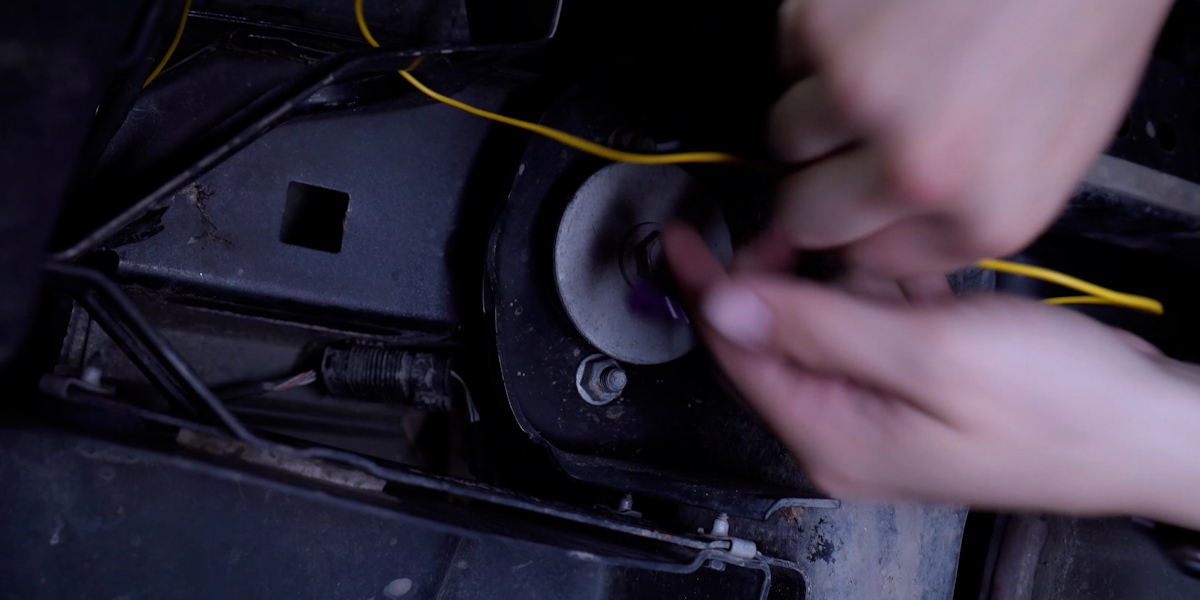
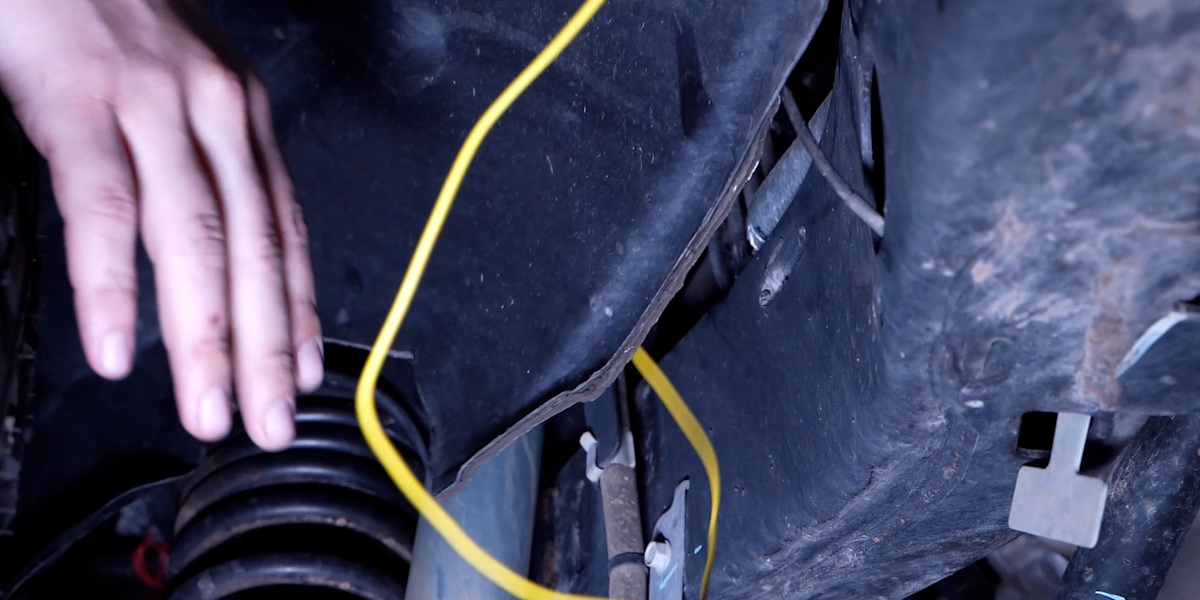
Now feed the other end of your harness through our empty headlight mounting point down to the floor.
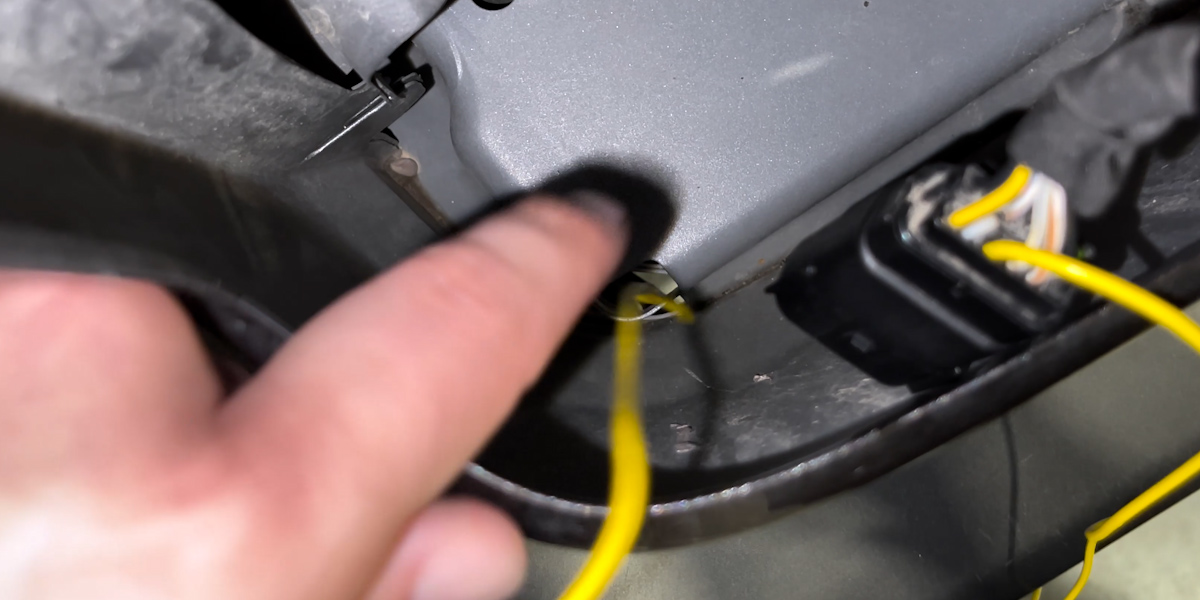
Now move under the vehicle to route the wire all the way to the back side of the front fender. Be sure to avoid any hot or moving parts, and use zip ties to secure the harness along the way.
Once you have gotten to the front fender we will need to remove it to access the turn signal connector. You will need to remove (4) plastic clips, two (2) 8mm screws, and two (2) 10mm screws.
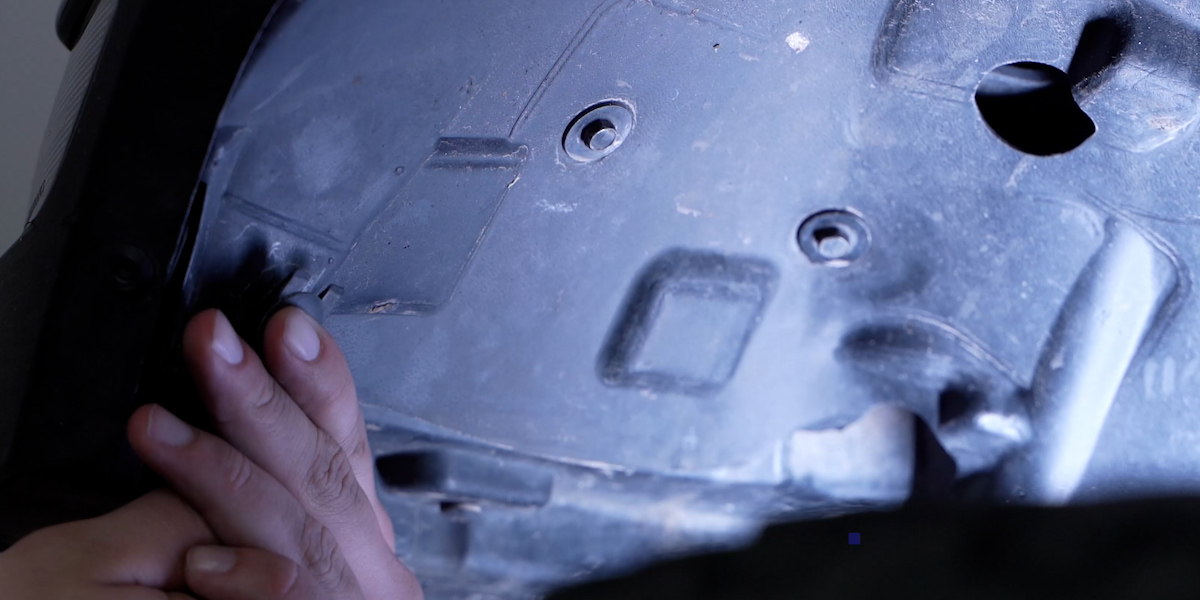
Now feed the harness up into the fender well securing it alongside the factory wiring.
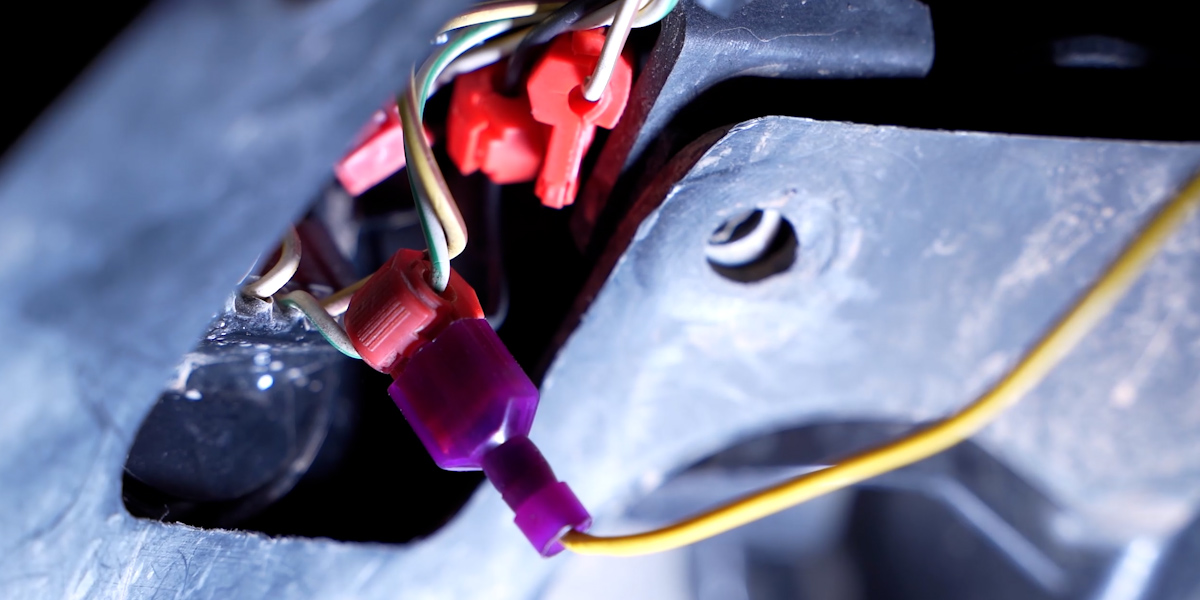
With your wire properly routed, you can now tap into the back of your DRL housing harness. You will be looking for a white and green wire. Using the included T-tap, pinch the clamp down on the green and white wire until it snaps shut. Then plug in your supplied harness to the T-tap connector.
Step 6 - Mount Your New Tail Light
Plug your tail light into the factory connector and secure the tail light using the 10mm bolt we removed earlier.
Now that it is installed, test for functionality.
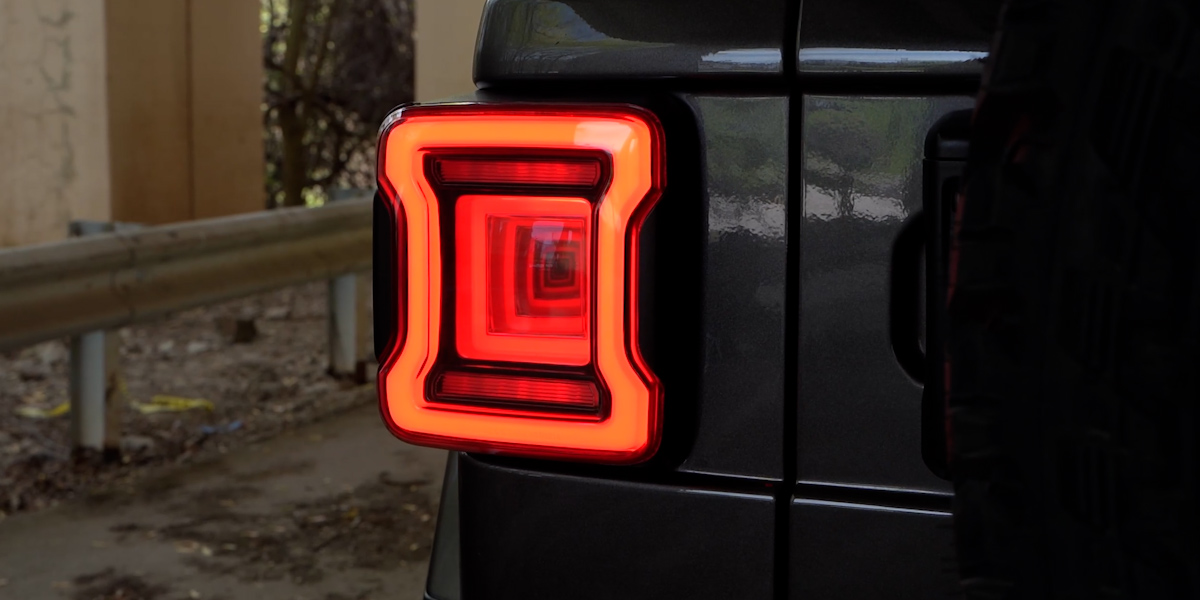
Once you have verified that the lamp functions properly, reverse the steps we used to take it apart to fully install the lamp. Repeat these steps to install your other tail light.
The installation is now complete. Enjoy your new Jeep JL LED Tail Lights!
Questions About the Installation?
If you have any questions or issues installing Form Lighting's Jeep JL LED Tail Lights for your vehicle, please contact us for further assistance.
Where Can I Buy Form Lighting Jeep JL LED Tail Lights?
If you’re ready to upgrade your vehicle with Form Lighting's Jeep JL LED Tail Lights, you can purchase them by clicking here, or use our dealer locator to find a dealer near you.
Want to know more about Form Lighting products? Visit FormLights.com and subscribe to our newsletter for new product releases and more!
This Installation Guide is for the following SKUs: FL0013, FL0014