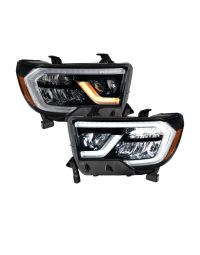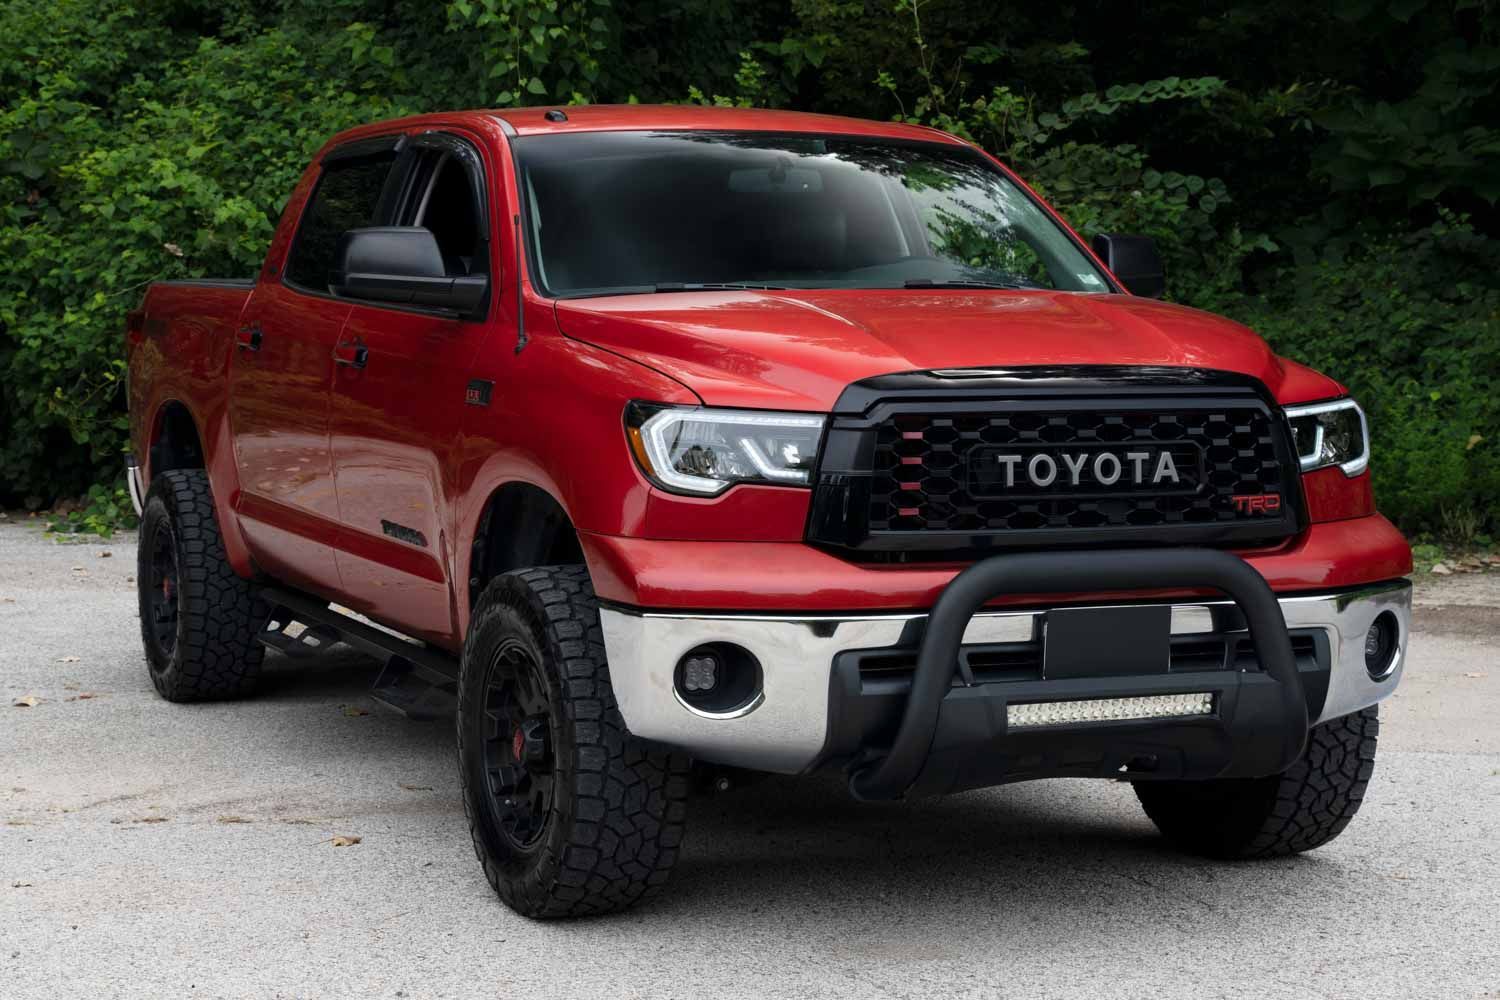
Form Lighting's LED Headlights are the perfect upgrade for the 2007-2013 Toyota Tundra & 2008-2017 Toyota Sequoia. The following installation guide will provide you with detailed instructions on how to install Form Lighting's LED headlights for the 2007-2013 Toyota Tundra & 2008-2017 Toyota Sequoia. Check out the installation video and continue reading for step-by-step instructions below!
Table of Contents
Installation Video
Installation Tools
- Plastic Trim Removal Tool
- 10mm Socket
Mounting Instructions
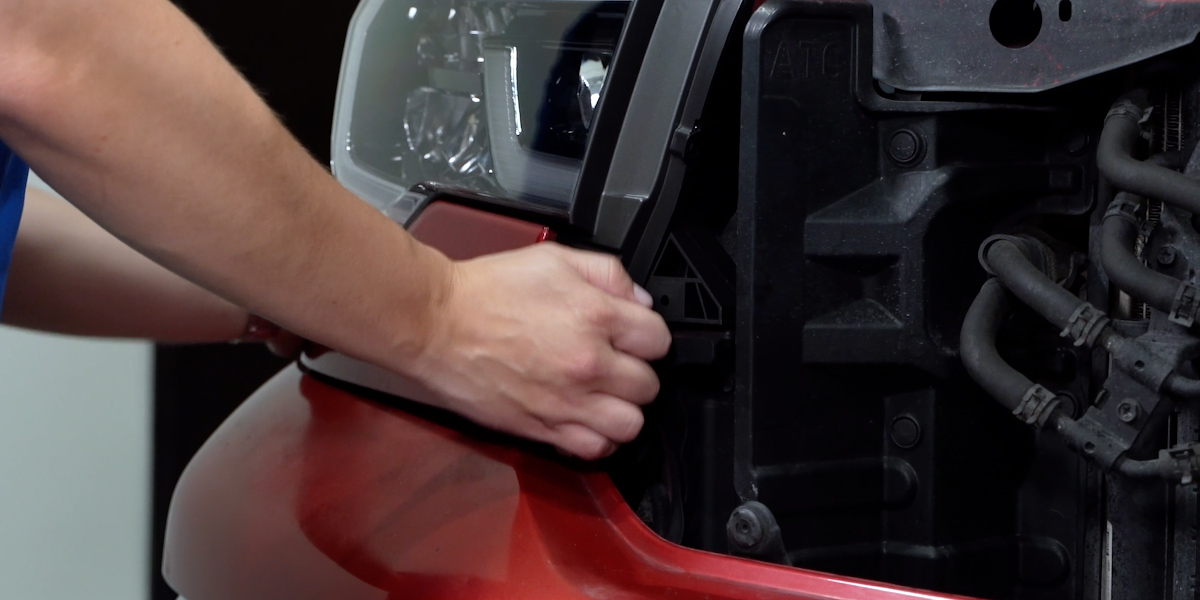
Step 1 - Remove Headlight Trim Panel
Pop the hood on your vehicle. Use a trim removal tool to remove two (2) plastic clips holding the trim piece onto the lamp.
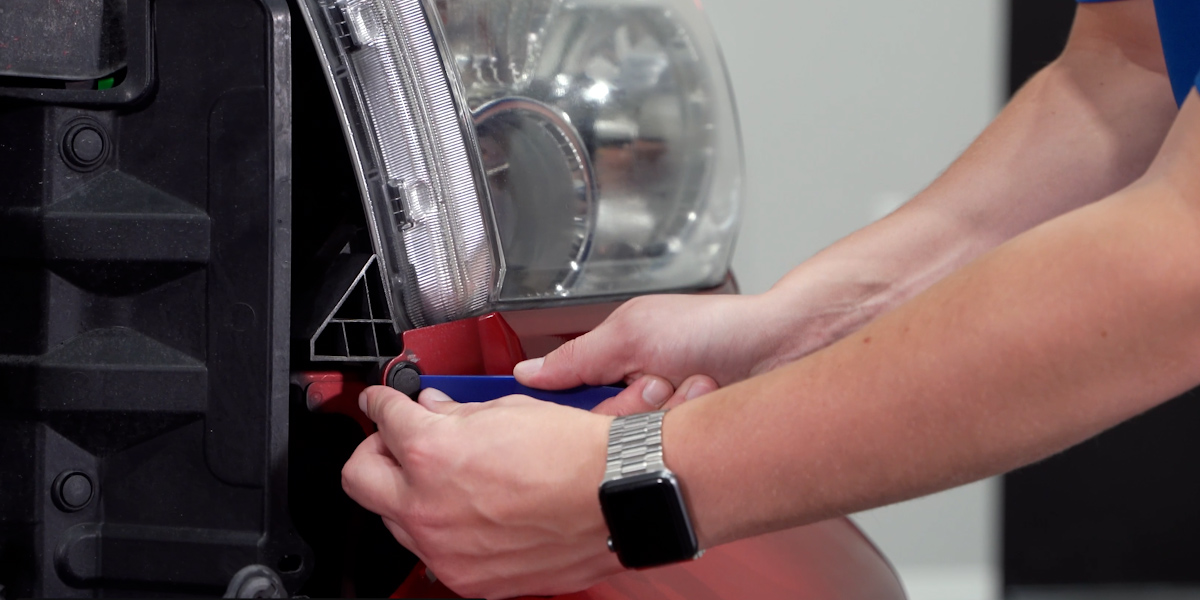
Use the trim removal tool to pry the fender away from the vehicle to disconnect the two (2) remaining clips.
Tip: We used a rag to help avoid scratching any paint off our fender piece.
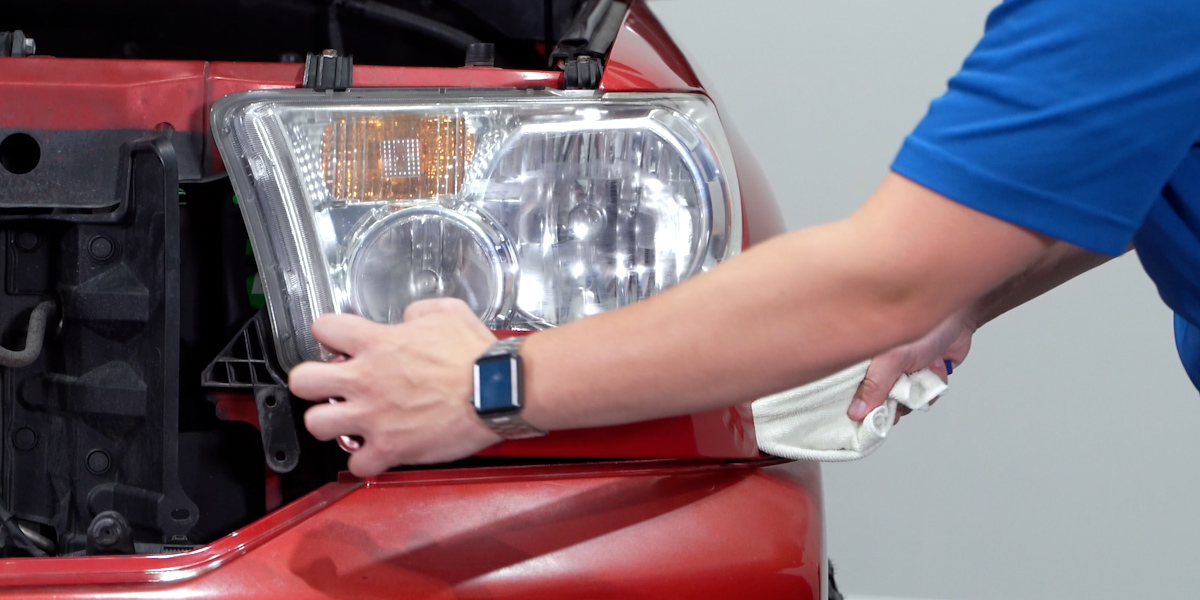
Step 2 - Remove Stock Headlight
Using a 10mm socket remove three (3) bolts holding the headlight to the vehicle. There will be two (2) on top and one (1) on the bottom of the headlight.
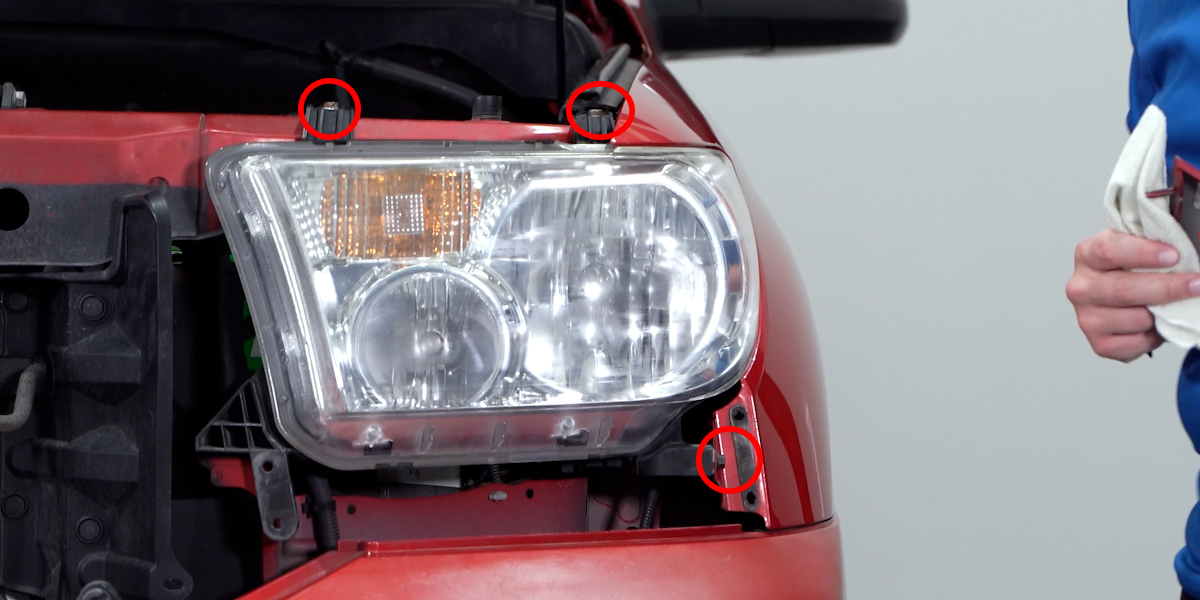
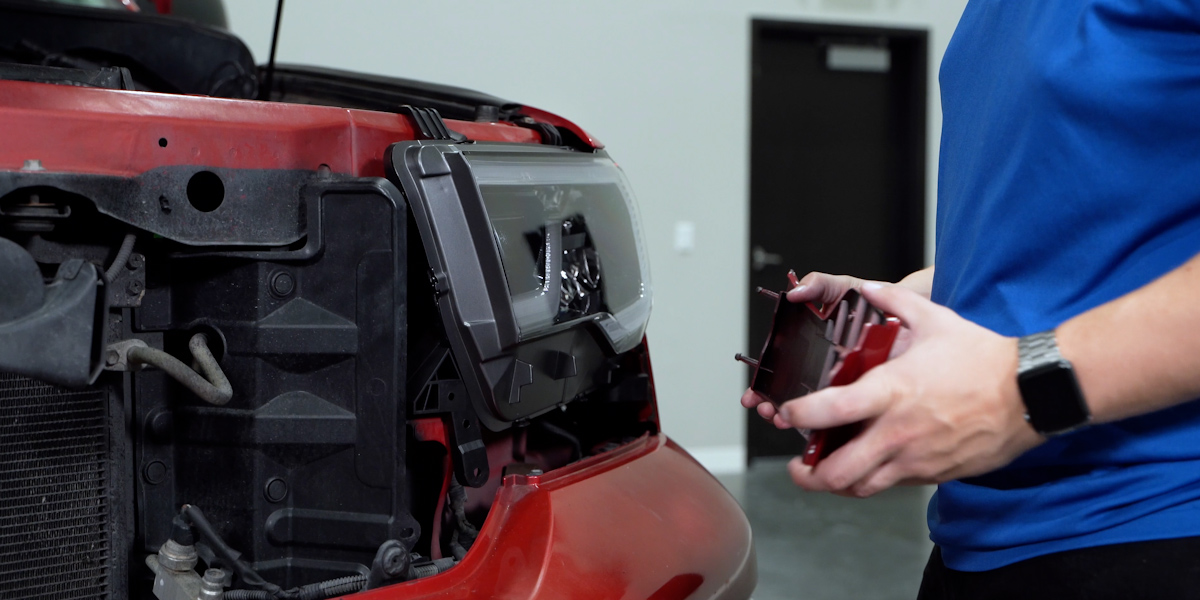
Lift the headlight up and away from the vehicle being mindful of the two (2) tabs on top still holding it in place.
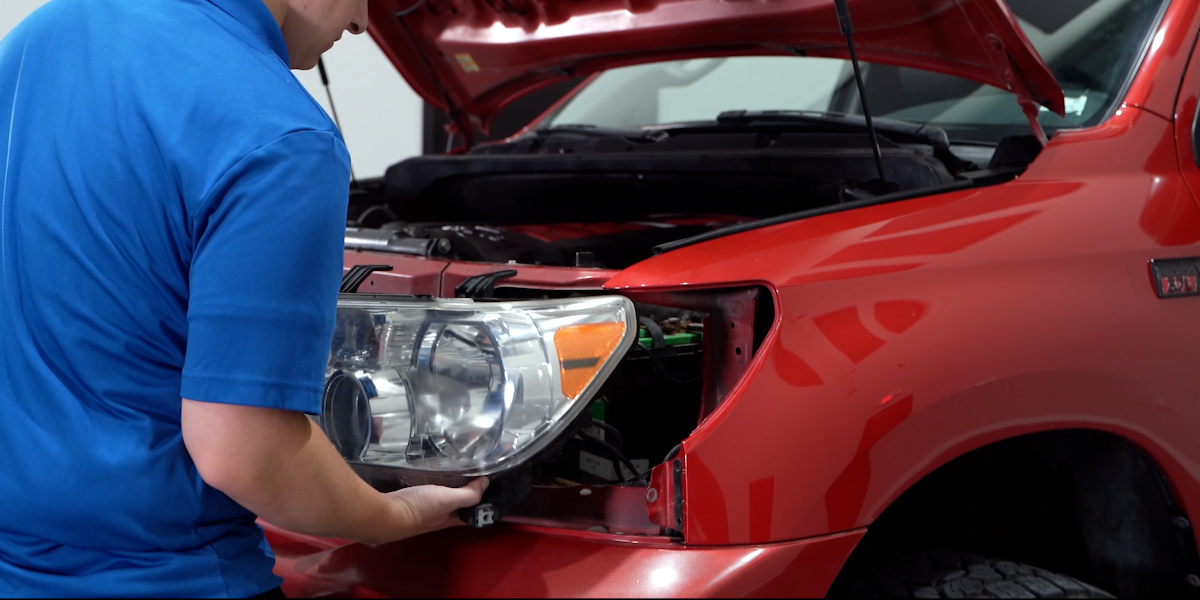
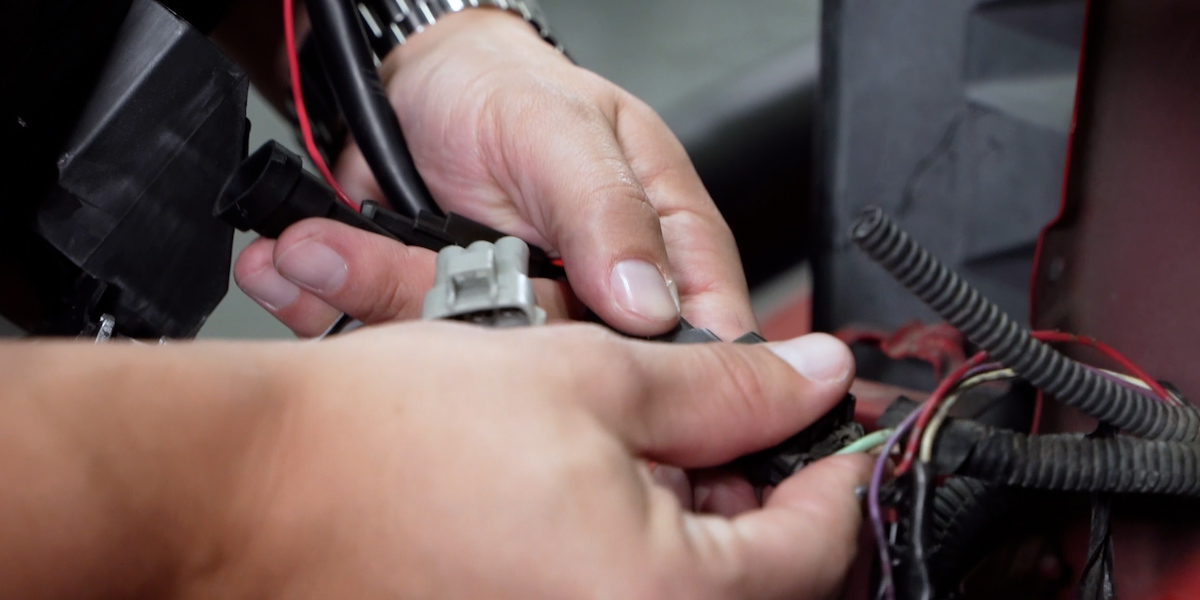
Disconnect the factory connectors to fully remove them. Repeat this process on the other side to remove your other headlight.
Step 3 - Install DRL Harness
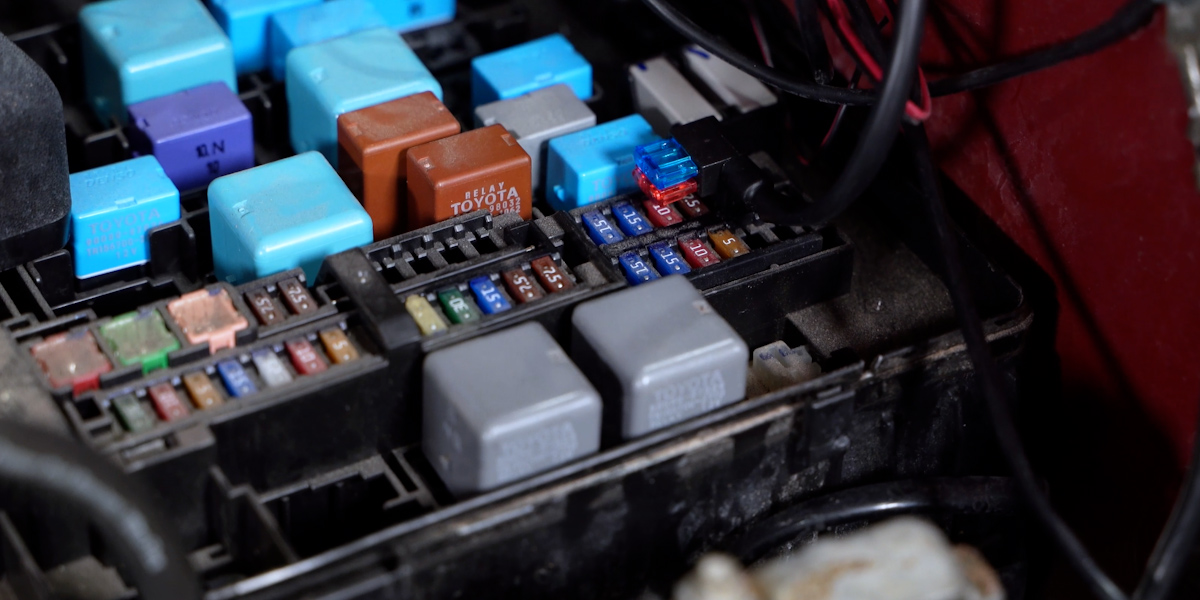
Remove the cover on your fuse box. Using the provided fuse puller, remove the 10 amp ignition fuse highlighted below (In red).
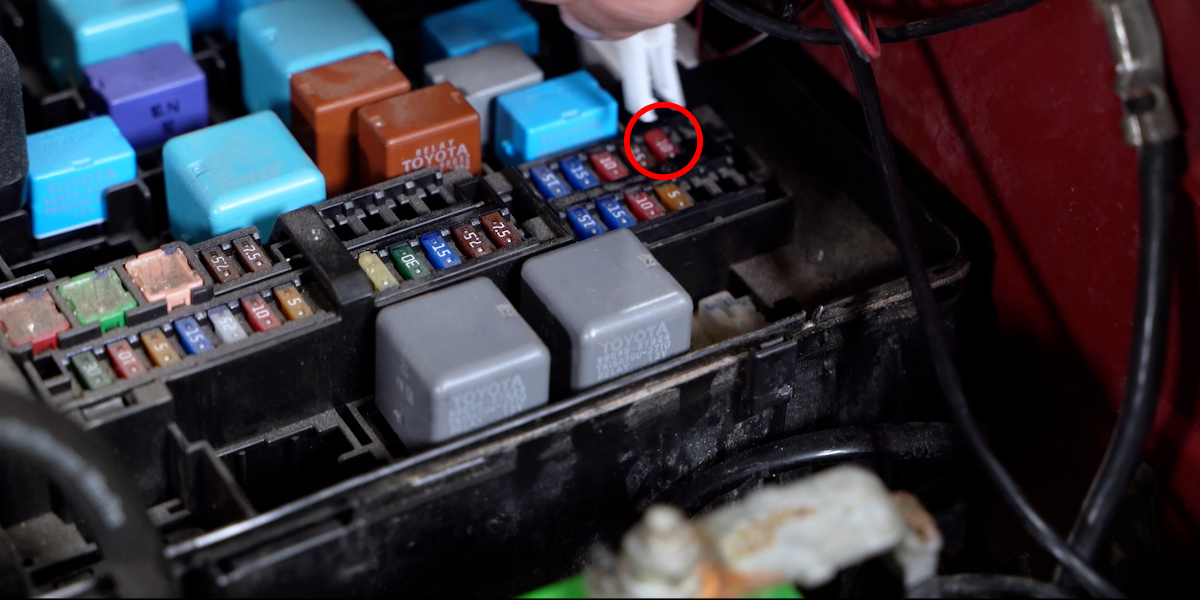
Replace it with the fuse portion of our add-a-fuse harness with a 10 amp fuse on the bottom.
Route the other ends of the harness to the back of our headlight locations where we will be installing our new LED headlights.
Note: Be sure to zip-tie any loose wiring up and away from hot or moving parts.
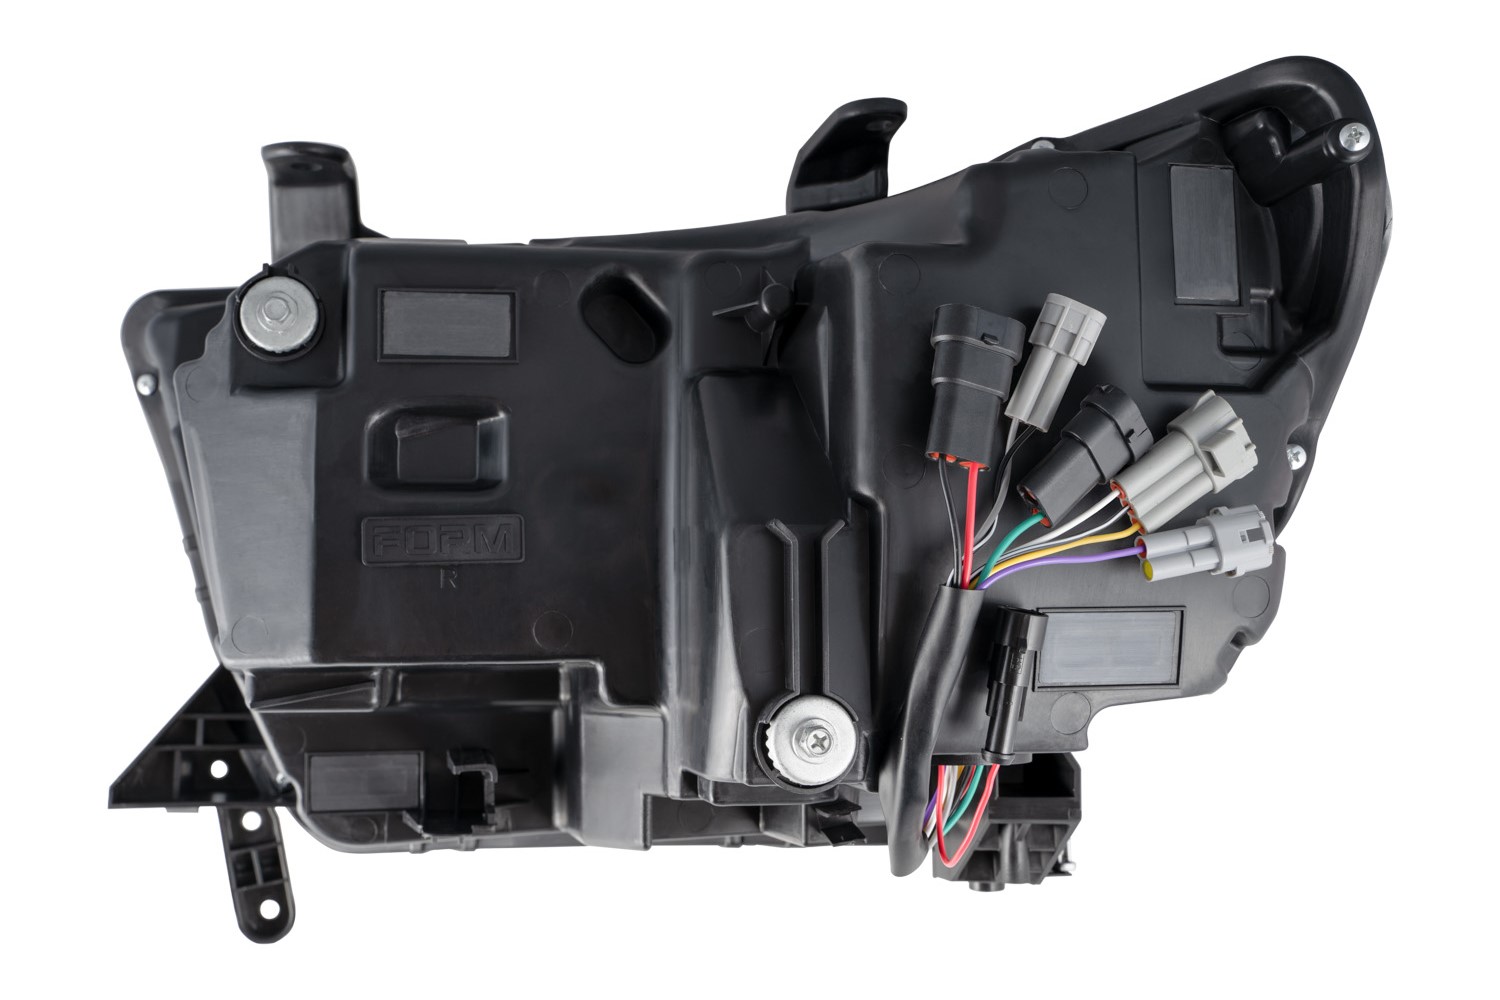
Step 4 - Installing LED Headlight
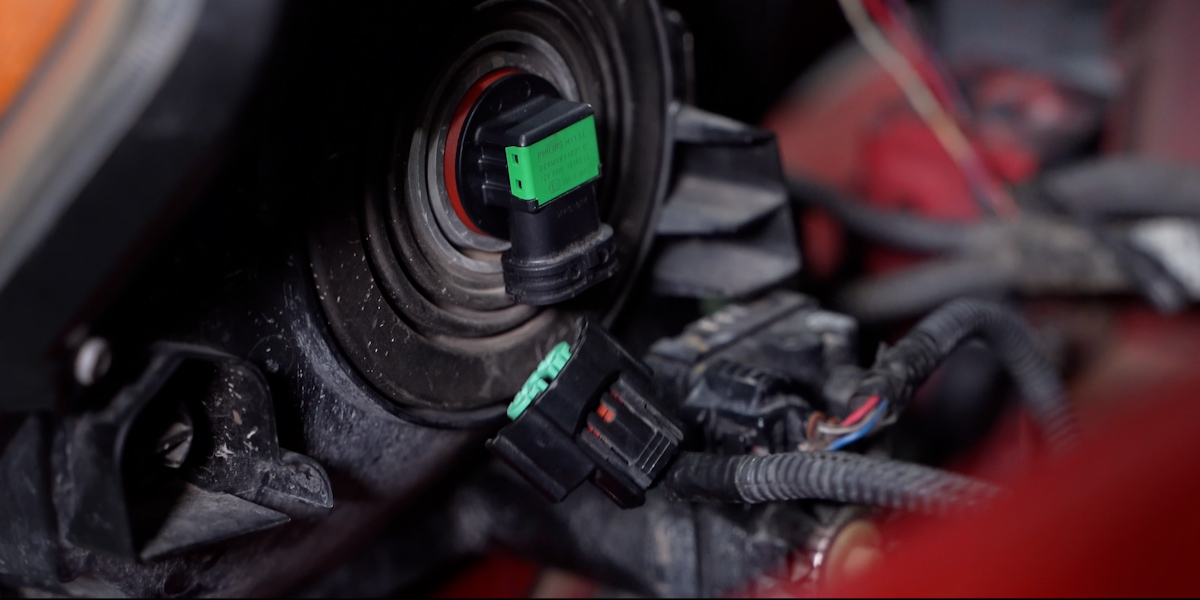
Plug the connectors into the back of the lamp.
Note: Disregard the connector for the factory headlight leveling system because these lights don't retain that function.
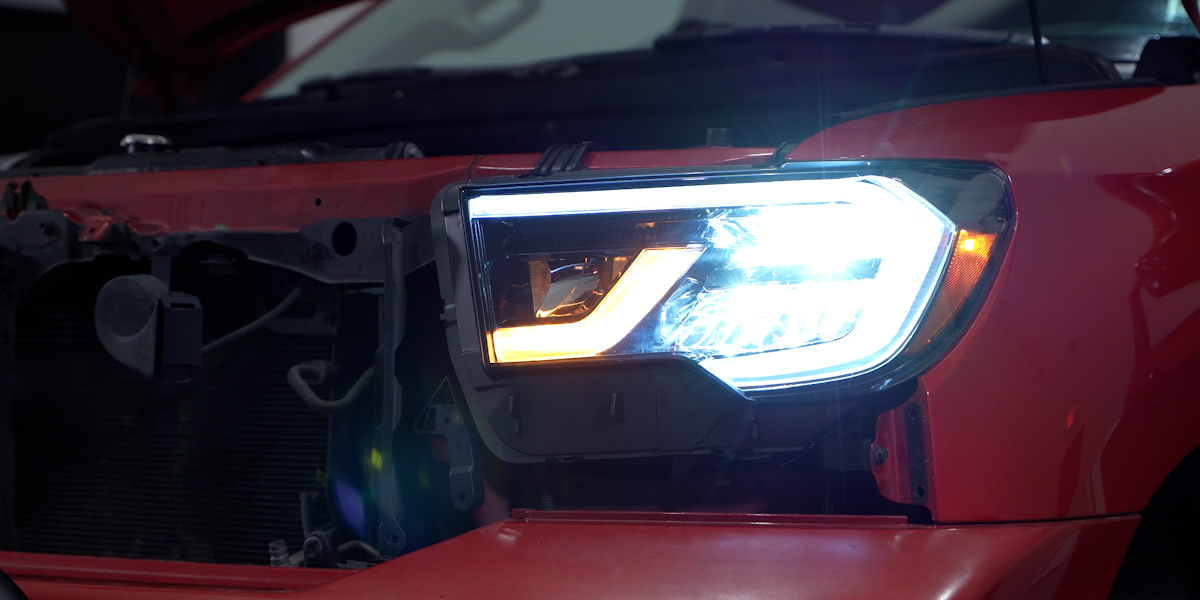
With everything plugged in, test to make sure your light functions properly, and then bolt your LED headlight on using the same steps we used to remove the factory lamp. Repeat the same process on the other side.
Step 5 - Install New Trim Panel
Secure the two (2) plastic retention tabs on the outside of the trim panel by snapping them into place.
Then use the same two (2) plastic clips we removed earlier to secure the inside of the trim panel.

Repeat this process for the other side.
Step 6 - Final Adjustments
With your headlights fully installed make your final aiming adjustments using a Phillips head screw driver. Turn the included adjustment screw to set your beam pattern.
For a more detailed description ,reference our blog - How To: Aim Your LED Headlights.
This installation is now complete. Enjoy your new 2007-2013 Toyota Tundra & 2008-2017 Toyota Sequoia LED Headlights!
Questions About the Installation?
If you have any questions or issues installing 2007-2013 Toyota Tundra & 2008-2017 Toyota Sequoia LED Headlights for your vehicle, please contact us for further assistance.
Where Can I Buy Form Lighting 2007-2013 Toyota Tundra & 2008-2017 Toyota Sequoia LED Headlights?
If you’re ready to upgrade your vehicle with 2007-2013 Toyota Tundra & 2008-2017 Toyota Sequoia LED Headlights, you can purchase them by clicking here, or use our dealer locator to find a dealer near you.
Want to know more about Form Lighting products? Visit FormLights.com and subscribe to our newsletter for new product releases and more!
This Installation Guide is for the following SKU: FL00010