The 2010–2024 Toyota 4Runner LED Tail Lights add a modern LED appearance with improved visibility and a unique startup sequence for your vehicle. This installation guide will provide you with detailed instructions on how to install the 2010–2024 Toyota 4Runner LED Tail Lights. Watch our installation video, or continue reading for installation instructions below!
Table of Contents
- Installation Video
- Installation Tools
- Installation Instructions
- Questions About the Installation?
- Where Can I Buy the 2010–2024 Toyota 4Runner LED Tail Lights?
Installation Video
Installation Tools
- Plastic trim removal tool
- 10mm deep socket
- Ratchet
Installation Instructions
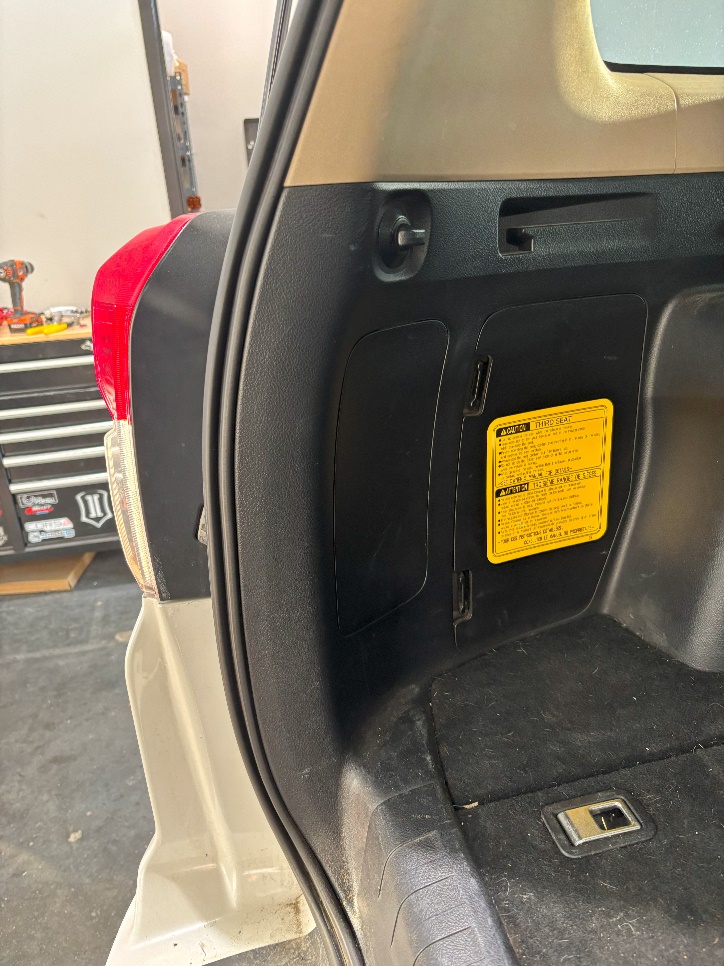
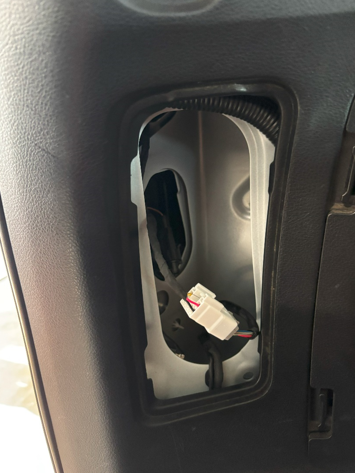
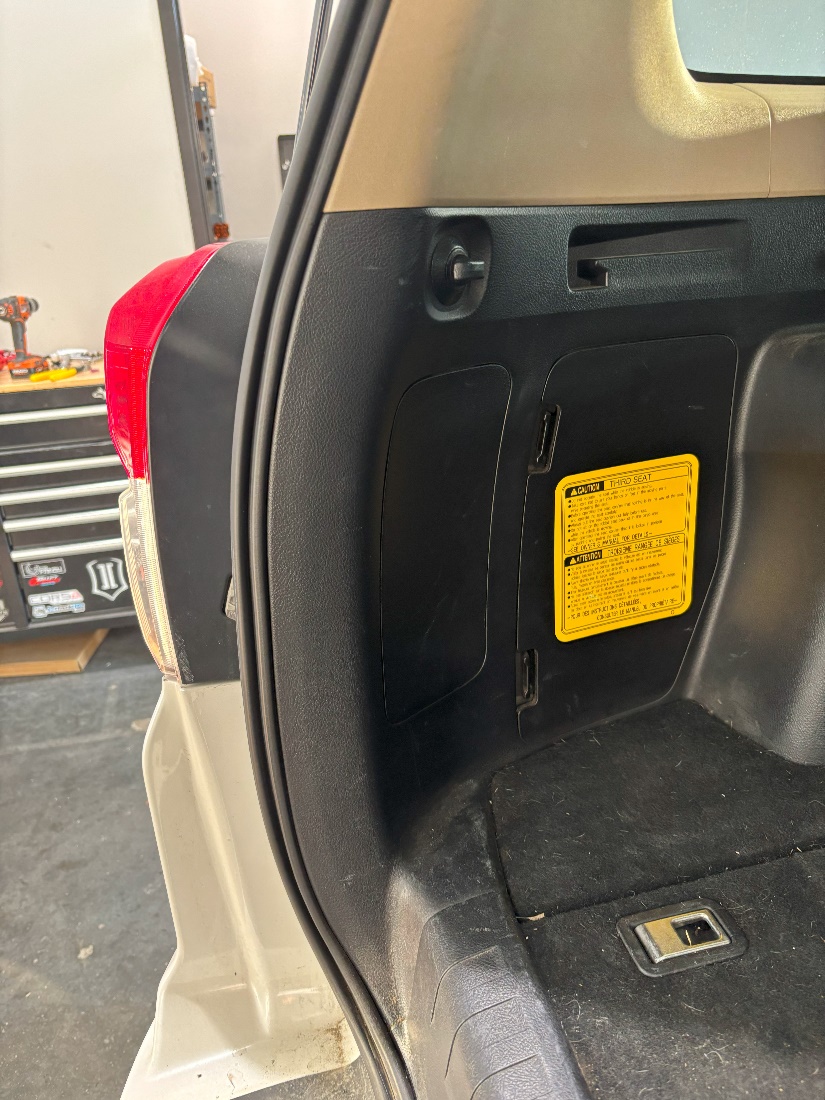
Step 1 — Open the Tailgate and Access Panels
Open the tailgate to access the interior trim panels behind the tail lights. Using a plastic trim removal tool, carefully pry from the access gap in the panel shown to release it. Repeat this step on the opposite side.

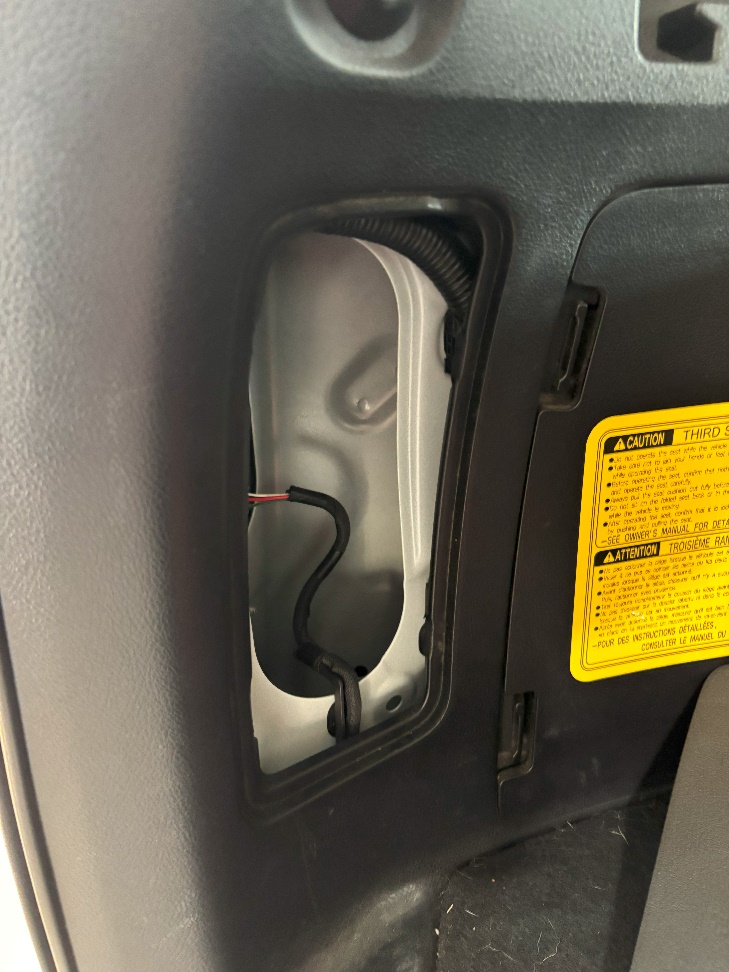
Step 2 — Remove Tail Light Mounting Nuts
Using a 10mm deep socket and ratchet, remove the two 10mm nuts securing the tail light to the vehicle. Set the nuts aside, as they will be reused during installation.
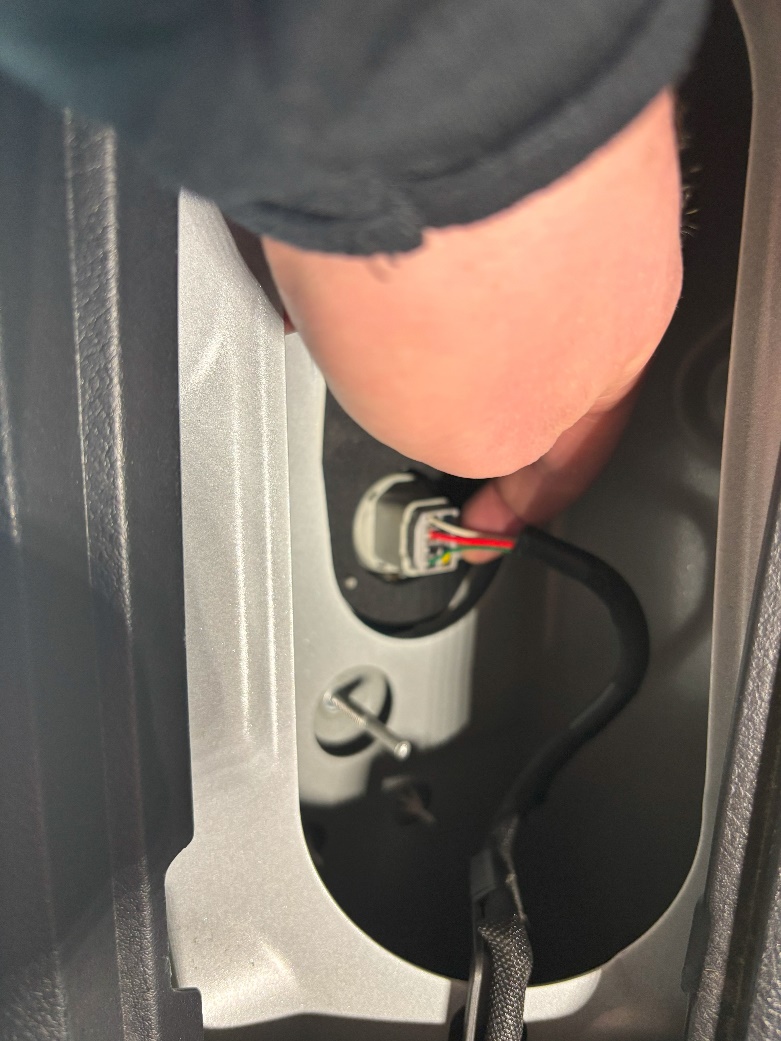
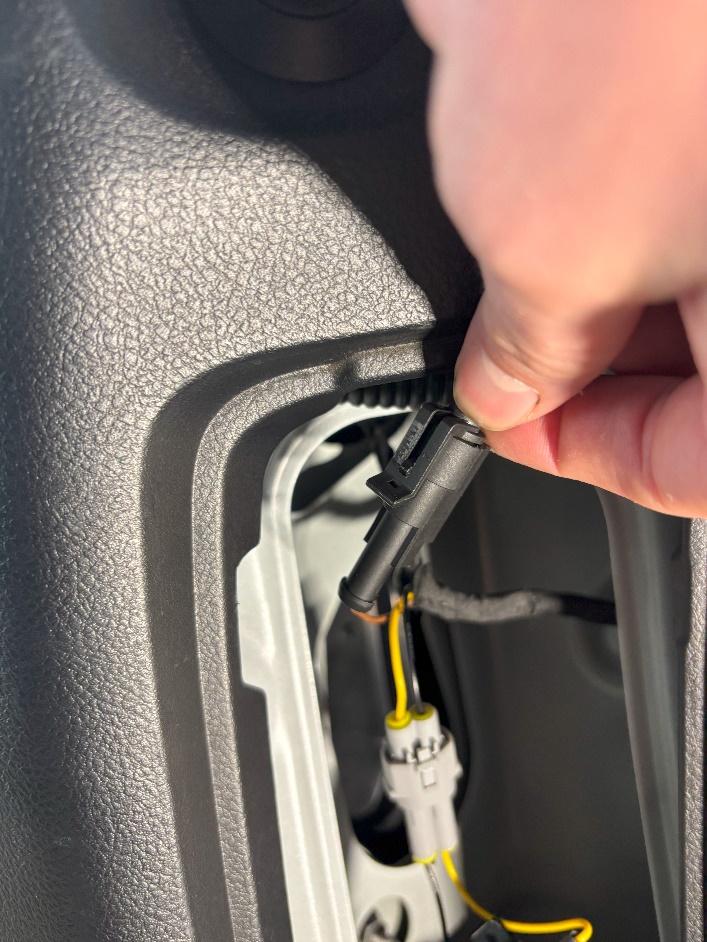
Step 3 — Disconnect the Factory Tail Light Harness
Depress the locking tab on the factory tail light connector and pull it away from the OEM tail light. Repeat this step on the opposite side to prepare both factory lamps for removal.
Step 4 — Remove the OEM Tail Light
While supporting the tail light with one hand, push outward from the gap shown to release the retention clips. Once free, move to the exterior of the vehicle and pull the tail light straight back to remove it completely. Repeat on the other side.
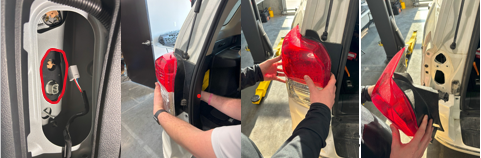
Step 5 — Install the LED Tail Light Assembly
Route the new tail light harness through the opening shown. Align the mounting posts with the vehicle’s mounting points and press the tail light into place until the retention clips engage. Secure the tail light using the two 10mm nuts removed earlier. Repeat on the other side.
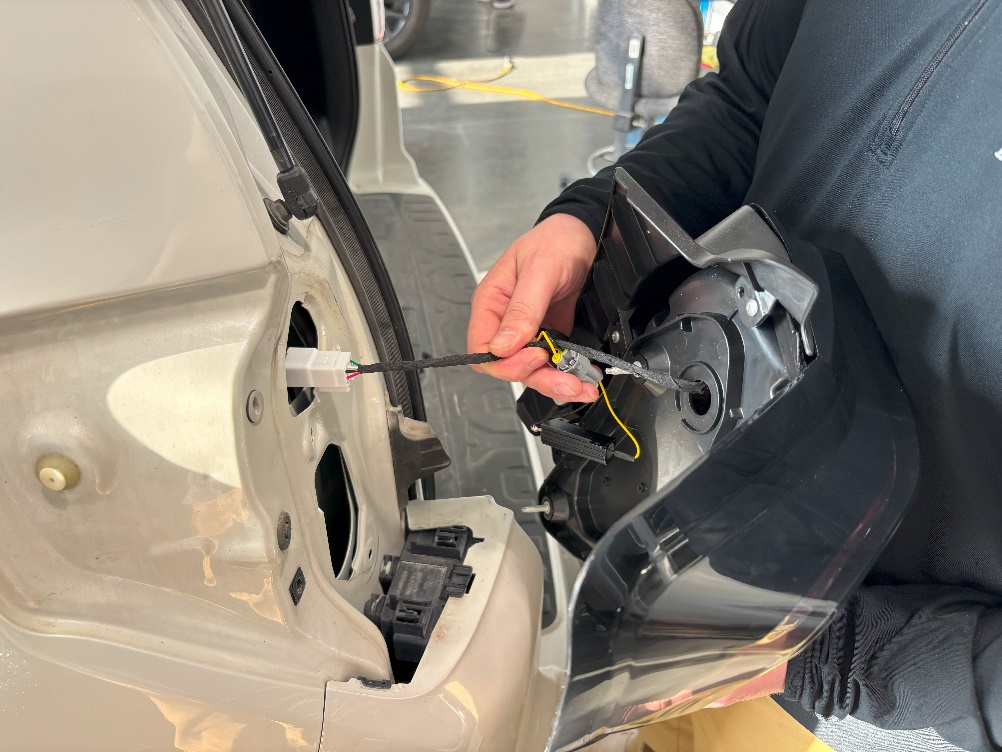

Step 6 — Connect the Tail Light Harness
Plug the new LED tail light connector into the factory vehicle harness, ensuring it is fully seated and locked in place.
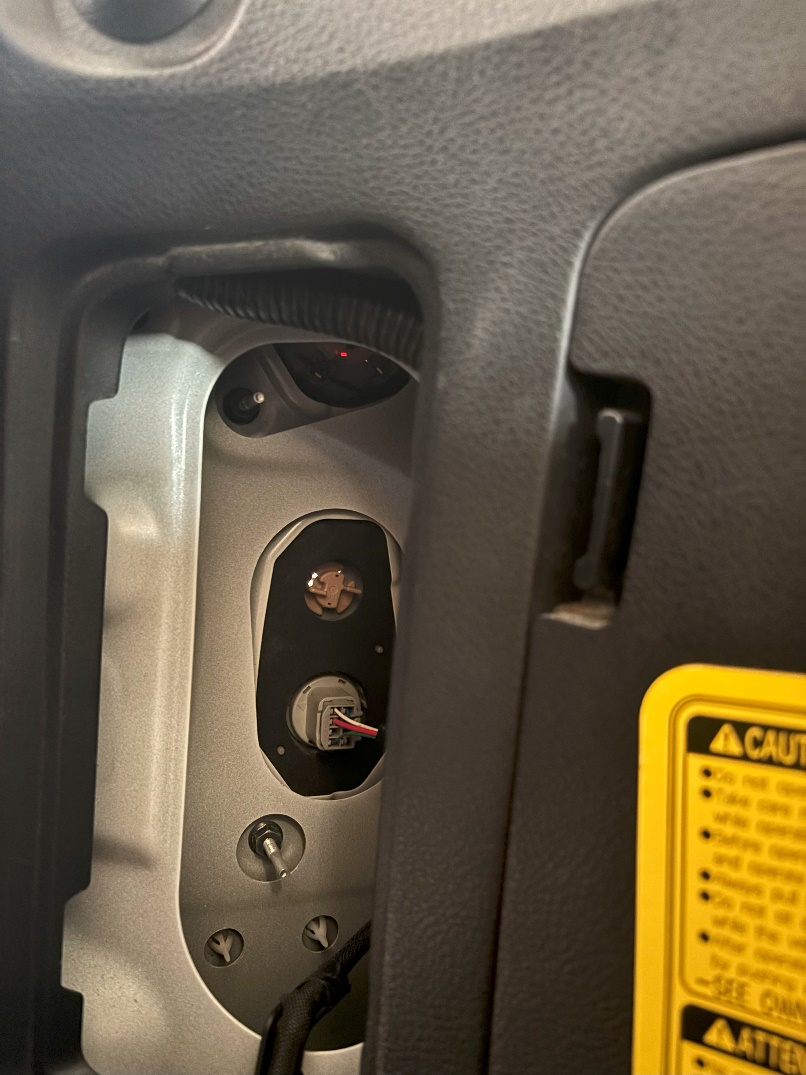
Step 7 — Configure Startup Sequence
Leave the amplifier connector connected if you wish to retain the startup sequence feature. If you prefer to disable the startup sequence, disconnect the amplifier connector. Plug in the preinstalled resistor as shown.
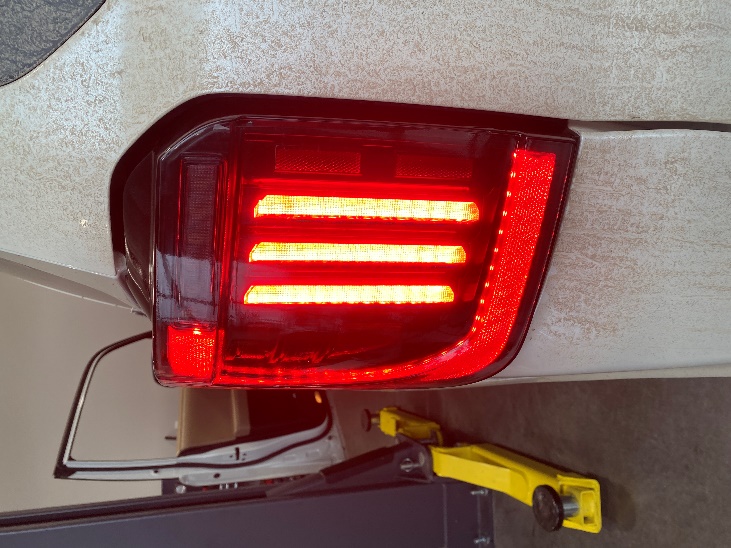
Step 8 — Test Tail Light Functions
Test all lighting functions, including running lights, turn signals, brake lights, and reverse lights, to ensure proper operation before reassembly.
Step 9 — Reinstall Access Panels
Reinstall the interior access panels that were removed earlier, ensuring all clips are fully secured.
Step 10 — Final Check
Confirm that both tail lights are securely mounted and functioning correctly.
The installation is now complete. Enjoy your new 2010–2024 Toyota 4Runner LED Tail Lights!
Questions About the Installation?
If you have any questions about installing the 2010–2024 Toyota 4Runner LED Tail Lights, contact us via our support page.
Where Can I Buy the 2010–2024 Toyota 4Runner LED Tail Lights?
If you're ready to upgrade your 2010–2024 Toyota 4Runner with the 2010–2024 Toyota 4Runner LED Tail Lights, visit FormLights.com or use our Dealer Locator to find a dealer near you.
Want to know more about Diode Dynamics products? Visit FormLights.com and subscribe to our newsletter for new product releases and more!
This Installation Guide is for the following SKU: FL0105, FL0106